
Newsletters are a great way to disseminate information and engage an audience. It’s a main channel of choice for us to update folks about new feature releases and other things happening at the company. They’re also valuable for festivals and events companies to help keep members informed and up-to-date on the latest developments and upcoming events.
Even though newsletters are often filled with useful information, they’re not generally a reusable resource. They get lost in inboxes, moved to a separate folder, or worst of all, relegated to spam, never able to see the light of day. Luckily, we have a fix for that.
With email V2 you have the ability to get html versions of emails to view in your browser. What that means is that you can basically get a min-website version of any email you send, making them reviewable. Instead of ever having to resend an email, you can simply get the link for the email of your choosing and pass that along – avoiding the risk of sending a duplicate email, too.
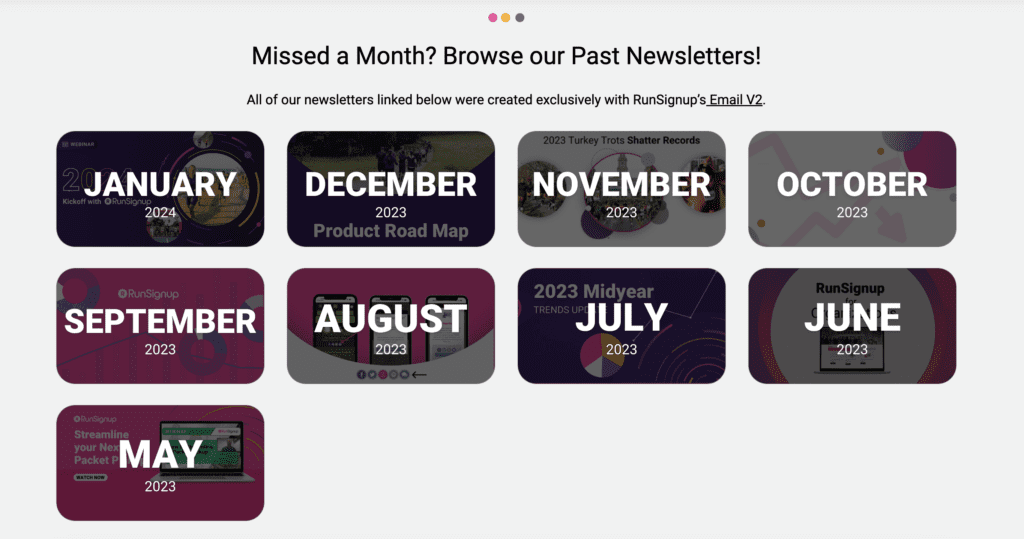
Along with that, it also gives you the ability to archive those previous emails. It’s actually something we did recently – you can check it out here. It’s a great resource for new members to see what you’ve been up to. It can also serve as a source of inspiration for future email sends, as well as act as quick access if you’re unsure about what was included in past communication.
Setting up a newsletter archive
To get an email hyperlink all you have to do is click on the email dropdown in your main dashboard. From there click on “sent emails”
After that, you’ll select “view email” on the individual email you’re interested in.

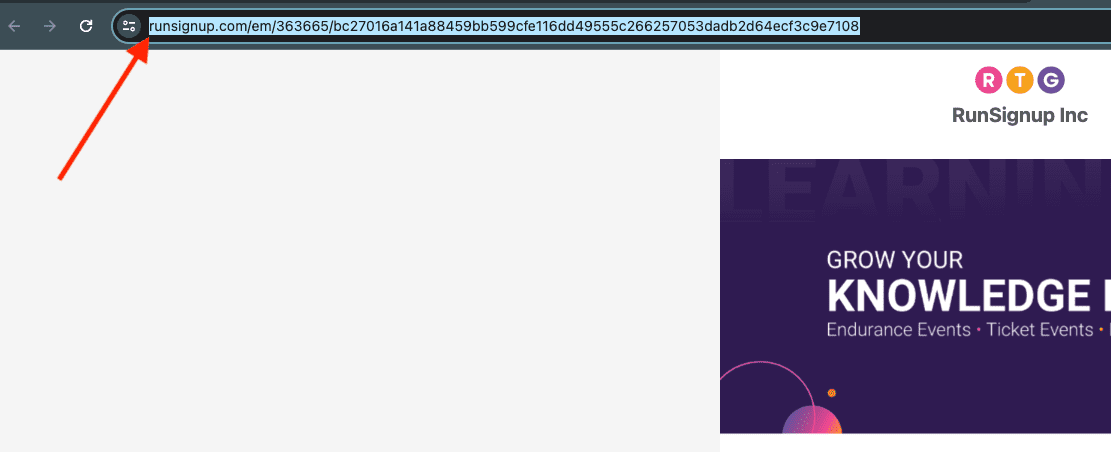
That’ll open the email in a new browser window. From there, simply copy the web address from the address bar and you have the link.
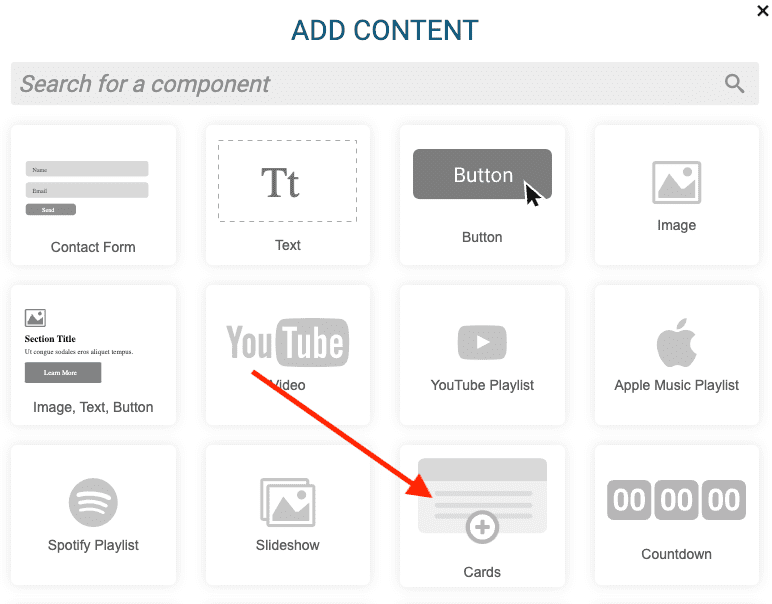
If you use a TicketSignup site and want to set it up similar to what we did, you’ll add a new component to your page and select the “cards” component.
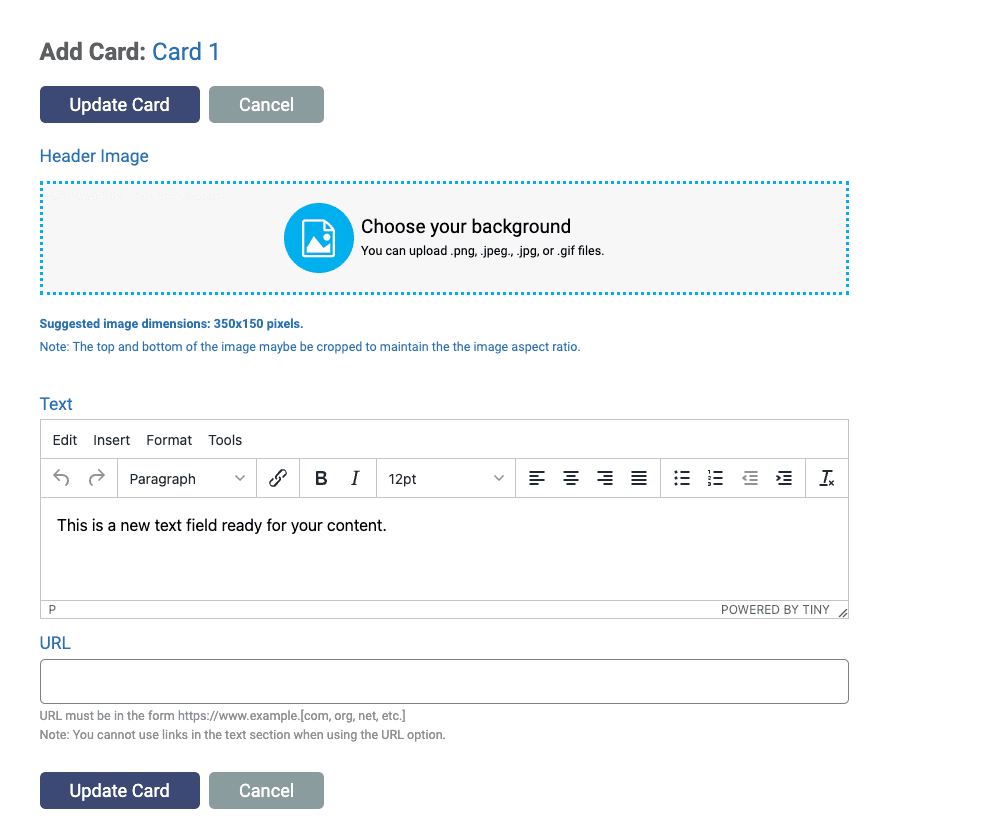
There you can add an image (we used screenshots of the emails to create the cards) and text for the card. This is also where you’ll add the email link.
(You can add up to four cards per component, so you might have to do a few sections depending on how many emails you want in your archive.) After making changes make sure to save your work by clicking “update card.”
Once that’s done you’re all set and have another way to share information with folks that doesn’t require a ton of extra work.