If you sell merch, add-ons, or extras through your TicketSignup store, you probably run the same report over and over – this item’s sales, that size breakdown, a specific date range. Now you can save your Individual Store Items reports and reopen them in a click. Set your filters and columns once, save the view, and it’s ready whenever you need it.
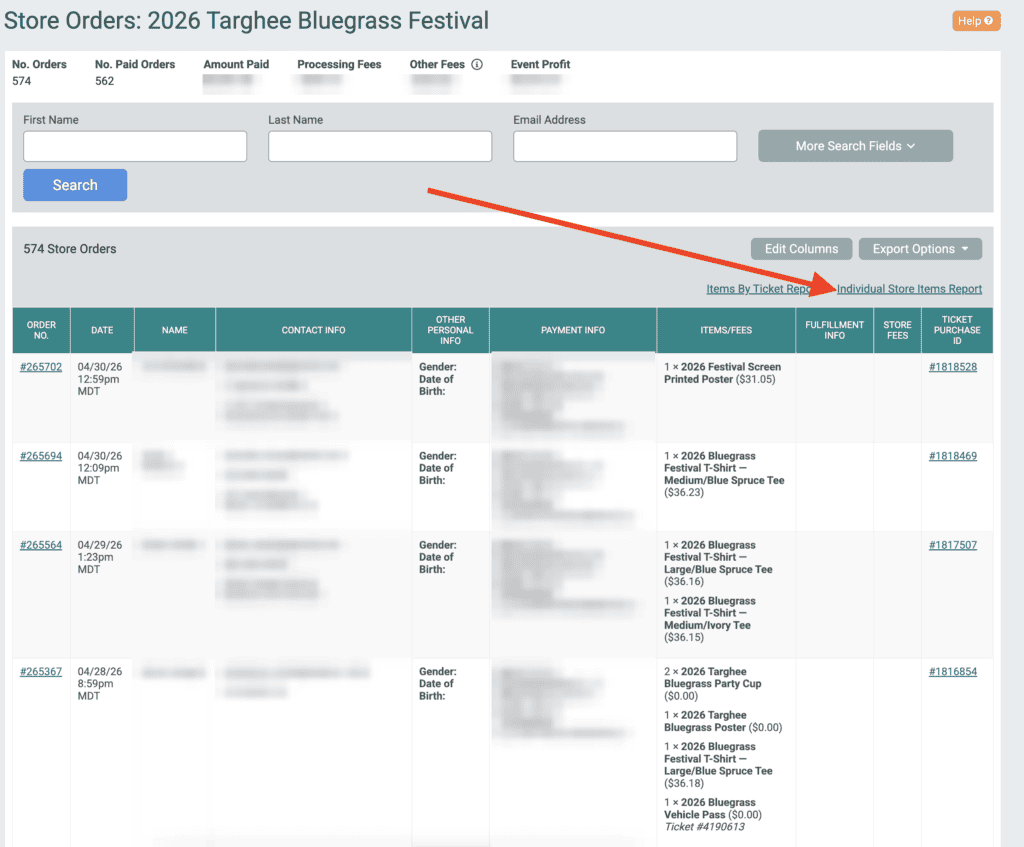
First, go to Store >> Store Orders >> Individual Store Items Report.
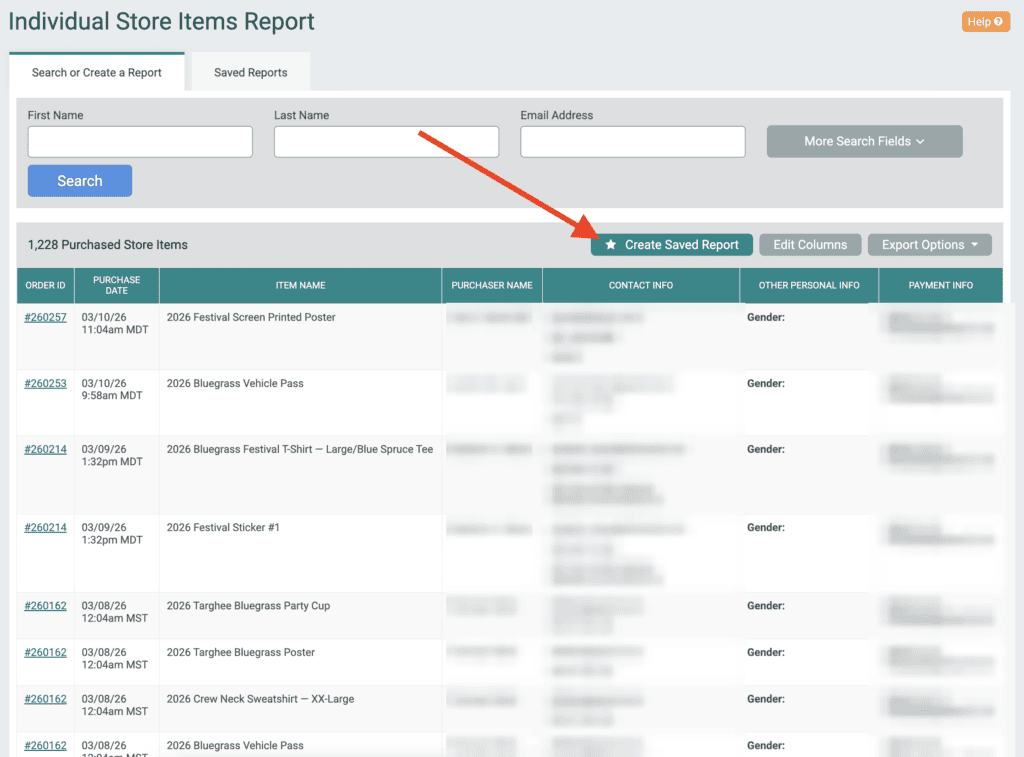
Then click Create Saved Reports to launch the easy Saved Report wizard.
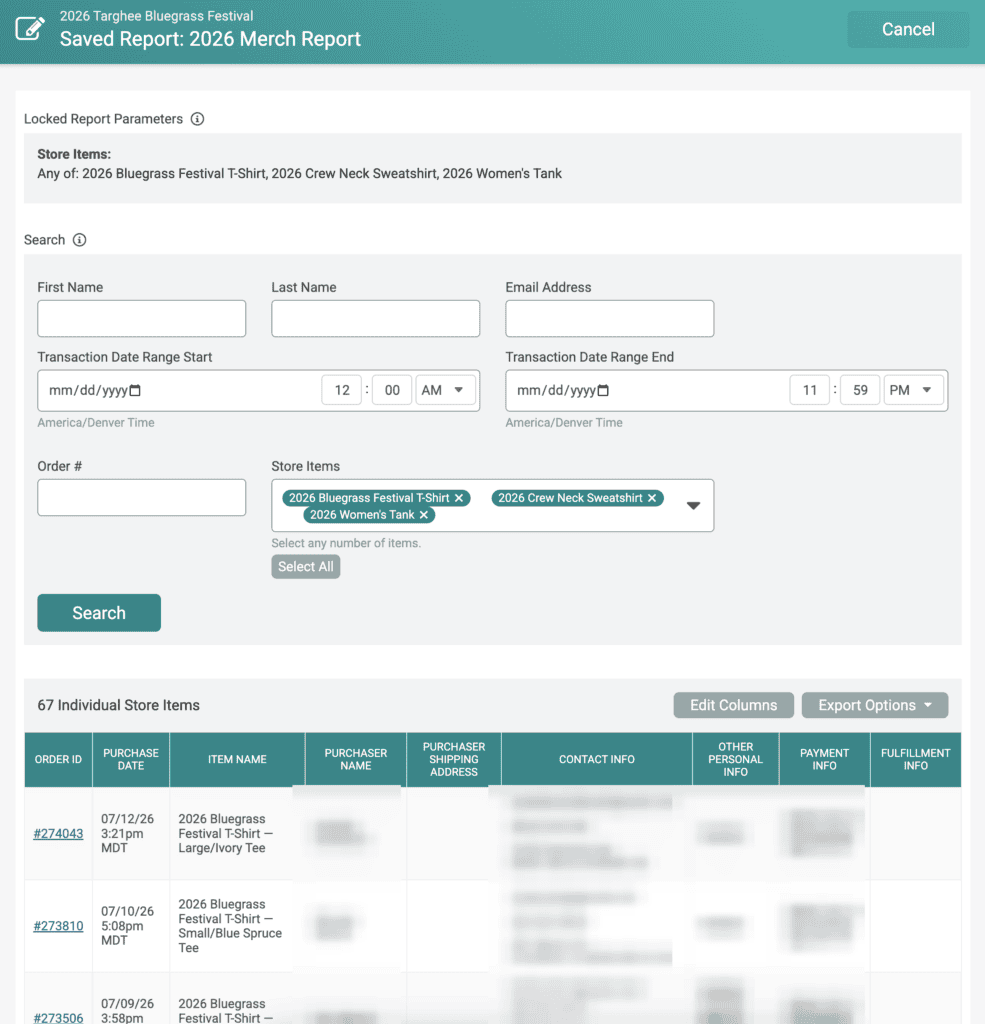
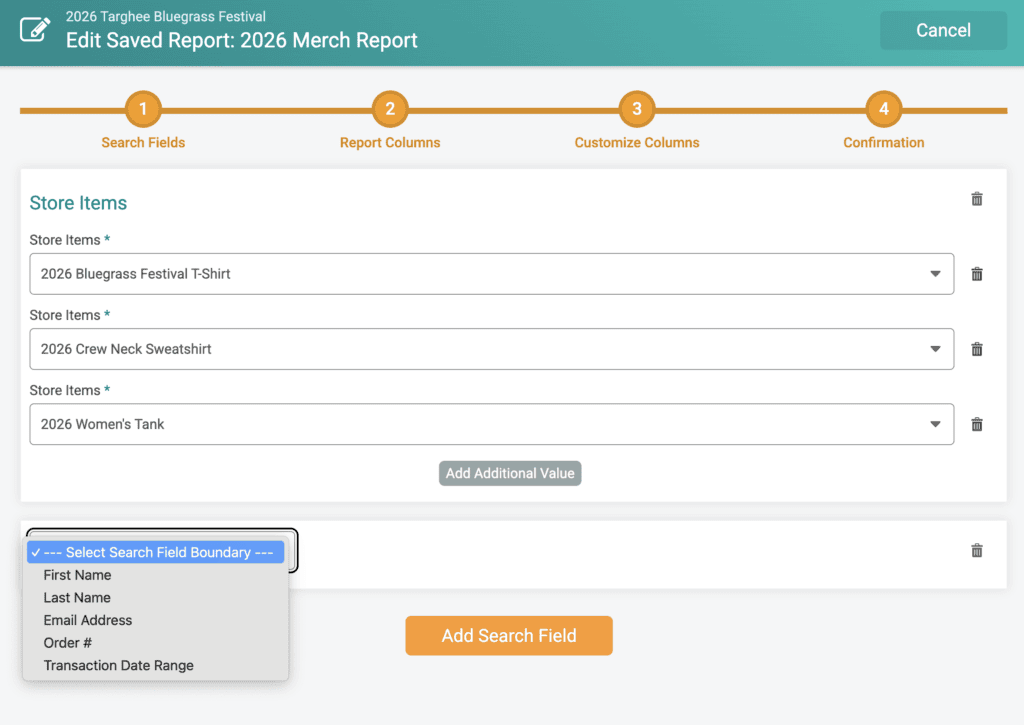
The first step of the Saved Reports wizard lets you define Search Fields. The most commonly used search fields are Store Items and Transaction Date Range. Once you add search fields, you can narrow down your report to certain store items or a specific date range, as shown in the example below.
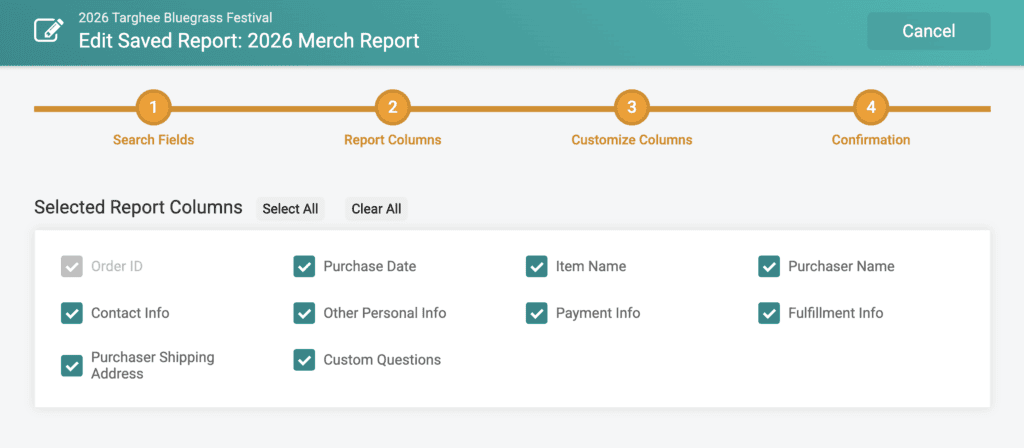
Next select report columns. For example, hide purchase date, payment info, contact info, and other personal info to generate a shipping report for certain items.
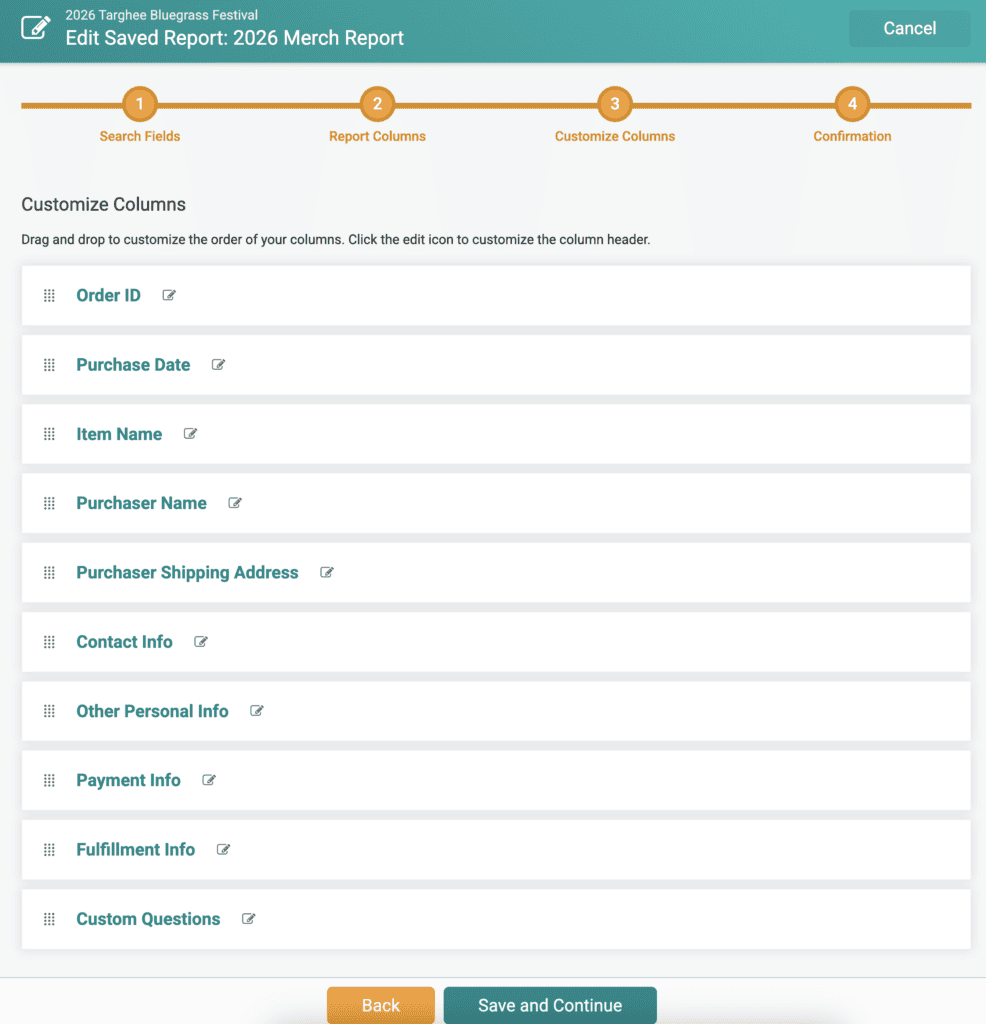
You can then rearrange data by dragging and dropping the columns. For example, show shipping address next to purchaser name.
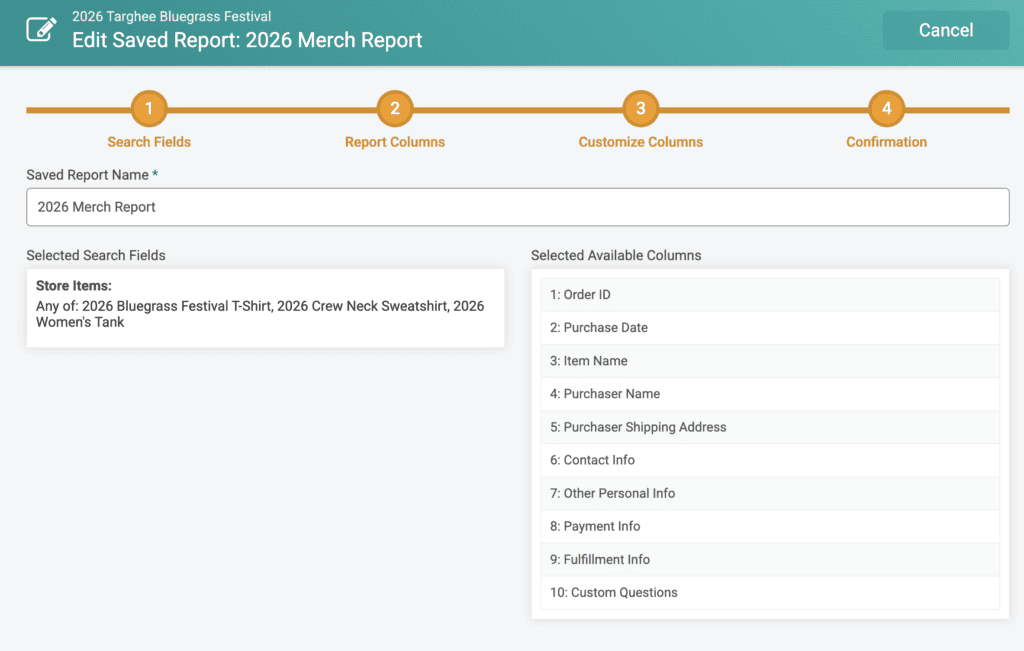
Give the report a clear name (like “2026 Merch Report”) and review your setup on the confirmation step.
Your saved reports live under the Saved Reports tab. Use the menu on any report to View, Edit, or Delete it.
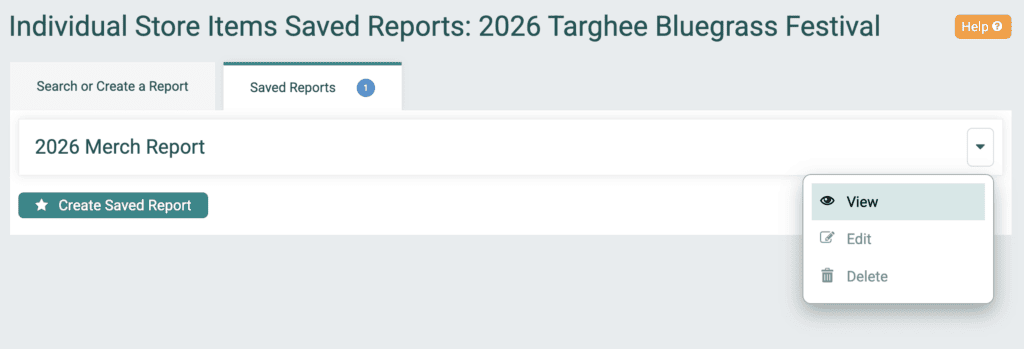
Open a saved report any time to see the current results with your locked-in parameters and columns already applied. You can still layer on additional search filters (name, date range, order number) without changing the saved setup.