
Some calendar-based events sell two ticket levels. Others sell twenty. Ticket Categories let you group your tickets into named sections in the purchase path, so attendees see a short, scannable list instead of one long scroll. This makes it easy and clean to sell several ticket types (i.e. General, VIP, Members) each with many price points (i.e. Adult, Teen, Child, Senior, Military).
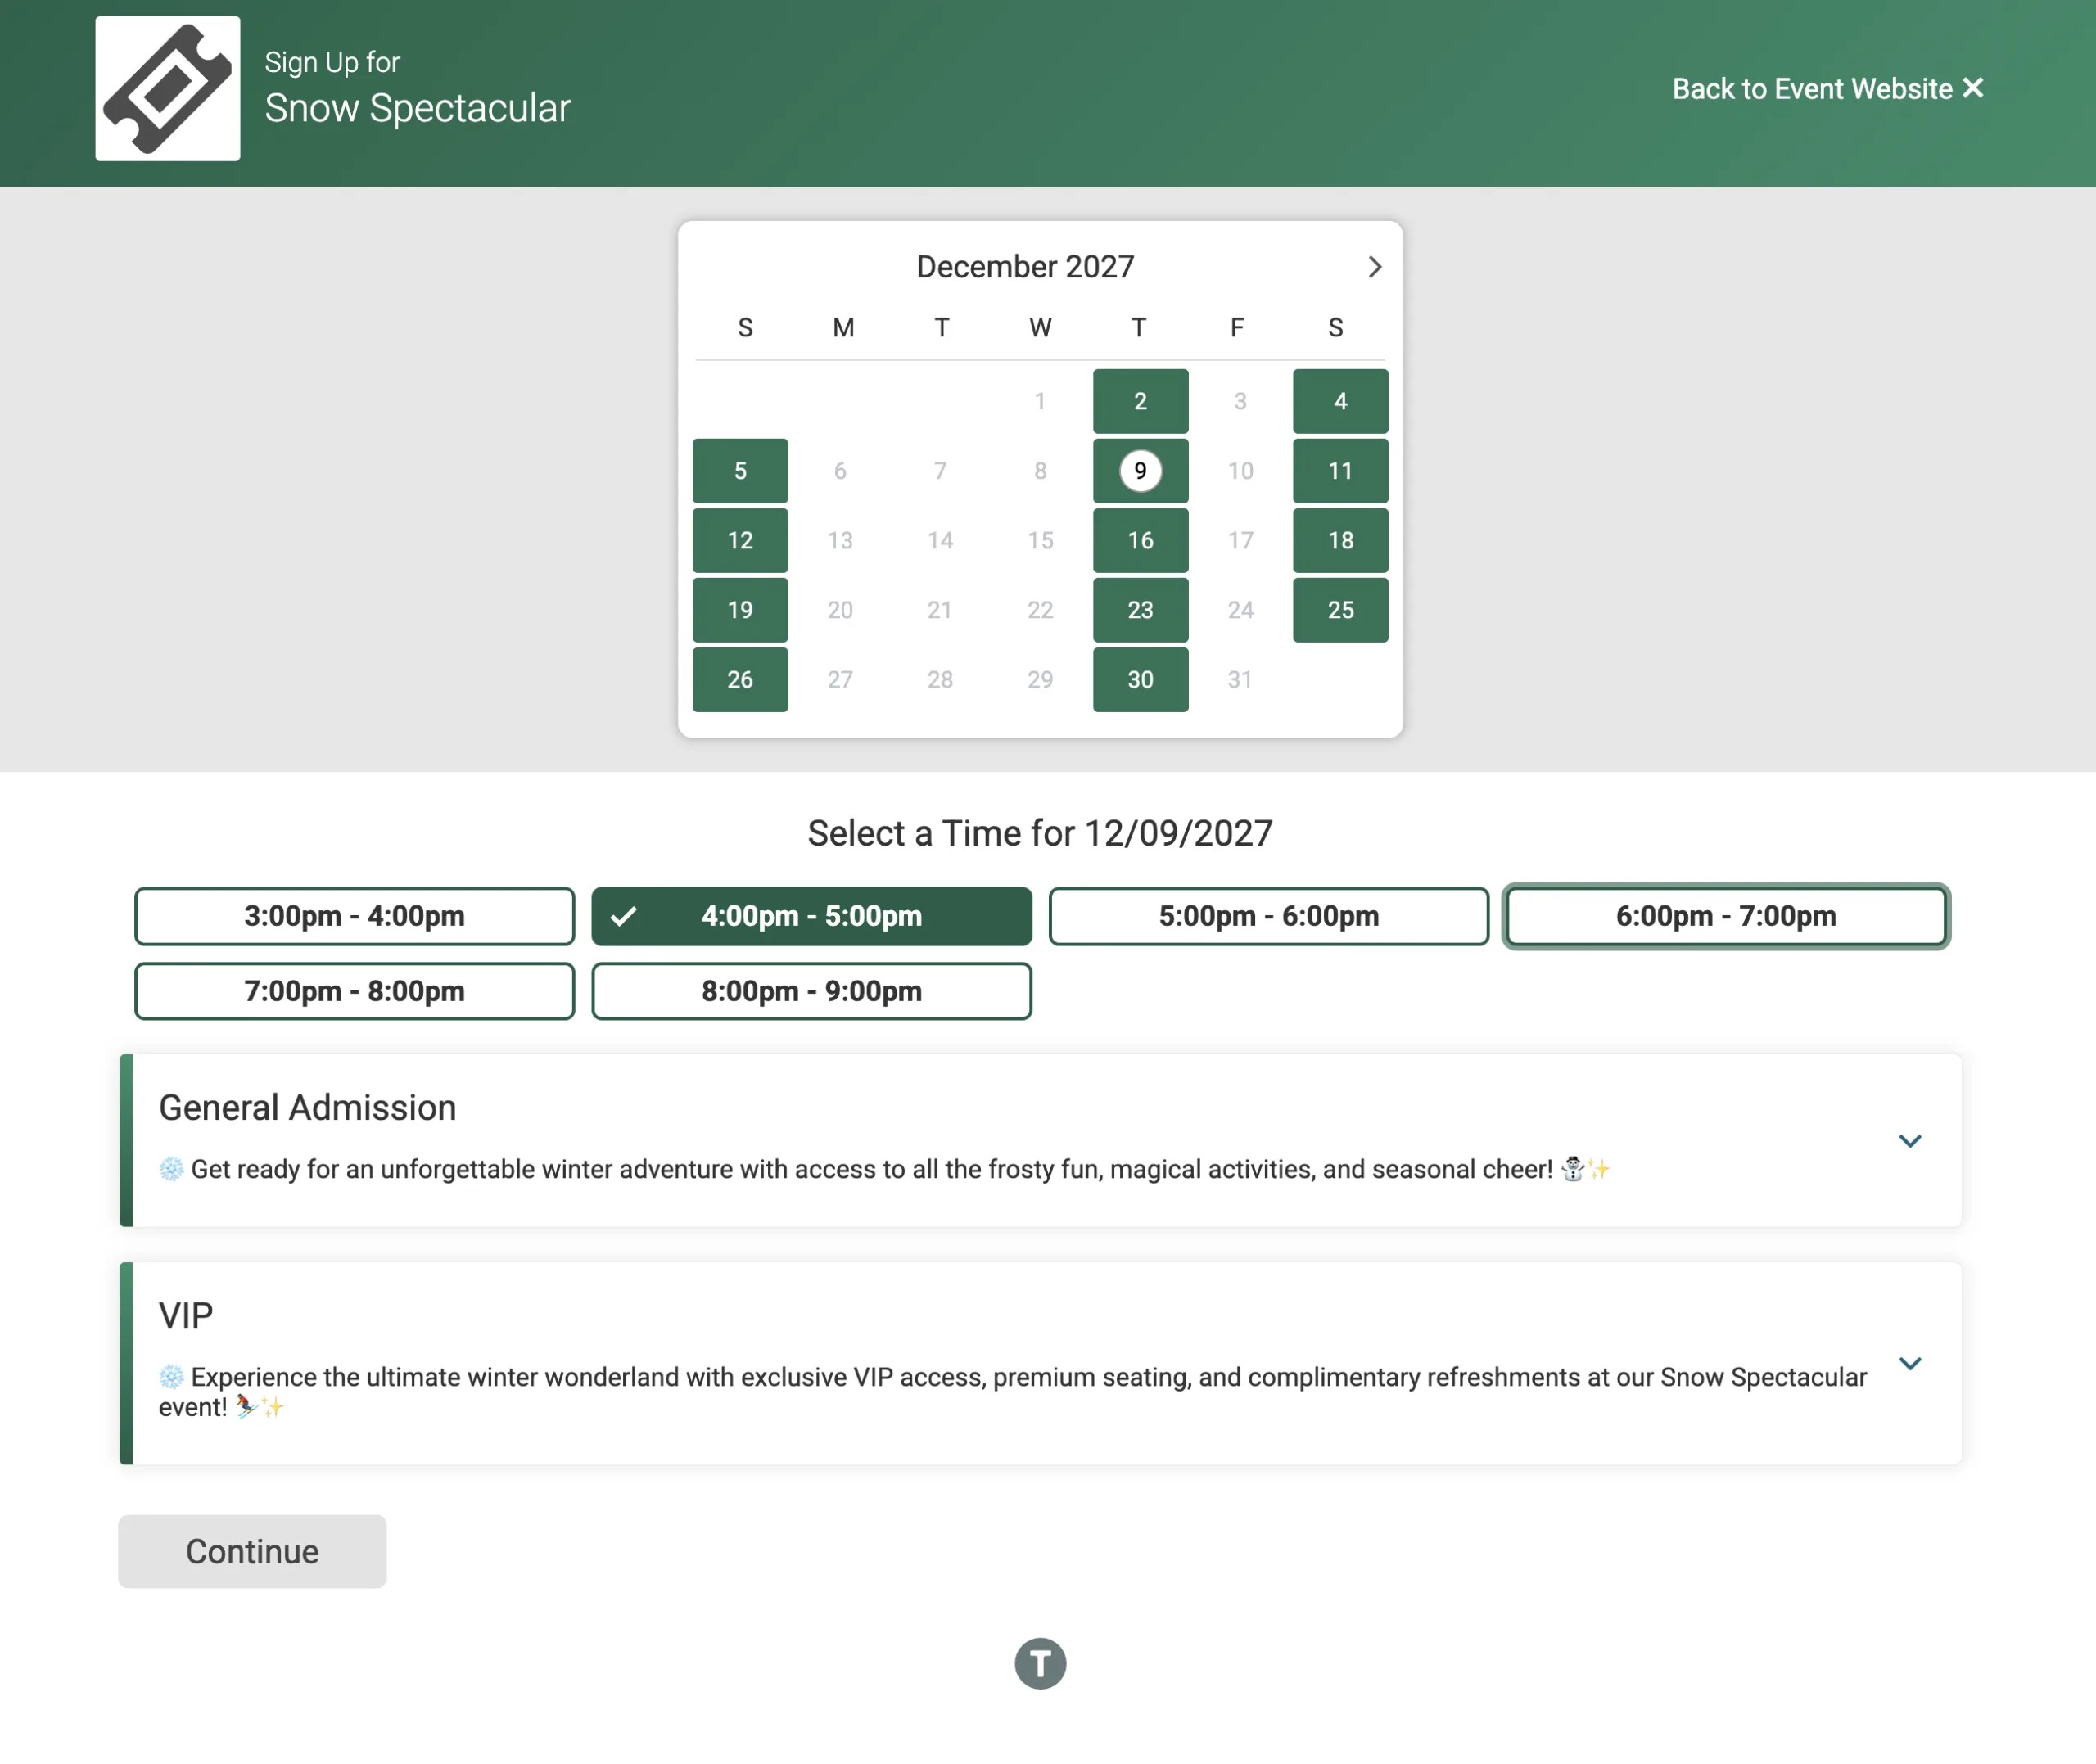
Group tickets the way your event thinks about them
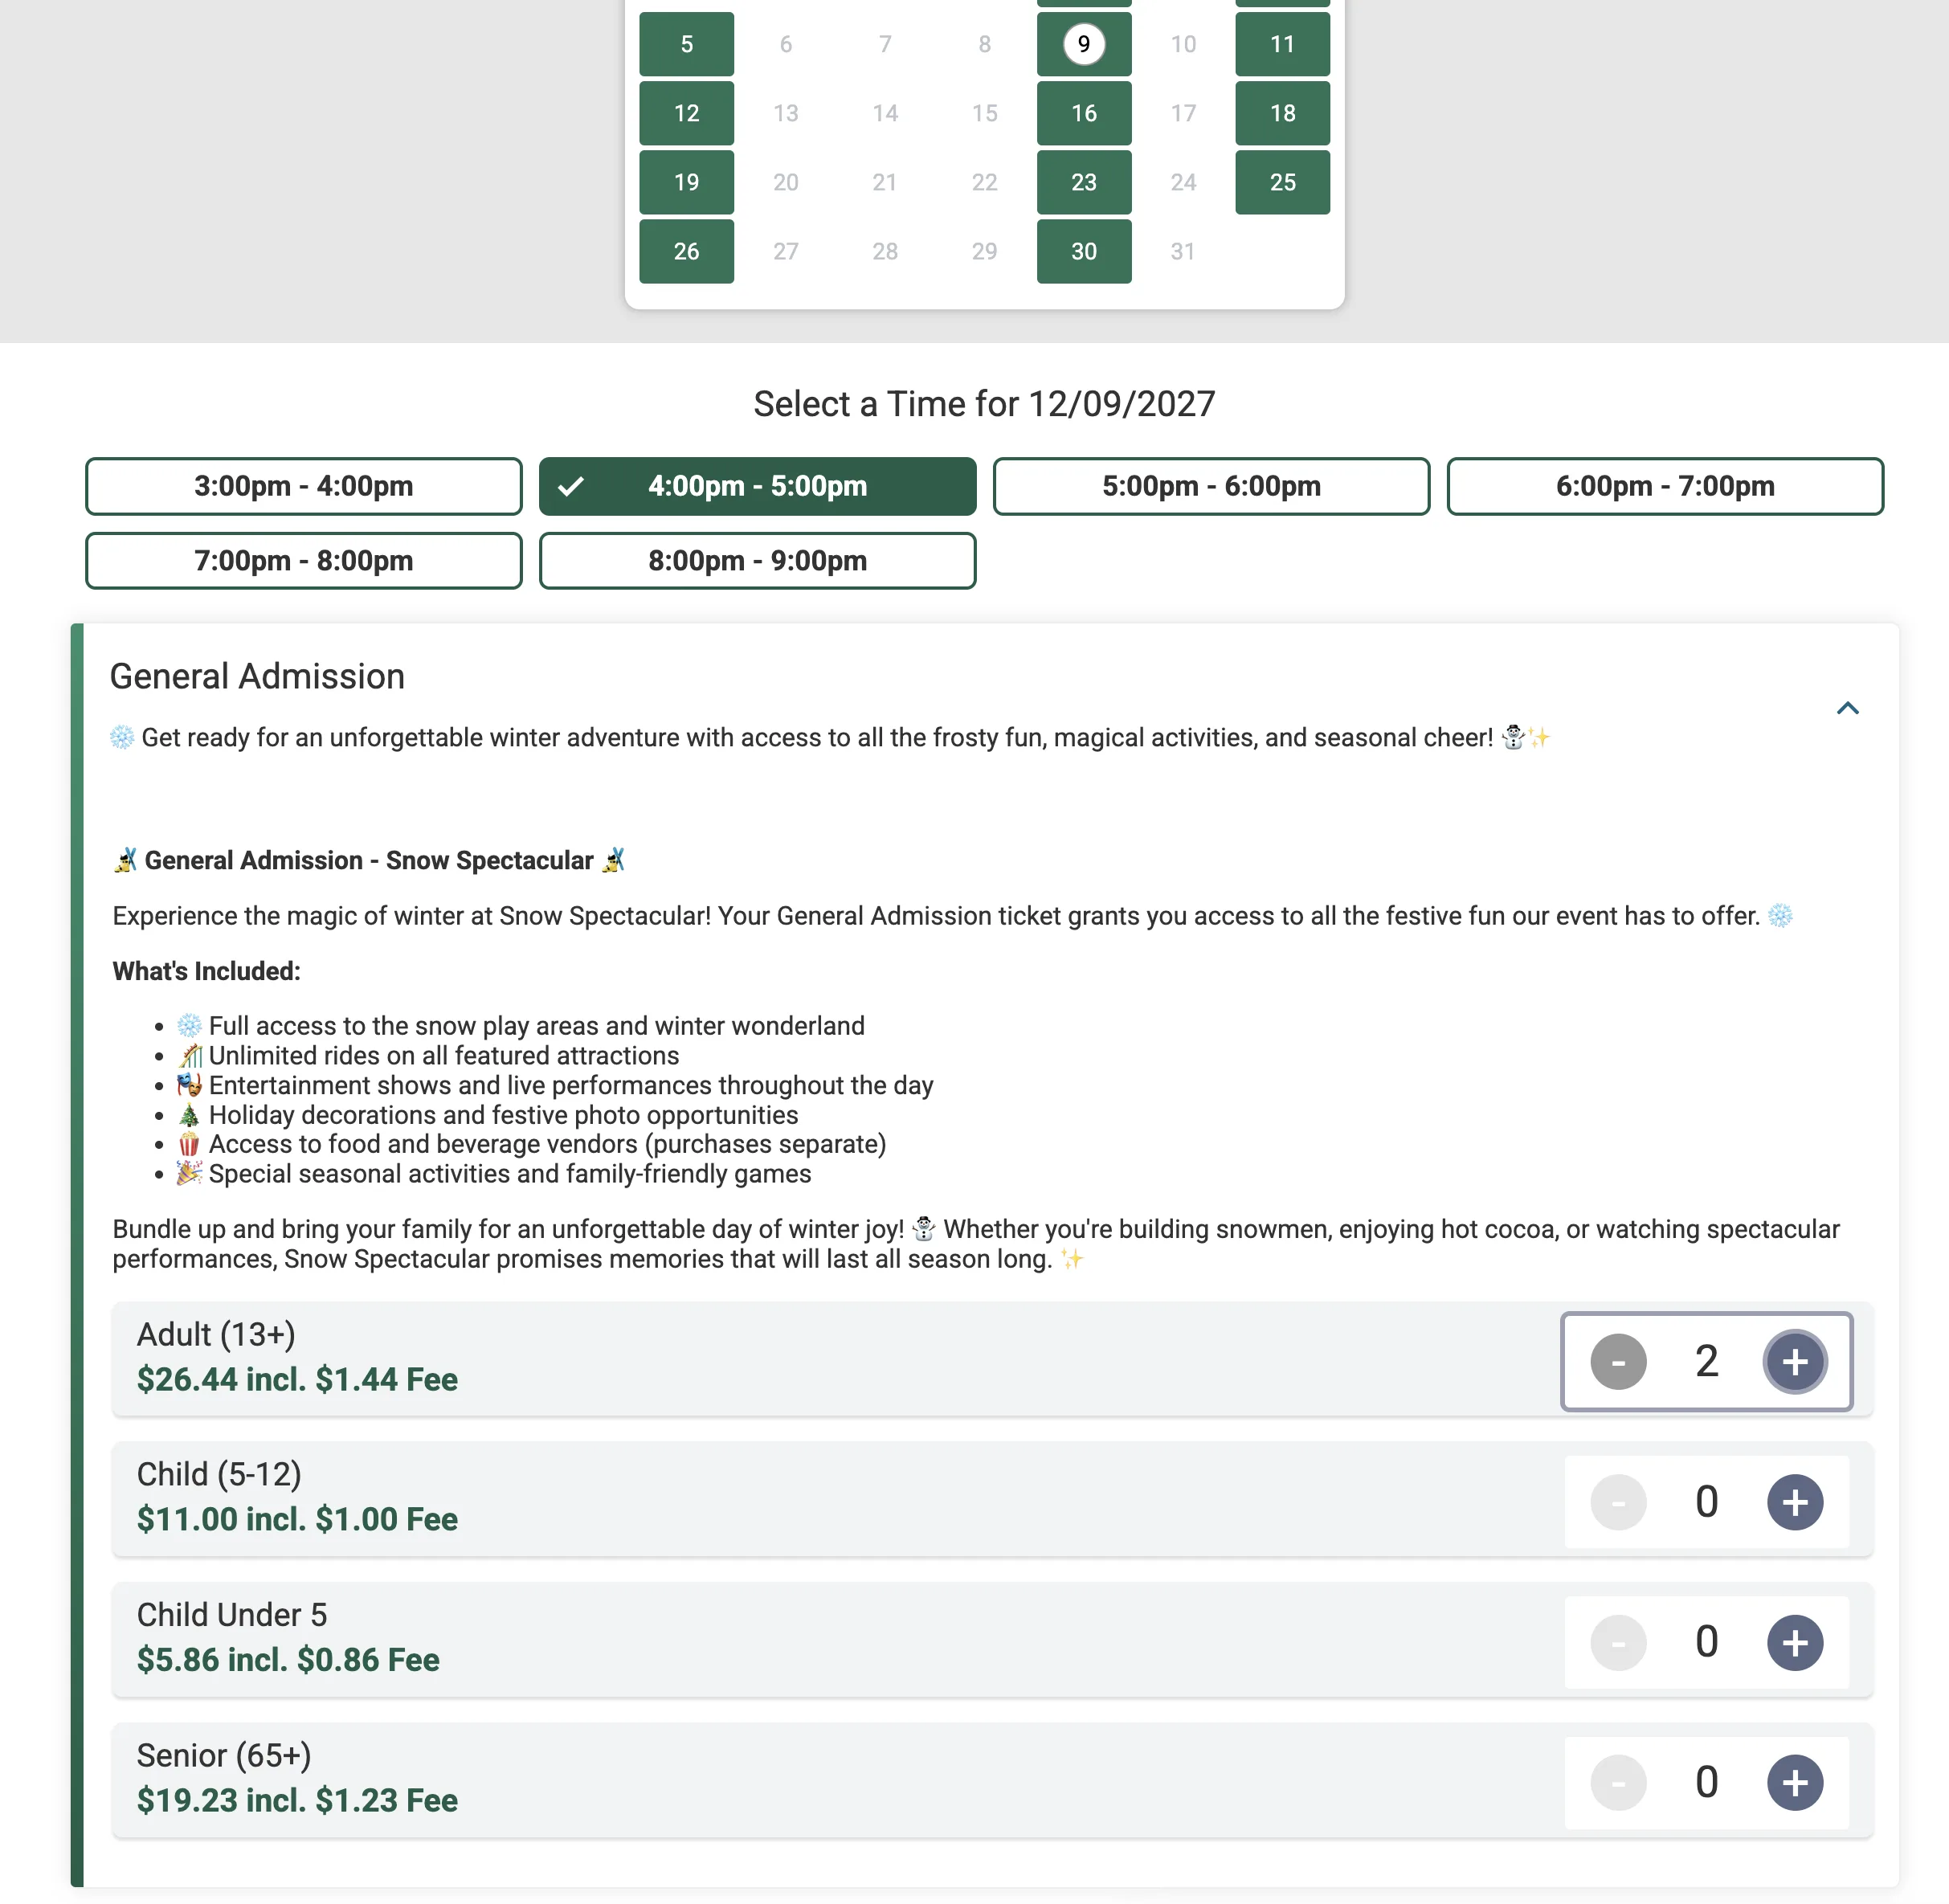
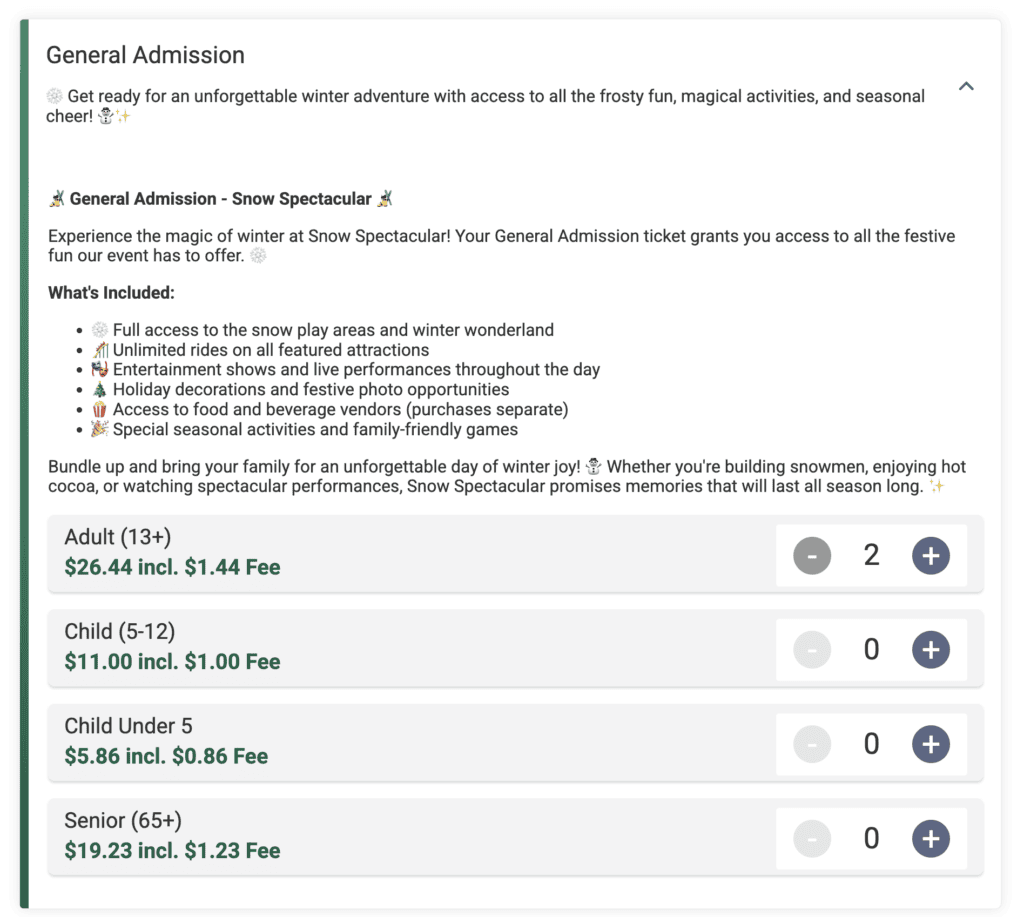
Create a category, give it a name, and assign ticket levels to it. Each category displays a short description in the collapsed view and a full description when an attendee expands it, with optional headings, bullets, and even emojis for the details that sell the ticket. Categories are flexible, so you can organize around whatever structure fits your event:
- By attraction or experience. Multi-attraction events can group ticket levels by what the attendee is actually buying access to.
- General Admission and VIP. Keep your standard tickets simple and give your premium tier room to sell itself.
- Member and non-member. Groups with member pricing can separate the two paths instead of mixing eight ticket levels into one list.
A cleaner purchase path for attendees
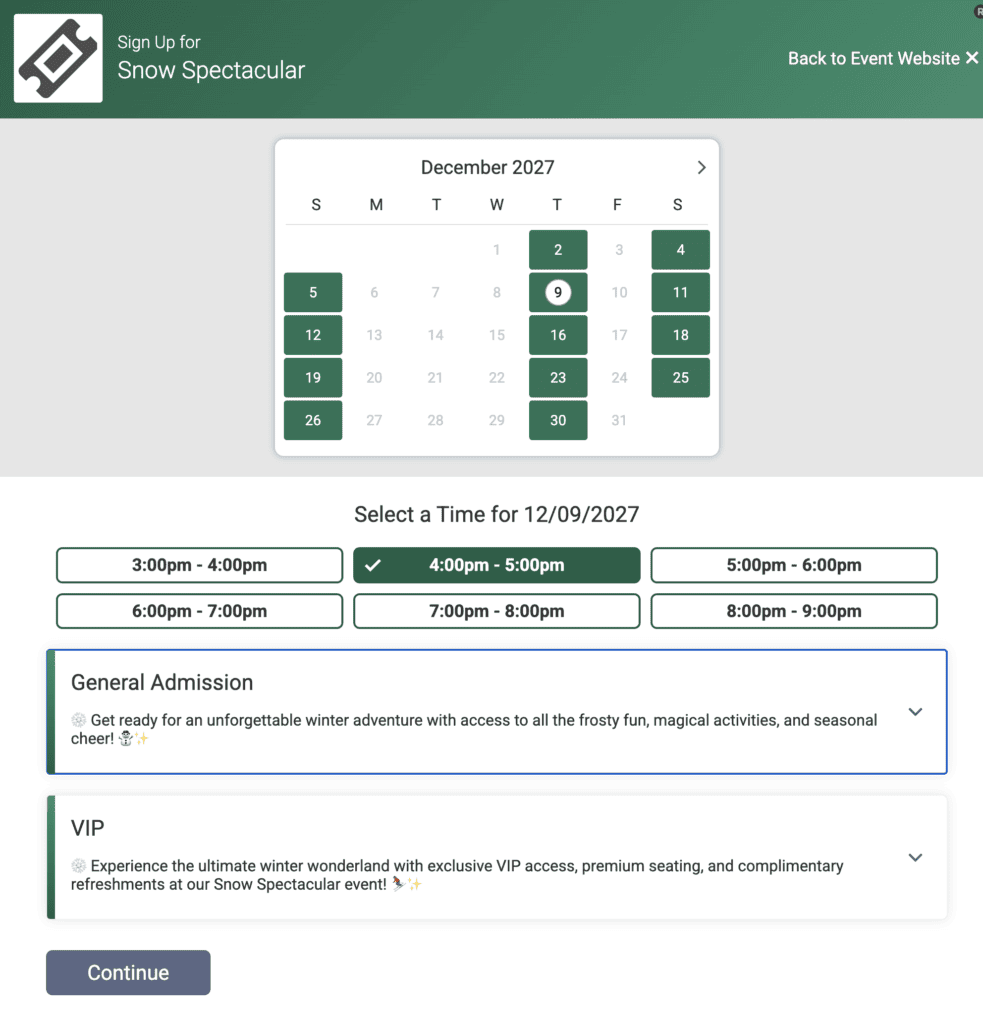
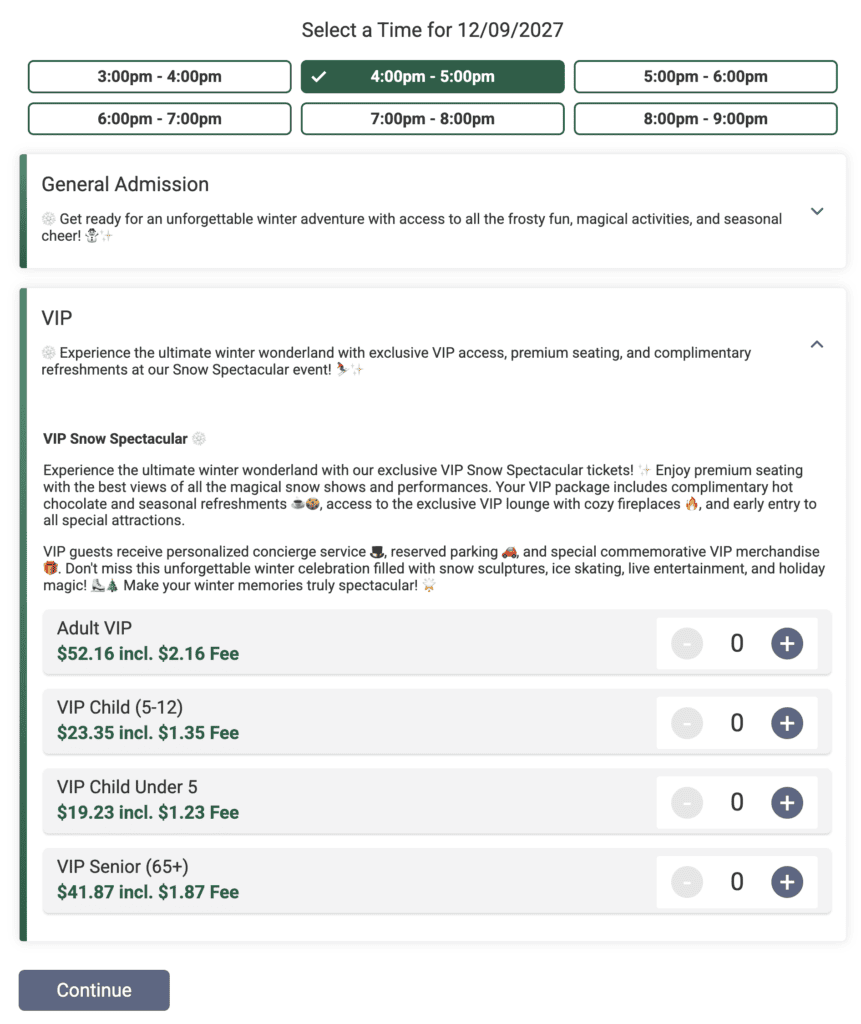
Categories collapse by default, or you can choose to always expand them. Attendees pick their date, pick their time slot, then see a tidy list of categories rather than every ticket level at once. They expand the one (or ones) that they want, choose quantities, and check out.
Pricing stays clear at the ticket level. Each ticket shows its price with the fee included, so attendees know the real cost before they hit the cart.
How to Set Up Ticket Categories for Calendar-Based Events
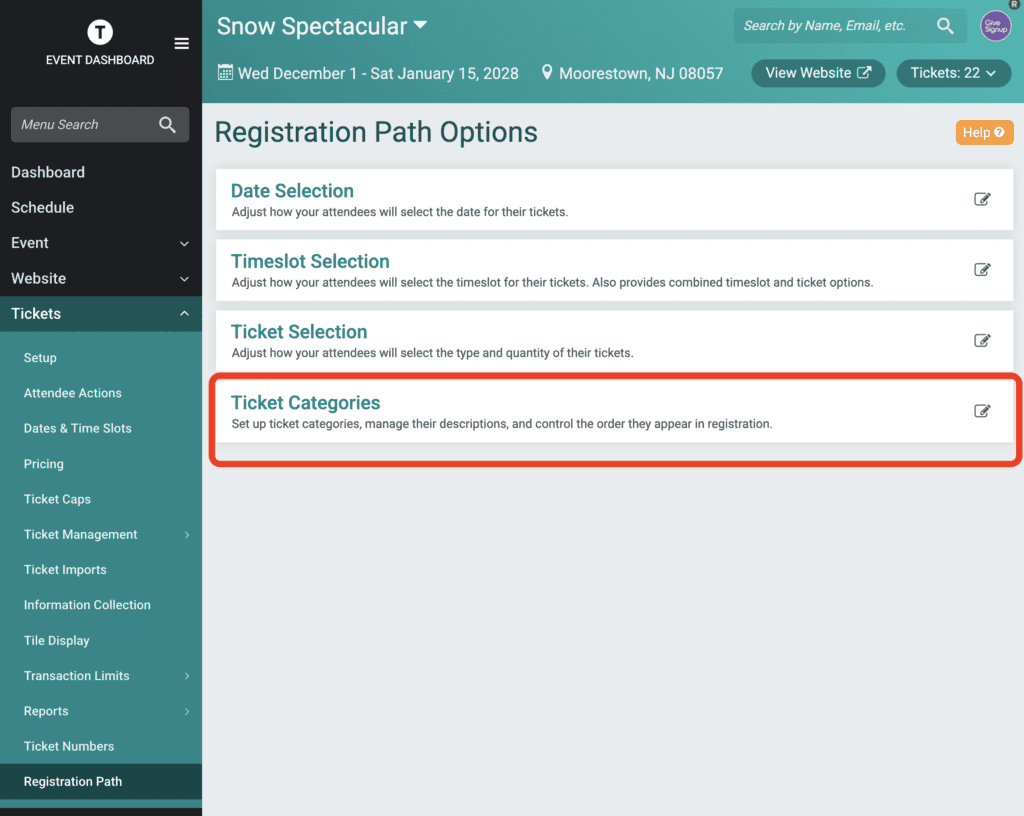
Go to Tickets >> Registration Path. There is a new option to customize your purchase path experience for attendees: Ticket Categories.
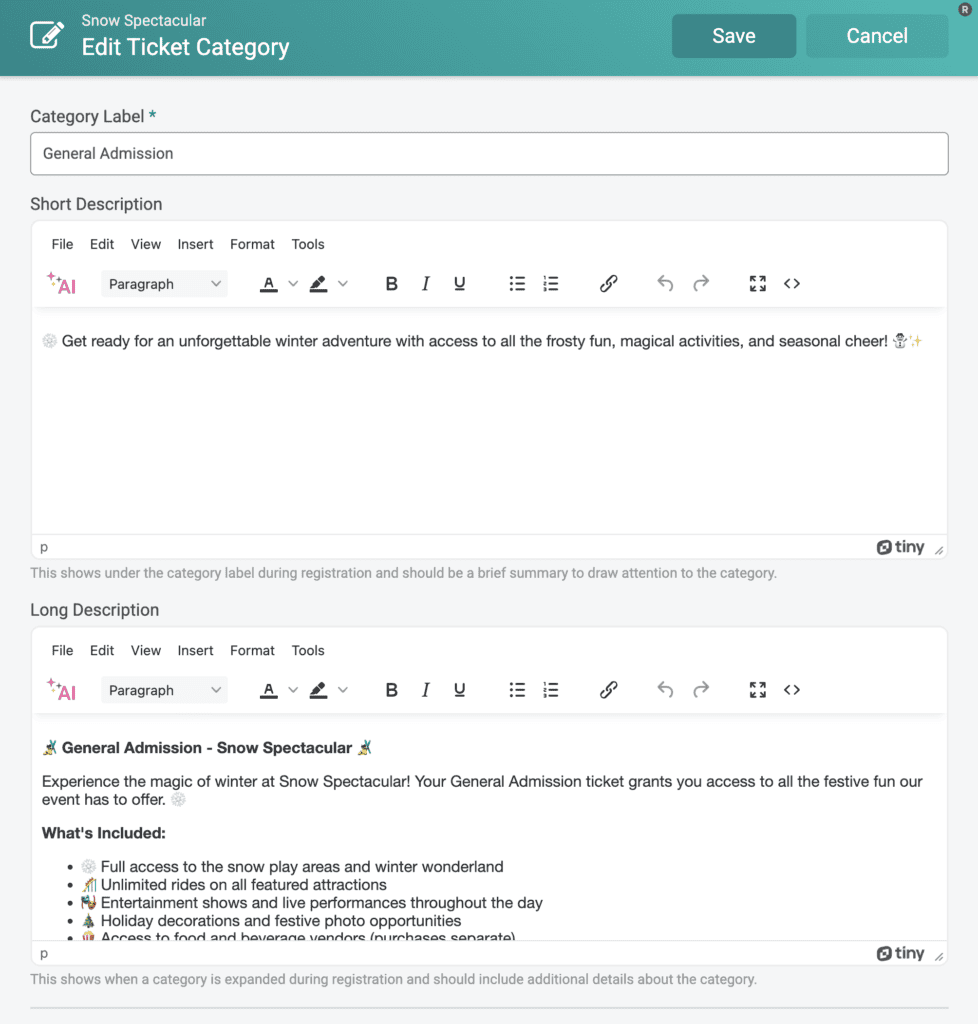
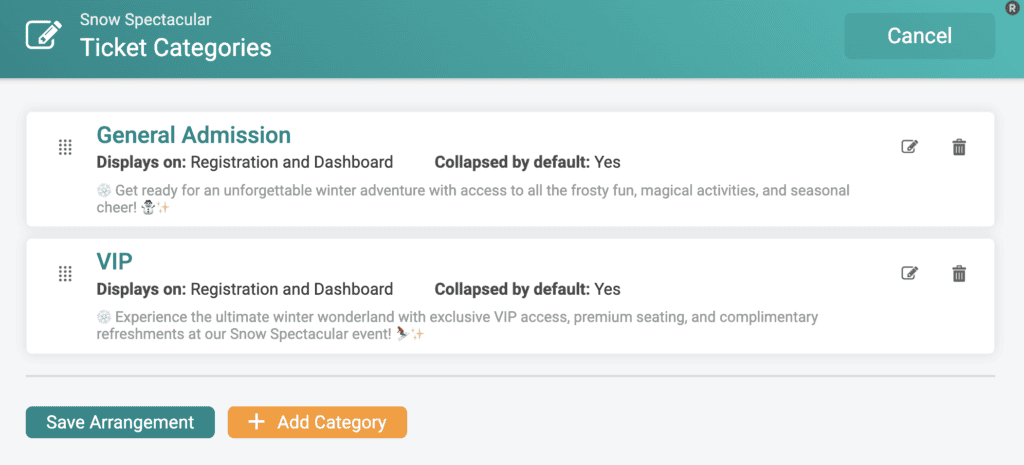
Click the Orange Category button to add a category. First enter a Category Label – this could be General Admission/VIP, Member Tickets, etc. Next, you can an optional short description, which displays under the heading, including when the category is collapsed, and an optional long description which shows above the ticket options when expanded.
Then configure the following:
- Display options: Collapse or always expand
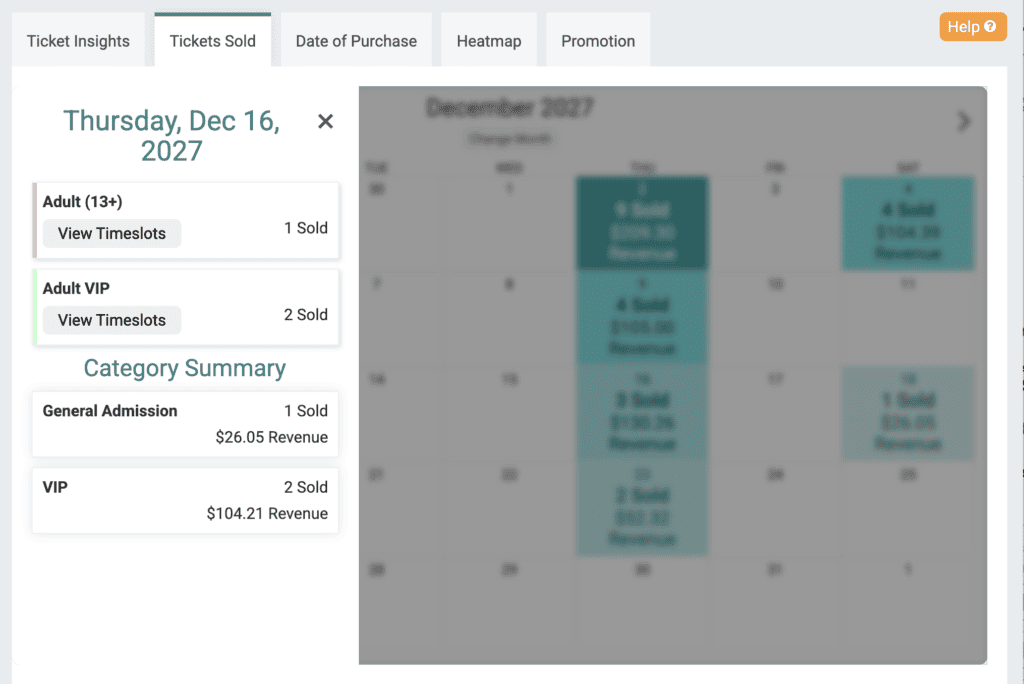
- Display location: While this first release focused on getting categories out for the purchase path, we will continue to add more reporting capabilities for categories. This can help events group and understand their ticket sales more easily when they have many options, including those that don’t want to group for purchasers but want to categorize for their own reporting. Right now, categories are visible on the Tickets Sold tab. We will add them to the Schedule view in the coming weeks.
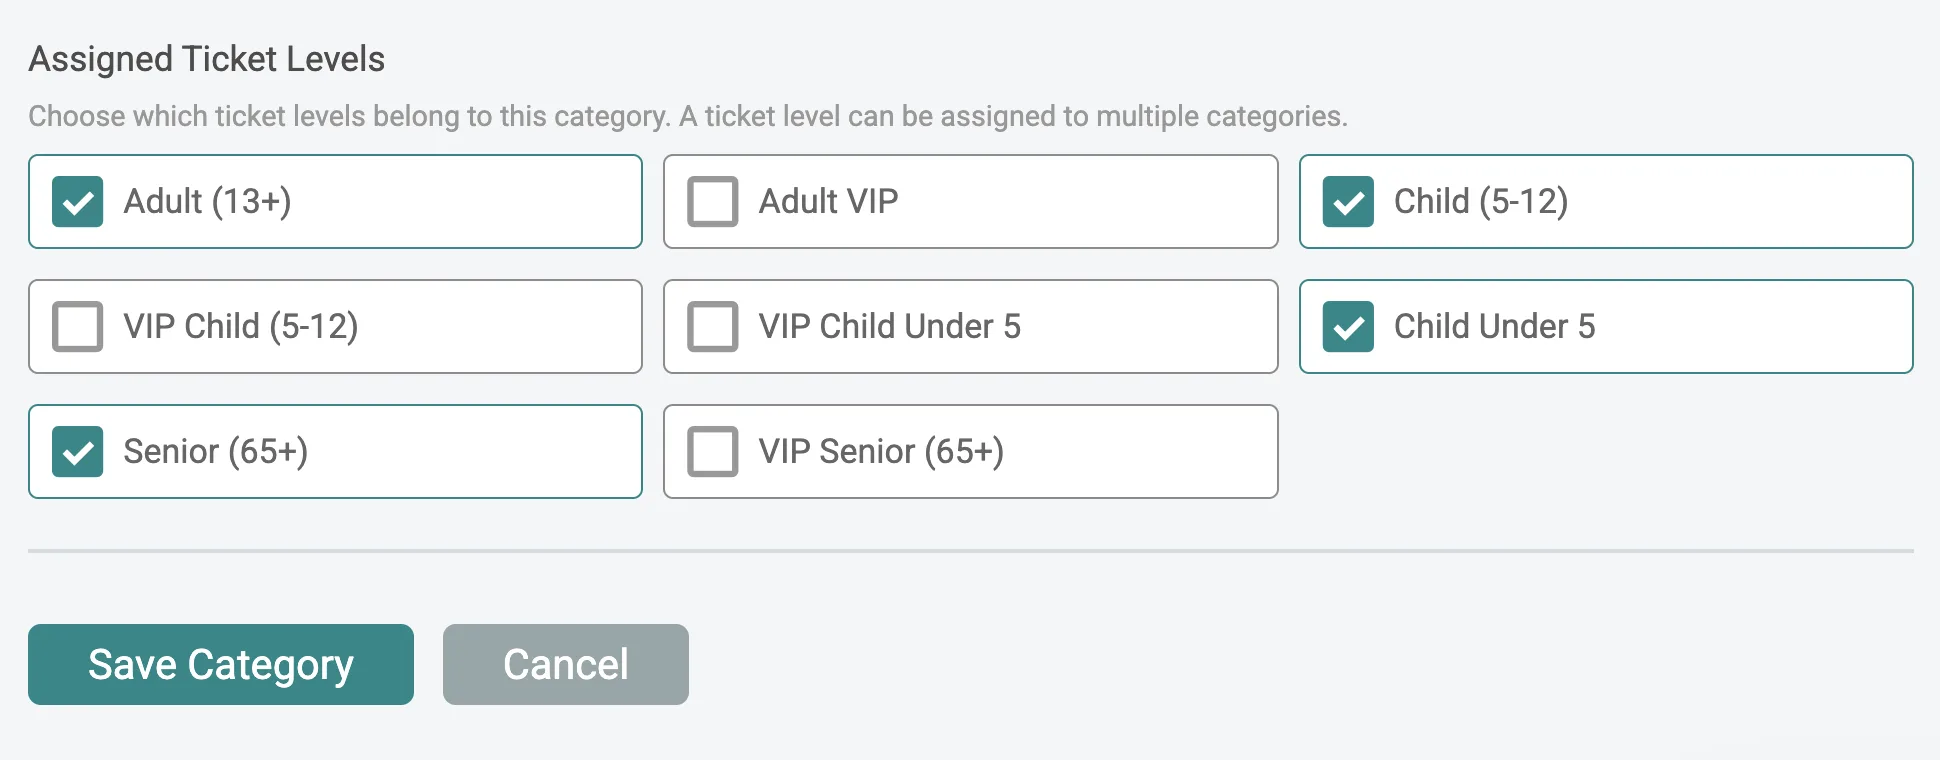
- Assigned Ticket Levels: Here is where you assign ticket levels to a category. Just select the ones that roll up to General Admission, VIP, Members, etc.
Once you are done with edits click Save Category. Categories are flexible and can be edited (or removed) at any point during ticket sales, just like all the other purchase path display options.
What’s next for Ticket Categories
This is the first release, and more is on the way:
- Category reporting. Category breakdowns are coming to more dashboard reporting and calendar views so you can track sales by group, not just by ticket level.
- Unique URLs per category. Link straight to a single category and hide the others in the purchase path, making it easy to send buyers to only your General Admission or only your VIP/Member options, whether from your event website or email.
- Member only tickets. Categories give us the display flexibility to support integrated member only tickets, which are in development now.