
TicketSignup event organizers now have the ability to transfer existing tickets to a different ticket (within the same ticket event) in two ways:
- Transfer as an administrator from your ticket event dashboard
- Allow ticket holders to transfer tickets on their own
These new features allow for powerful flexibility for your team and your guests. Ticket transfers also allow for 24/7 control for your attendees, real-time maintenance of the number of available tickets for sale, and a reduction in work for you and your team. It’s particularly useful for events featuring multiple ticket types, time periods, and dates, such as festivals, Halloween Haunts, and tours.
First we’ll cover how organizers can transfer tickets.
Administrative Transfers
1. Find the Ticket(s) you want to transfer
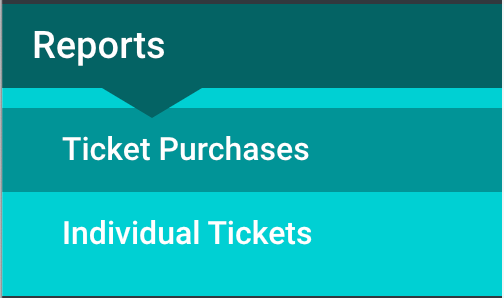
First, you will find the ticket you are looking to transfer by going to Reports >> Ticket Purchases or Individual Tickets if you have information collection for ticket holders turned on.
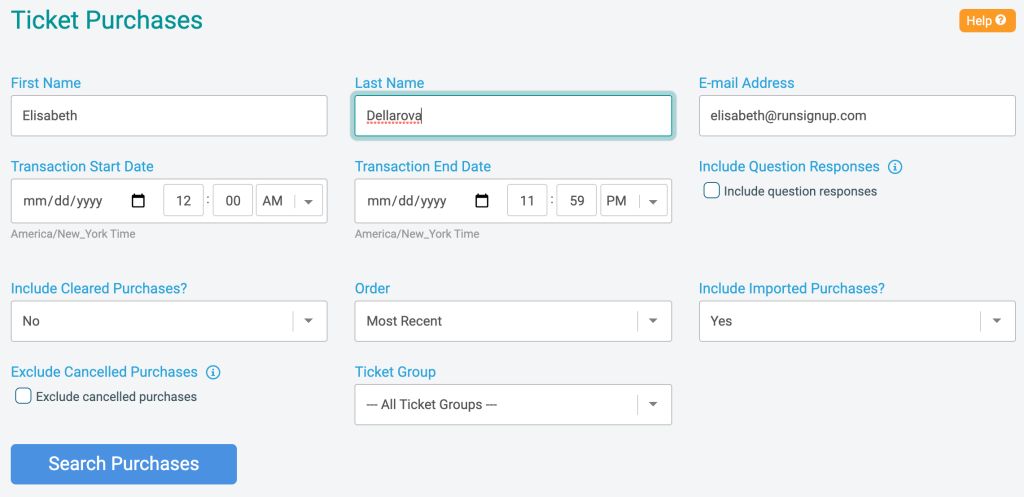
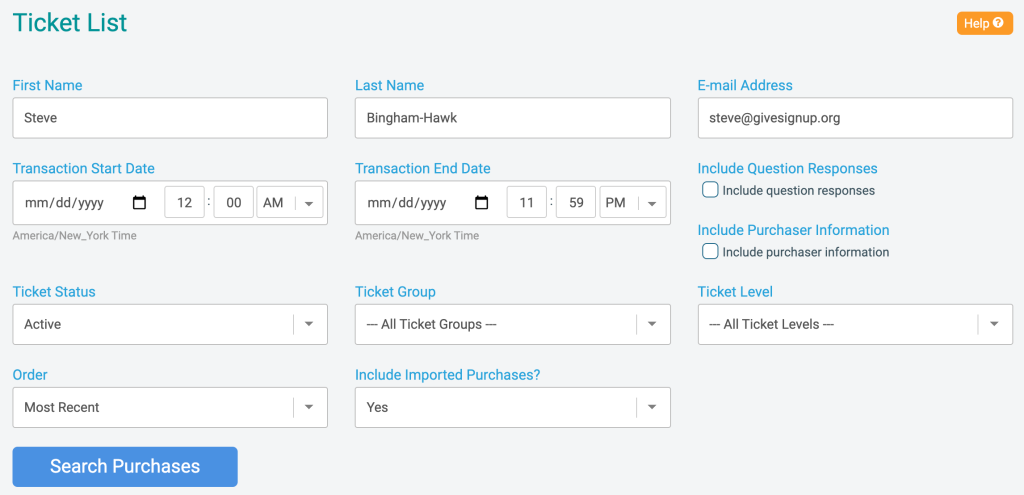
You can search by first name, last name, or email address and apply applicable filters if desired.
Search by Ticket Purchases
Search by Ticket Holders
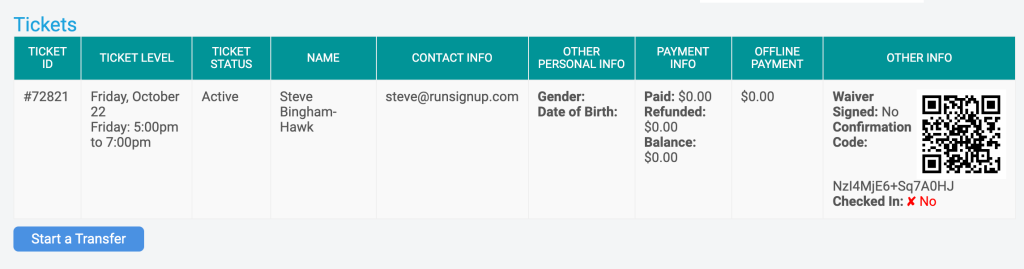
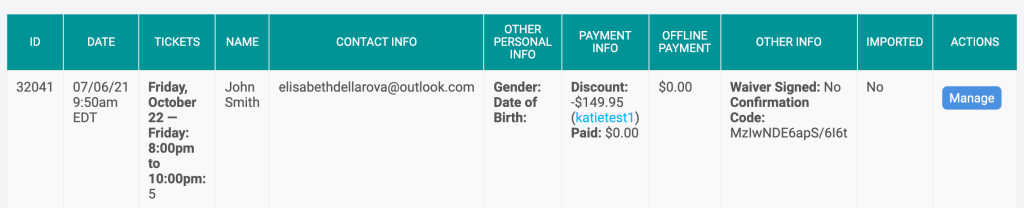
Once you have found the ticket or ticket purchase that includes the tickets(s) you want to transfer, click on the blue “Manage” button.

2. Start the Transfer
On the next screen, you’ll click on the blue “Start Transfer” button.
Special Note on Multiple-Ticket Purchases Note that if searching for a ticket purchase with multiple tickets bought, you will see one line with the blue “Manage” button as you do with single ticket purchases.
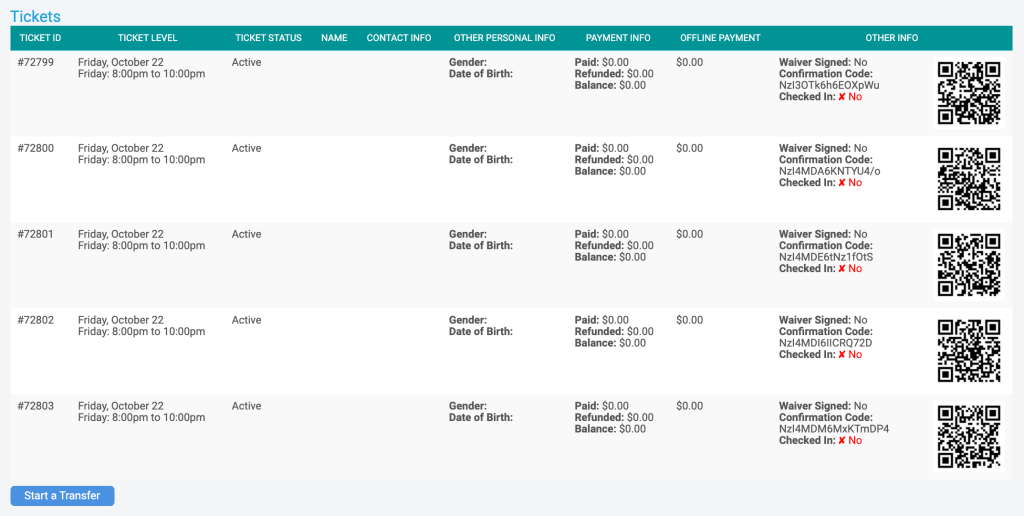
Multiple-Ticket Purchases continued… On the following screen, you will see all tickets bought under the one ticket purchase. Click on “Start Transfer.” As you’ll learn later in this blog, you will have the option to transfer one or multiple tickets in the same transaction.
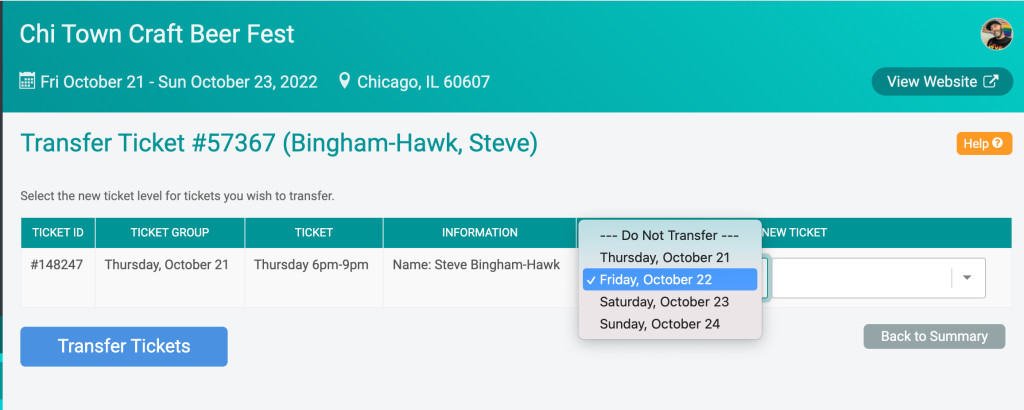
3. Select New Ticket Group and Ticket Level
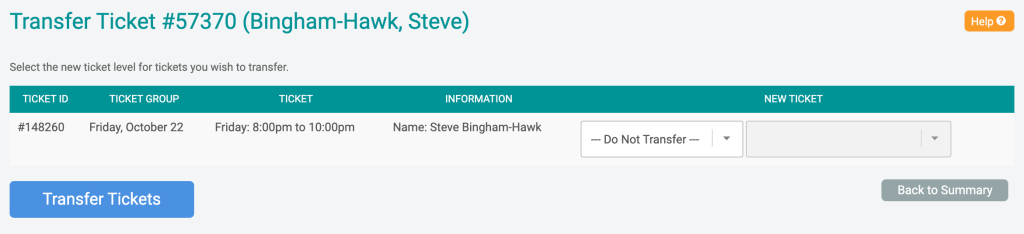
You will now see all tickets available to be transferred along with their current ticket group and ticket level. The default action is to “Do Not Transfer.” This means you won’t accidentally transfer a ticket you didn’t intend to – especially helpful when managing a multi-ticket ticket purchase.
Single Ticket
Multiple Tickets
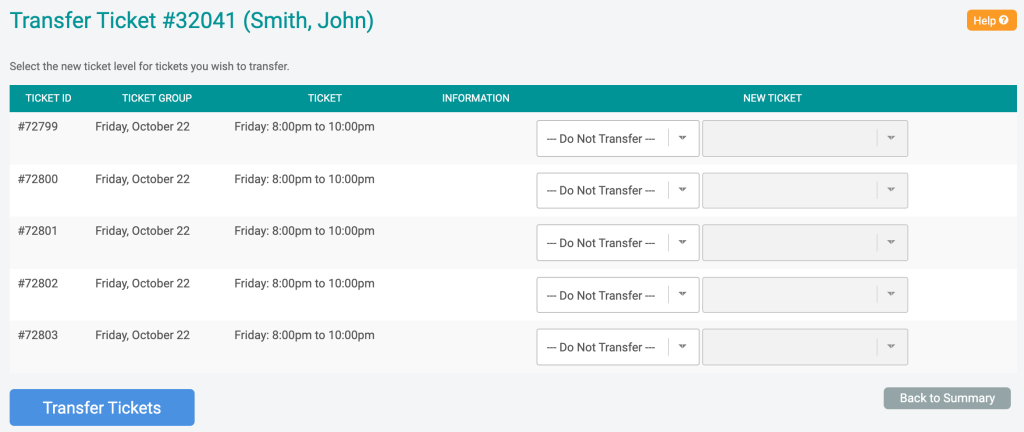
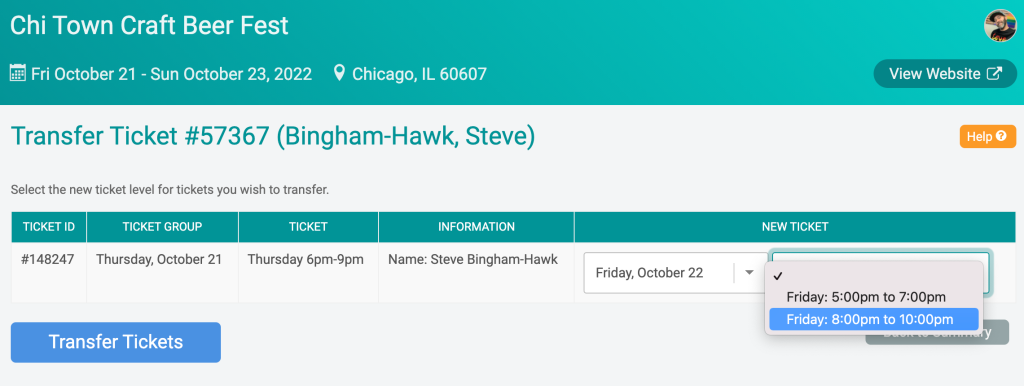
For each ticket being transferred, select the Ticket Group in the first drop-down menu.
The ticket level drop-down menu next to Ticket Group will automatically update with ticket level options only available under the Ticket Group selected. Smart!
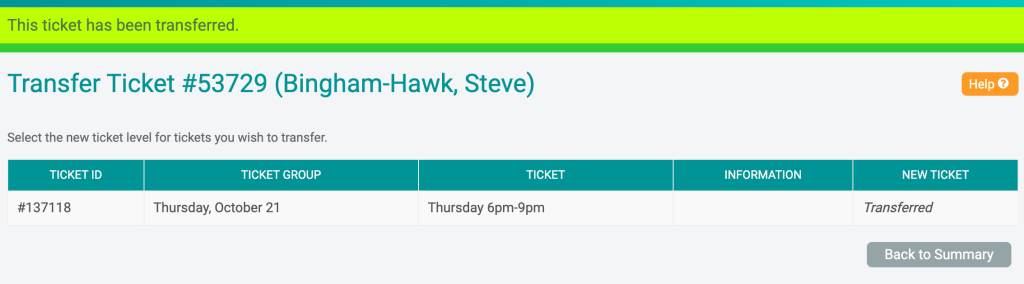
4. Complete the Transfer
Click “Transfer Tickets” to complete the transfer. A message will display confirming the transfer was successful.
Self-Service Transfers for Ticket Purchasers and Ticket Holders
You also have the option to empower your ticket purchasers and ticket holders with the ability to transfer their own tickets. The benefits of self-service transfers are that they give 24/7 control to your guests, allow your number of available tickets to stay updated in real time, and eliminate work for you and your team.
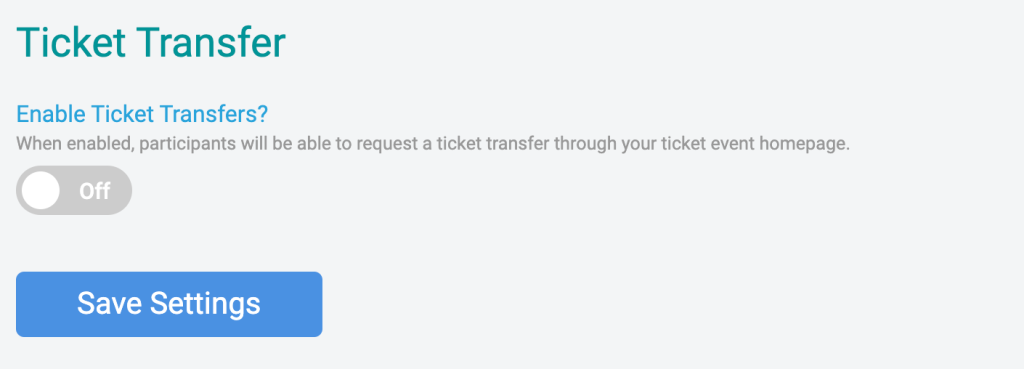
1. Turn On Participant Transfers
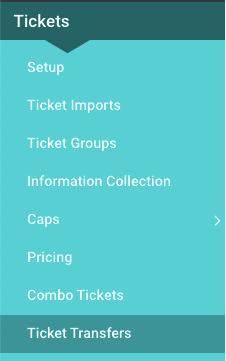
To enable self-service transfers, you will need to configure your participant transfer settings. From your TicketSignup event dashboard, go to Tickets >> Ticket Transfers.
On the next screen, you’ll see the option to toggle on the ticket transfers feature.
2. Configure Your Transfer Settings
Once you toggle on the button, you will have the chance to configure settings to fit your event’s needs. You will be able to:
- Set the final date that self-service transfer are allowed (“Cutoff Time”)
- Charge a flat fee per transfer (“Ticket Transfer Fee”)
- Override or follow ticket capacity rules (“Ticket Transfer Capacity Options”)
- Charge the difference between the old and new ticket prices (“Ticket Transfer Pricing Options”)
Note that refunds are not available for tickets being transferred to lower-priced tickets.

Once you are happy with your custom configuration, click “Save Settings.” You’ll see a message confirming the successful completion of enabling self-serve participant transfers.
3. How Your Guests Transfer Their Own Ticket(s)
Step 1: Use the confirmation email’s custom URL to manage the ticket(s).
From the ticket confirmation email, guests will click on “Manage Tickets.”
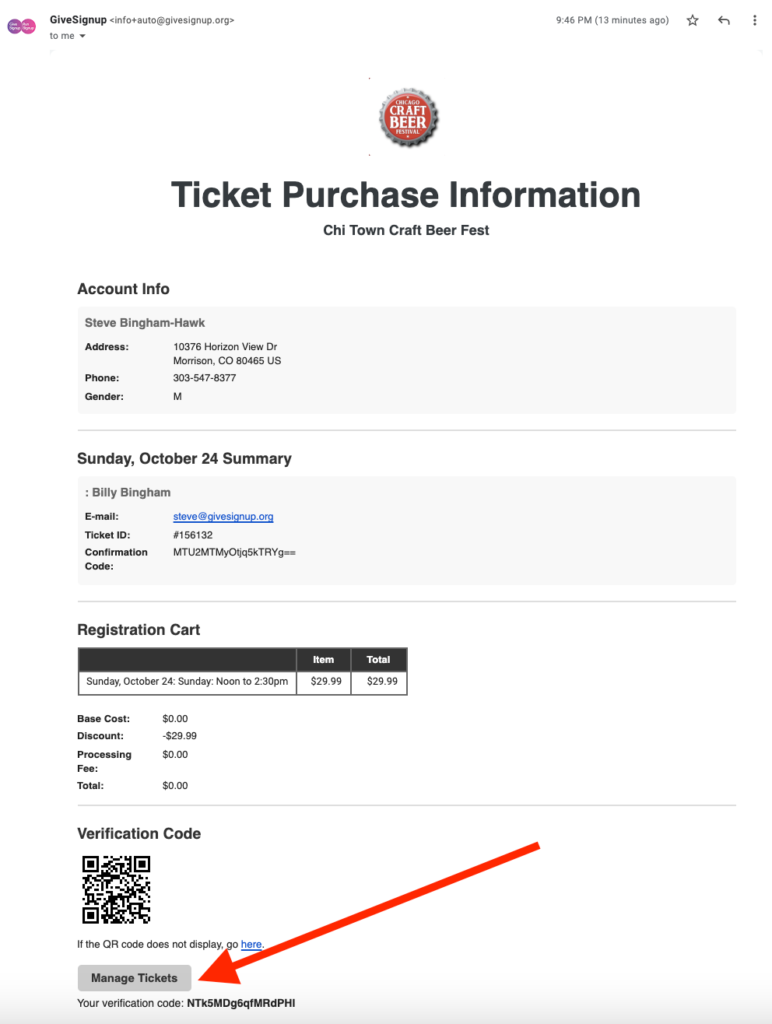

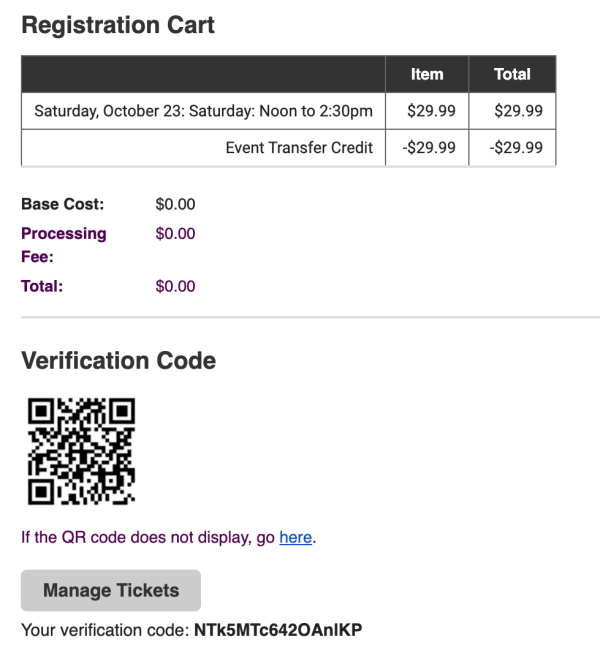
They will be taken to a link where the verification code provide in the confirmation email (noted in the screenshot above) will need to be entered. Then, click “Verify Access.”
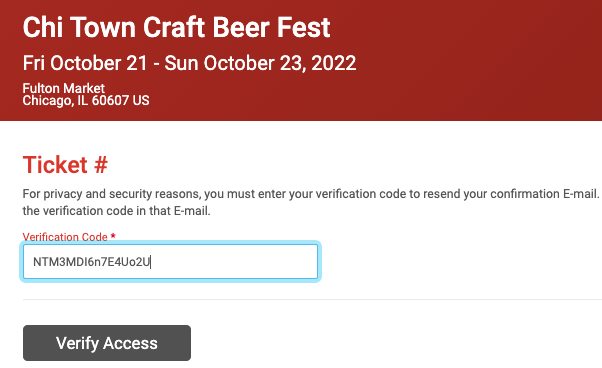
The ticket(s) will then appear after a successful submission of the verification code.
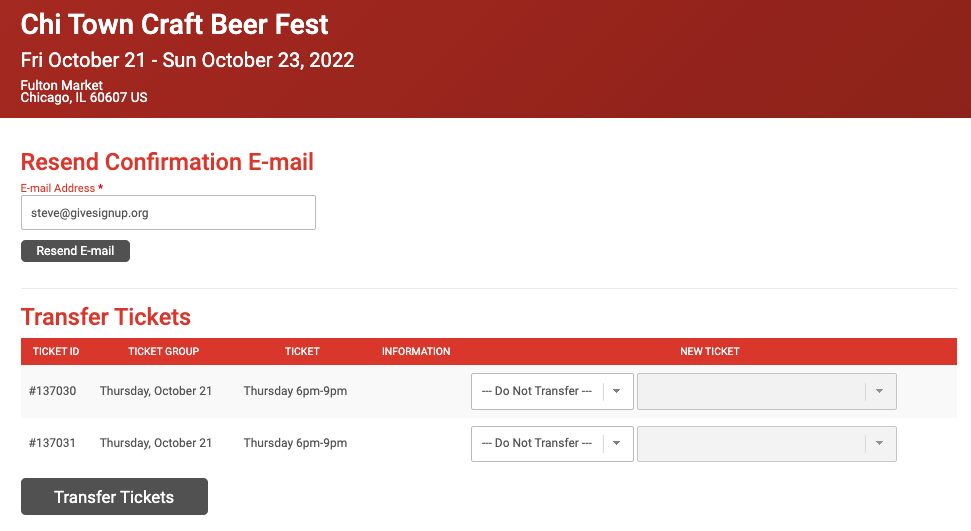
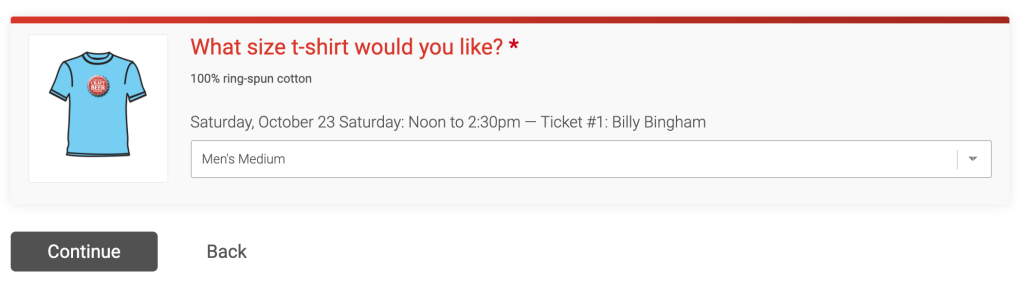
Step 2: Select the New Ticket
From the drop-down menus, change the ticket group (in the example below, the ticket groups are the days of the event) and the ticket level (in this case, the tasting period for the chosen day). Once the options are selected, click on “Transfer Tickets.”

Step 3: Verify Ticket Holder Information
The next screen will ask you to verify the details of the ticket holder.
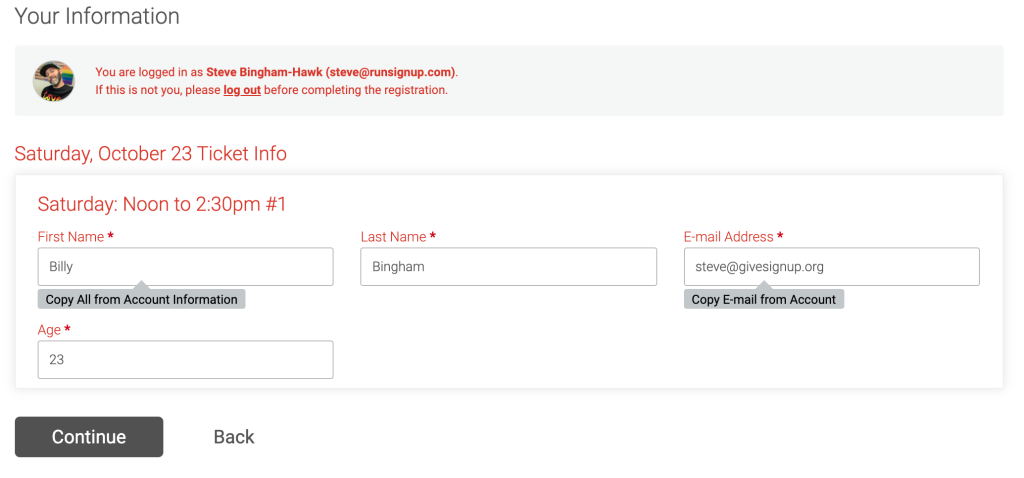
Custom questions will be shown to verify details.
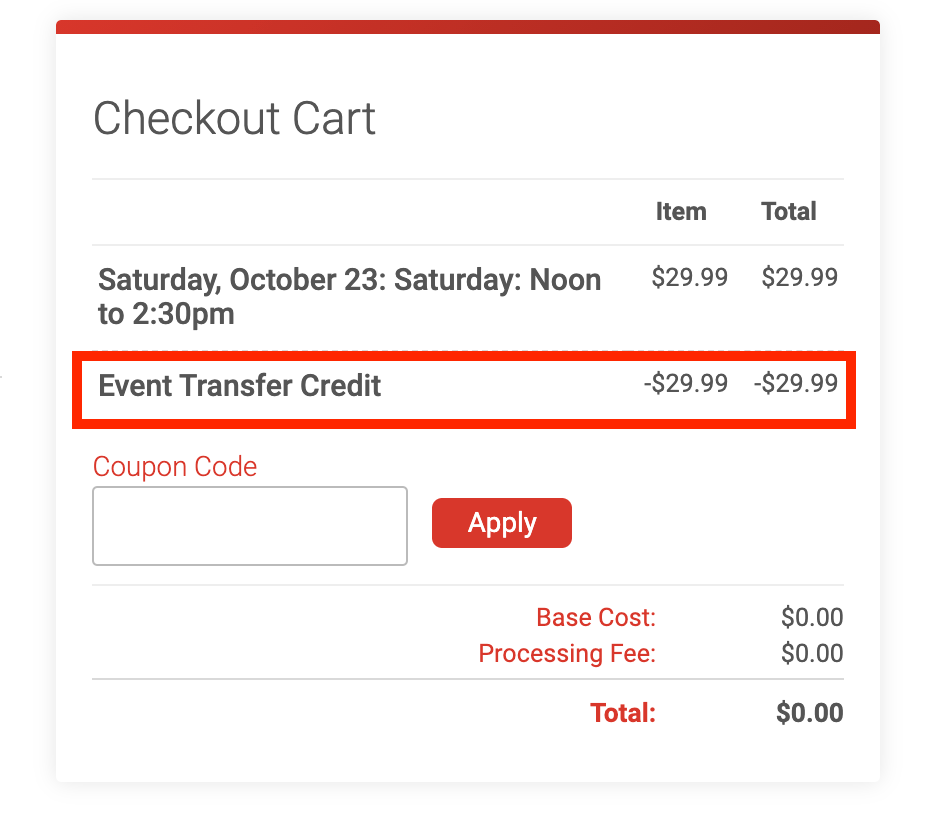
On the checkout screen, you will notice that an event transfer credit has been applied according to the settings added during the participant transfer set-up.
A confirmation email with the details of the new ticket transferred to will automatically be sent to the ticket holder. The registration cart showing the event transfer credit will be included in the confirmation email.
Reporting for Ticket Transfers
Search for and Find Transferred Tickets
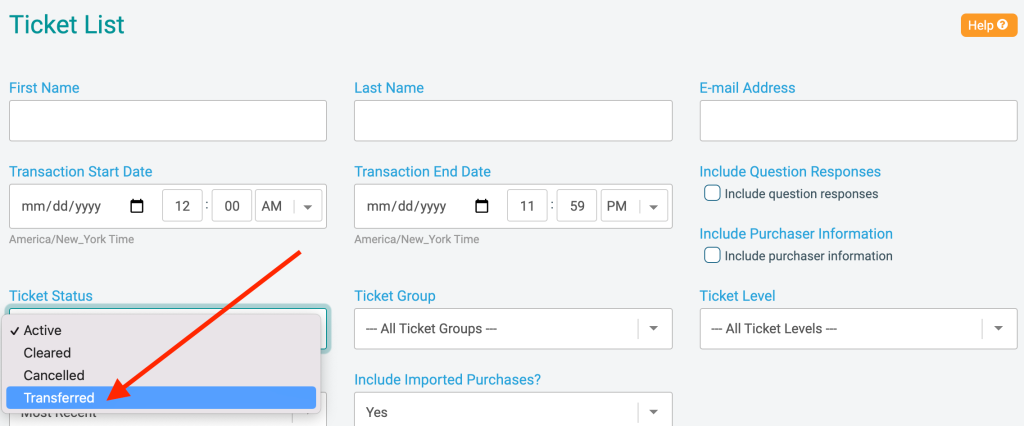
You can find tickets that have been transferred by running a report under Reports >> Ticket Purchases or Reports >> Individual Tickets with the status set to “Transferred.”
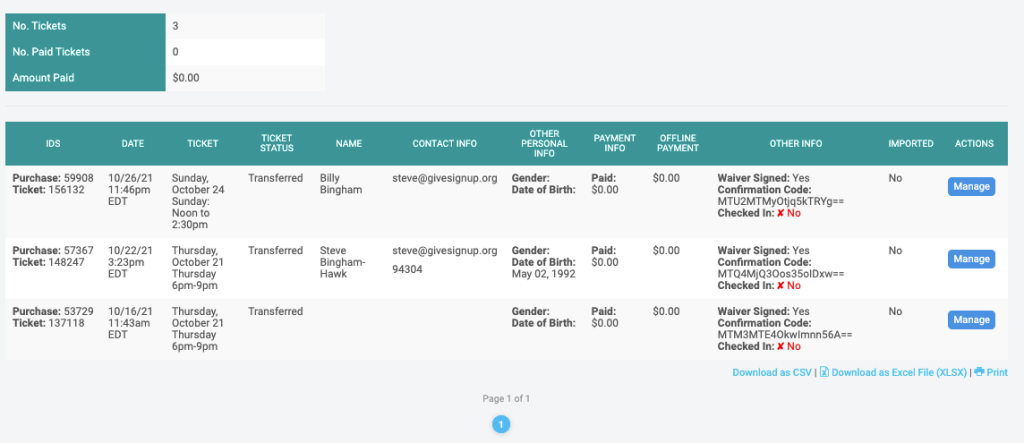
From the results returned, you can view a summary and count of transferred tickets, manage a specific ticket, and export the data in csv or excel formats.
Locate the Original Ticket
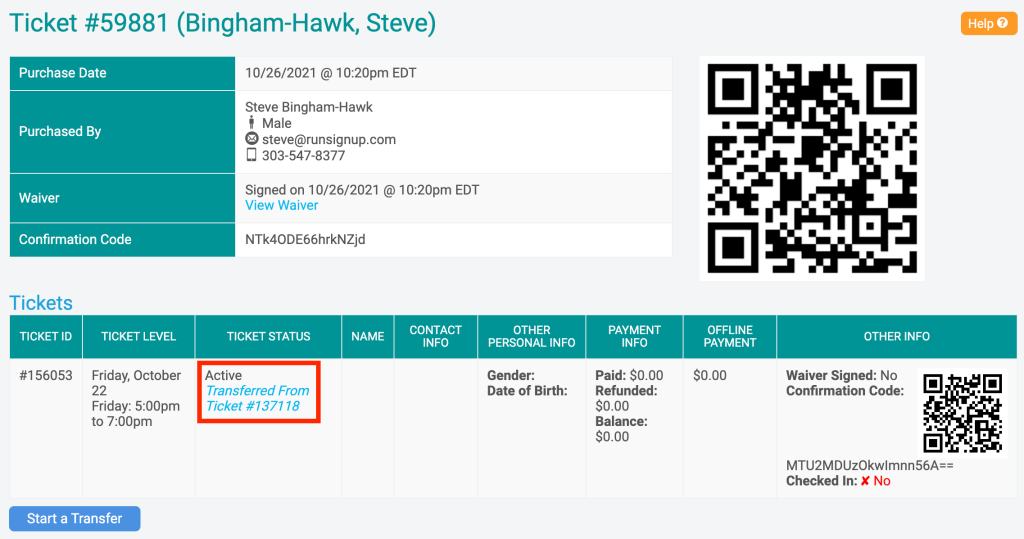
When you review a ticket by clicking on the “Manage” button, you will notice a link to the original ticket. This can be helpful for historical data and to reference the original transaction processed for the ticket purchase.
Locate the New Ticket
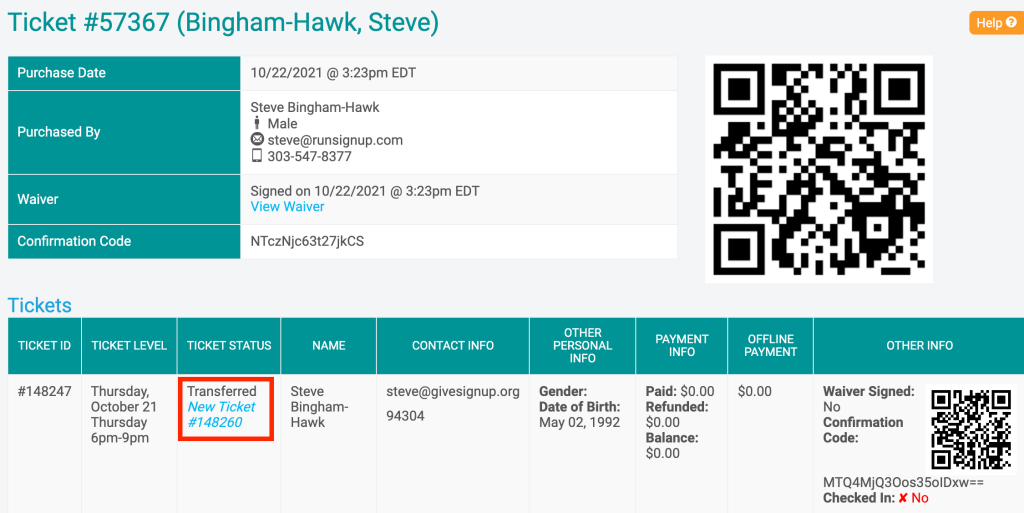
When you manage the transferred ticket, you will see a link to the new ticket.
Summary
TicketSignup’s new ticket transfer feature represents a key advancement in our ticketing platform by allowing both event organizers and guests to transfer a current ticket to a new ticket offered within the same event. Historical data is maintained and all are able to better manage the ticket purchase process; thus, fostering a more positive and smooth event experience overall.
What’s Next?
Ticket Management The next enhancement to TicketSignup is ticket management. With this new feature, organizers will be able to edit the information and questions responses for a ticket purchaser and ticket holder from a simple and comprehensive dashboard. In addition, quick actions like resending a confirmation email will be available from the ticket management screen.