
TicketSignup’s Ticket Wizard makes it simple and easy to set up your organization’s ticket event in minutes. You’ll set up information about your ticket event, enable donations, create tickets, add pricing, and link your payment account (or create a new payment account, send an invite to the person responsible for your nonprofit’s finances to set up a payment account, or use test mode).
When you complete the Ticket Wizard, you’ll have a free website (that you can customize with your organizations’s branding, content, and domain or subdomain). You’ll also have a dashboard where you can add more advanced features.
There are 3 steps to the Ticket Wizard:
- Basic Info: Enter basic ticket event information and enable donations to raise more.
- Tickets: Set up one or multiple purchase periods when you want supporters to be able to buy tickets. Then create tickets and add pricing.
- Payment Account: Link an existing payment account or set up a new payment account to get paid for tickets sold and donations made. Not responsible for finances? Send an email invite to your CFO or Finance Director to set up the payment account.
- Finish: You have created a website and are ready to sell tickets and accept donations! Add more customization to your website and ticket event from the Ticket Event Dashboard.
1. Basic Info
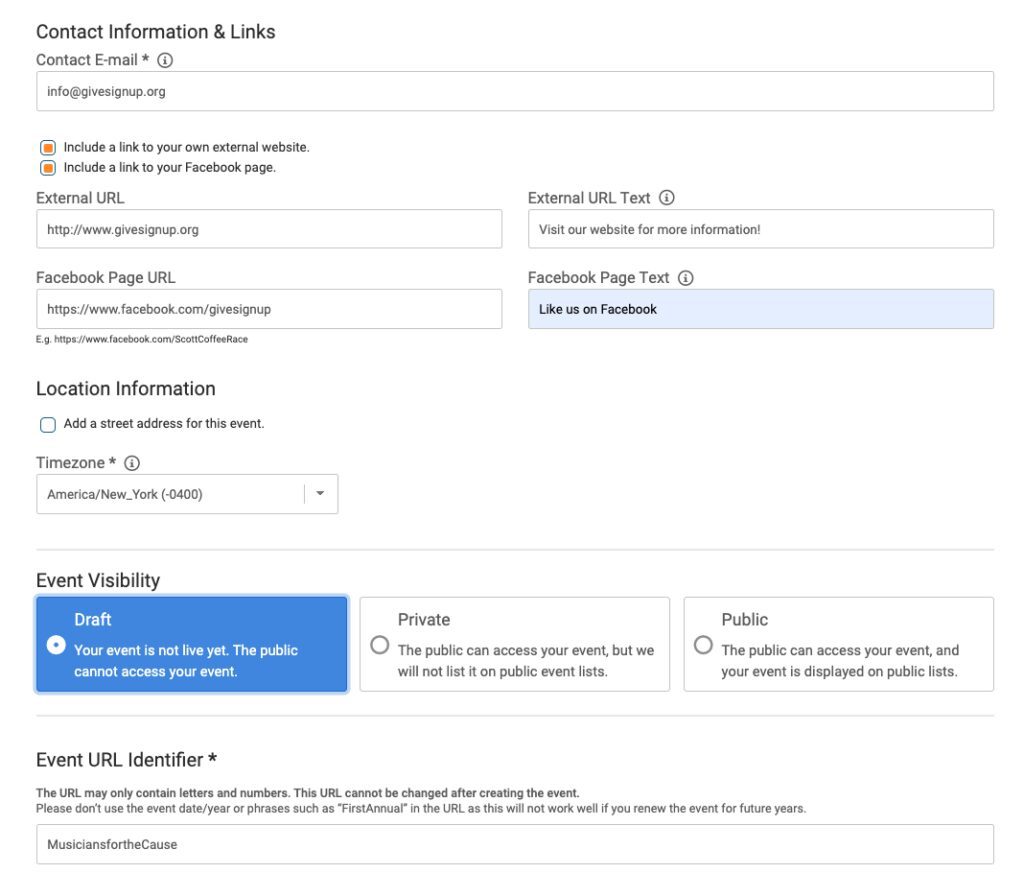
To begin setting up your ticket event you’ll enter the basic information about your ticket event. This information will automatically show on your website. You’ll be able to make updates at any time after completing the wizard.
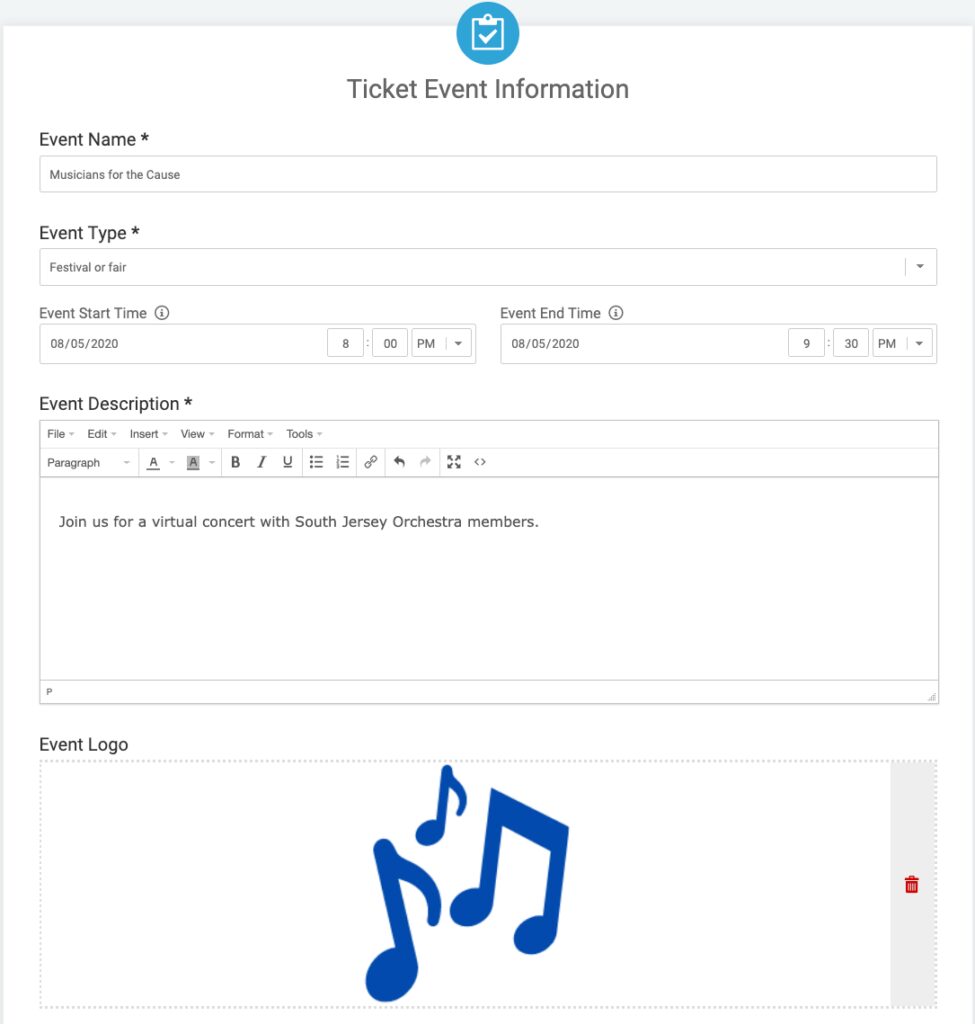
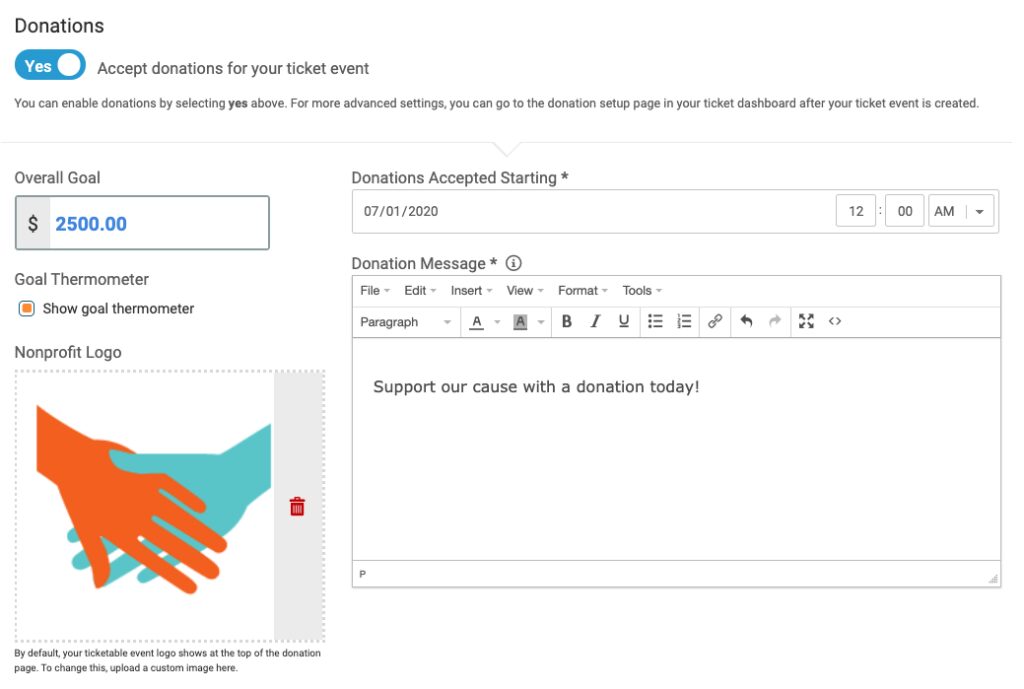
You can also enable donations for your ticket event in the first step so that you can raise more. Set a goal, add a distinct logo that will show on the donation page of your website, and add a message about your nonprofit. Please note that you’ll also set a date when you want to start accepting donations – this is different than the event date.
2. Tickets
In the second step of the wizard, you’ll create the ticket options that you want to sell to your event.
First, add purchase periods when you want people to buy tickets. Click the blue Save Purchase Periods button to save.
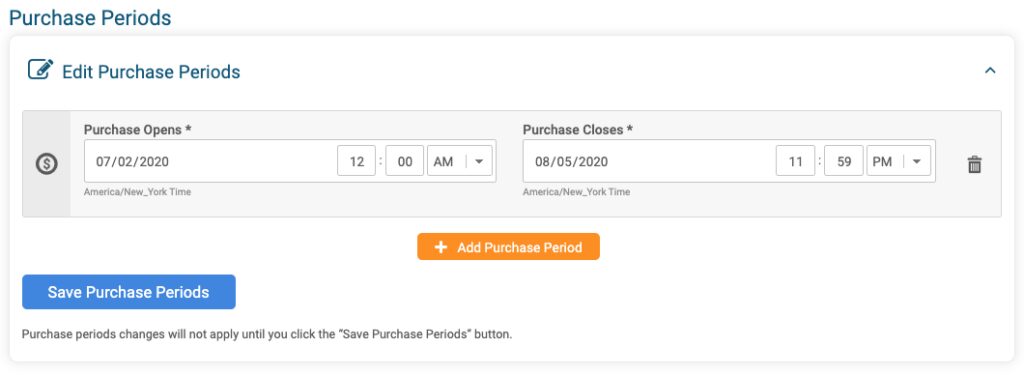
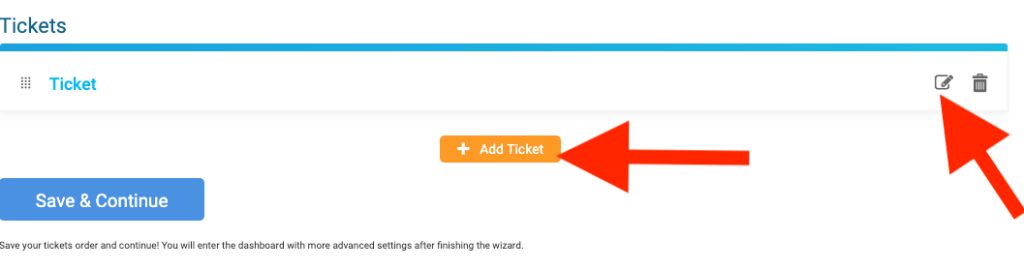
If you have price increases, you can add multiple purchase periods. Click the orange Add Purchase Period button to add another purchase period.

Have more complex pricing that you need to set up? You’ll be able to do that from the dashboard once you complete the ticket wizard.
Then create your tickets and add pricing. Click Save Ticket to save the ticket and pricing.
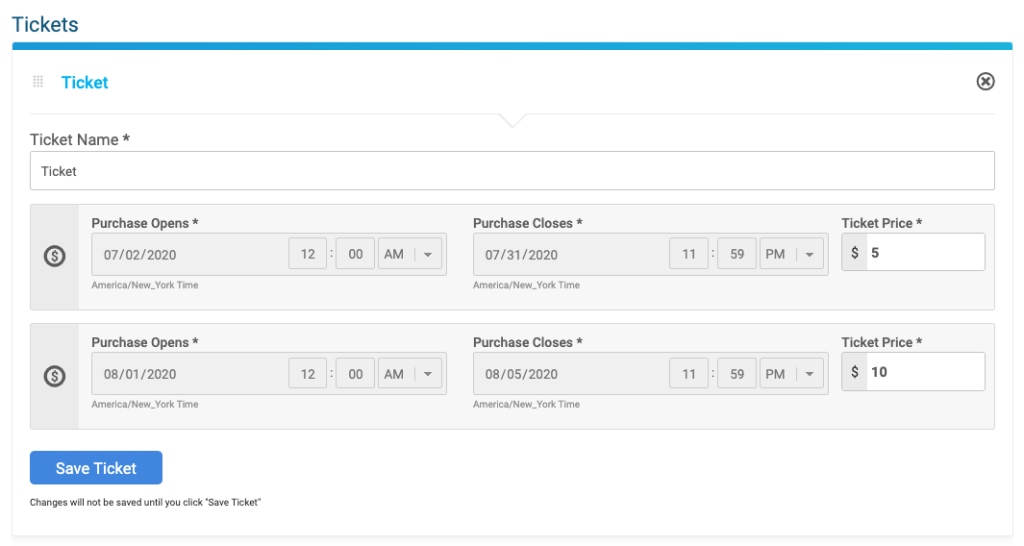
When you save your first ticket, you can add additional tickets by clicking Add Ticket. You can also edit the tickets you have already created by clicking the edit icon.
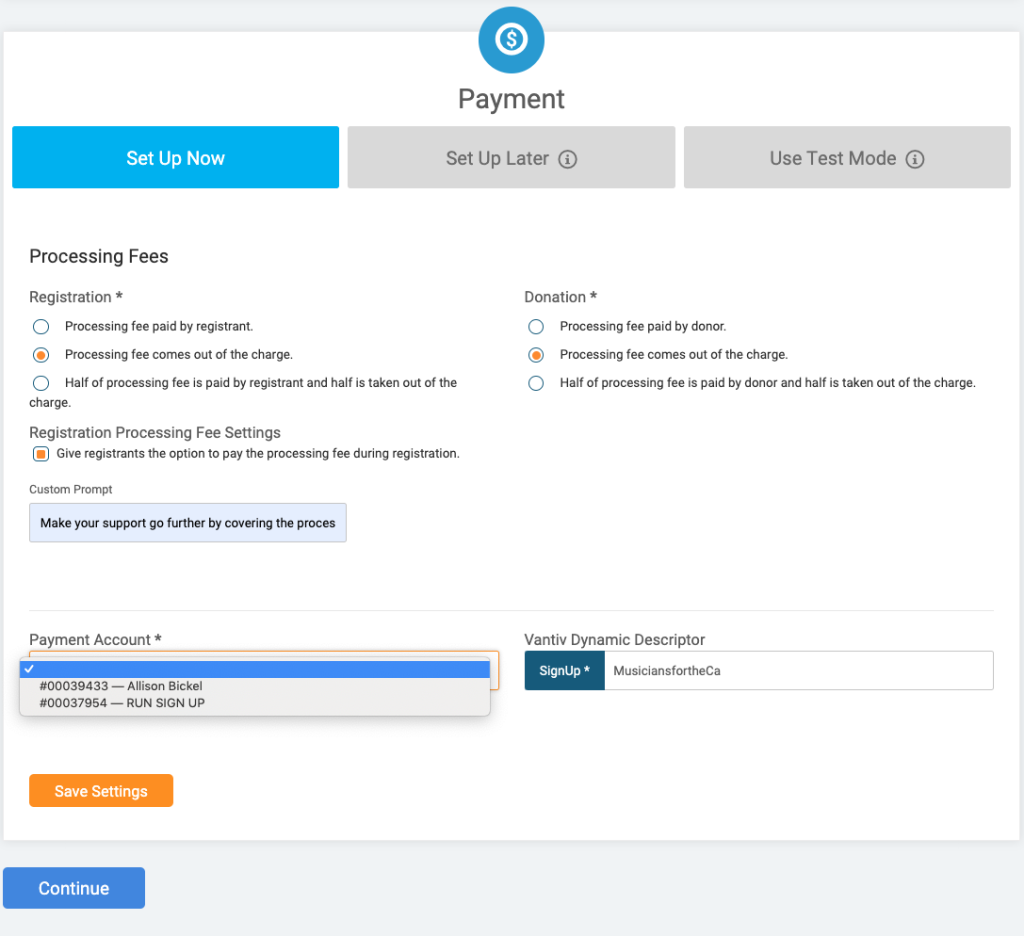
3. Payment
The third step of the event wizard is Payment. It asks how you want the processing fees from your ticket event to be charged, and lets you link an existing payment account or create a new payment account. You can also send an invite to the person responsible for your organization’s finances to have them set up a payment account, or use test mode.
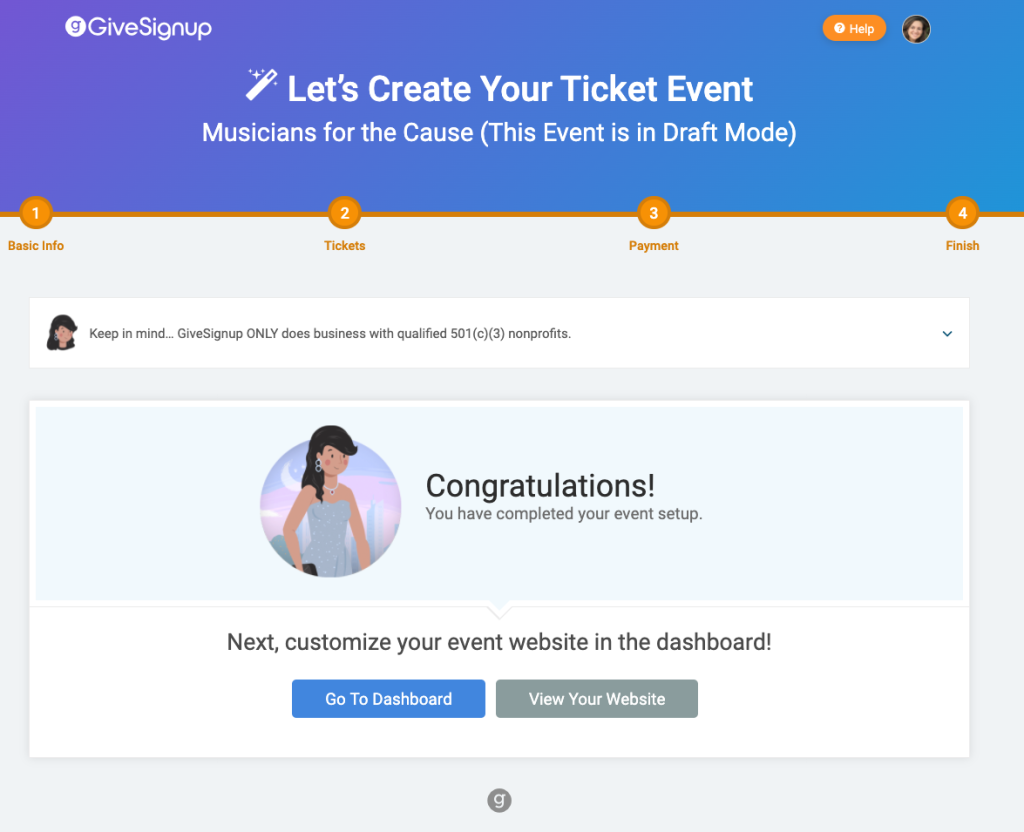
4. Finish
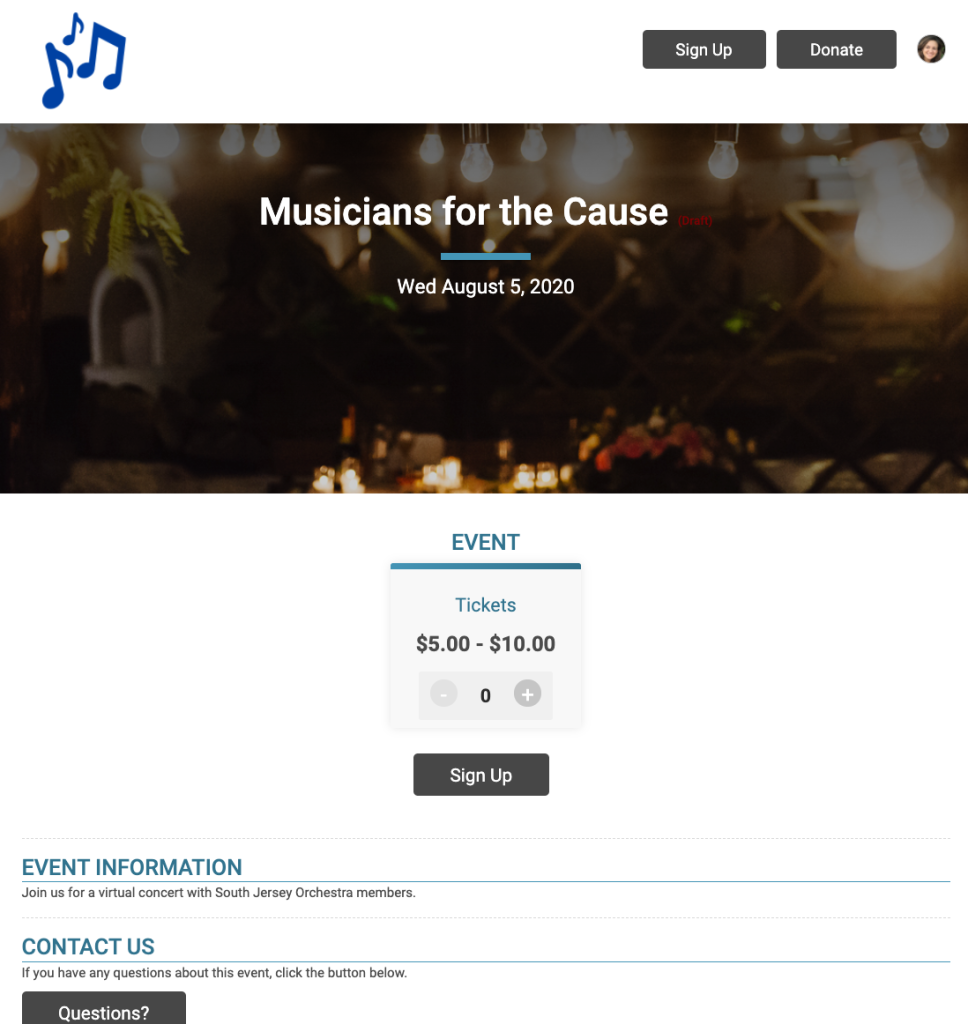
Congratulations! You’ve created a website to sell tickets!
Your website is automatically populated with the basic event information and ticket options you set up in the Ticket Wizard:
You can go to the Dashboard to design your website with your organization’s branding, content, and domain or subdomain, as well as edit, add, and customize your ticketing options.