Looking to set up your first event on TicketSignup, and not sure where to start? Welcome! We’re here to help you get started with TicketSignup.
Blog Contents
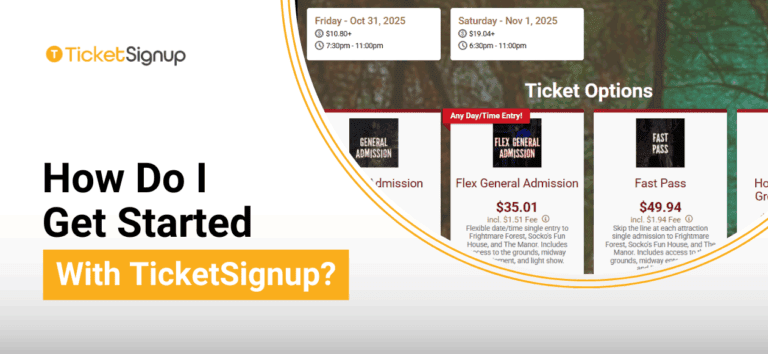
Getting Started with TicketSignup
The very, very simple answer: to get started, just click the “Create Your Event” button found at the top right of the TicketSignup website (and below).
As a self-serve platform, you can get started with TicketSignup at anytime, whether you simply want to test the software for yourself, or create your final event and start selling tickets. But if you need a little help, first, schedule a call with a representative on our Sales Team.
The “Create Your Event” button will give you two options for setup:
- Ticket Events: Choose this option if you have a short term event (one or a few days) with no timed entry.
- Calendar Ticketing: Choose this option if your event is multiple days, long-term, and/or has timed entry.
Once you’ve selected your event type, you will enter the appropriate Ticket Event Wizard to walk you through the initial setup steps for your event. In the first step of the Wizard, you will have the option to set the visibility of your event:
- Draft if you expect to continue working on the setup and don’t want it to be live for anyone other than the event team, yet.
- Private if you want the event to be live to sell tickets, but only to those you send the link to (I.E., it will not be found by Google or on event lists).
- Public if the event is ready to be shared.
Most event directors opt to set the event as Draft or Private initially, and then update it to public when they’ve verified it is 100% ready.
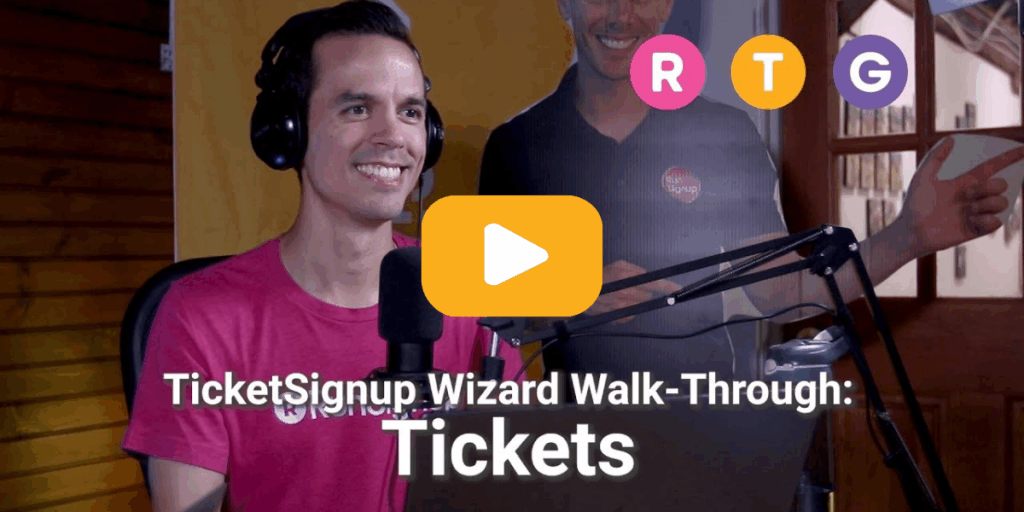
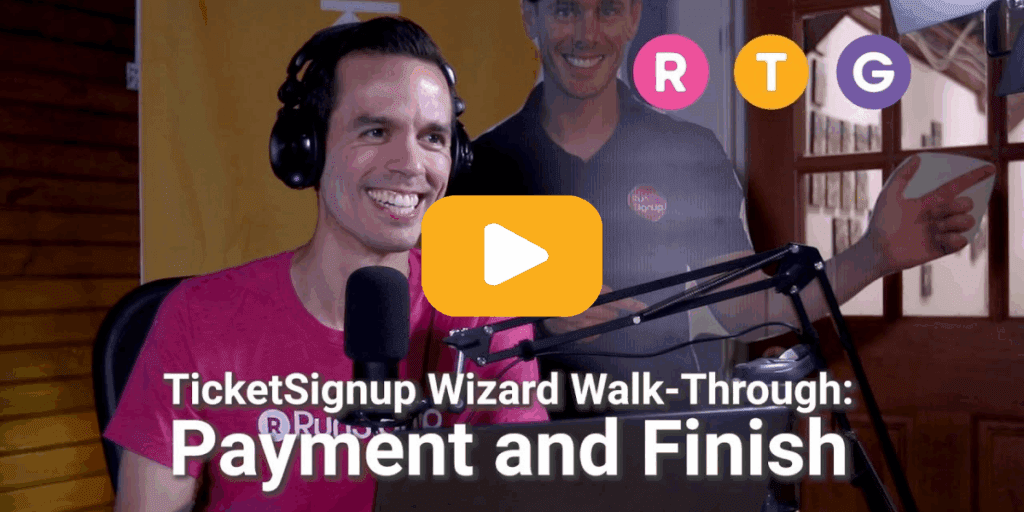
Ticket Event Wizard Walkthrough
For a walkthrough of the wizard for Ticket Events, review the videos below:

Note: our technology is continuously improving. Since this video was recorded, an additional (simple) step has been added. In that step, you will select your branding for your event website. This can be edited later if it is not customized during the Wizard!
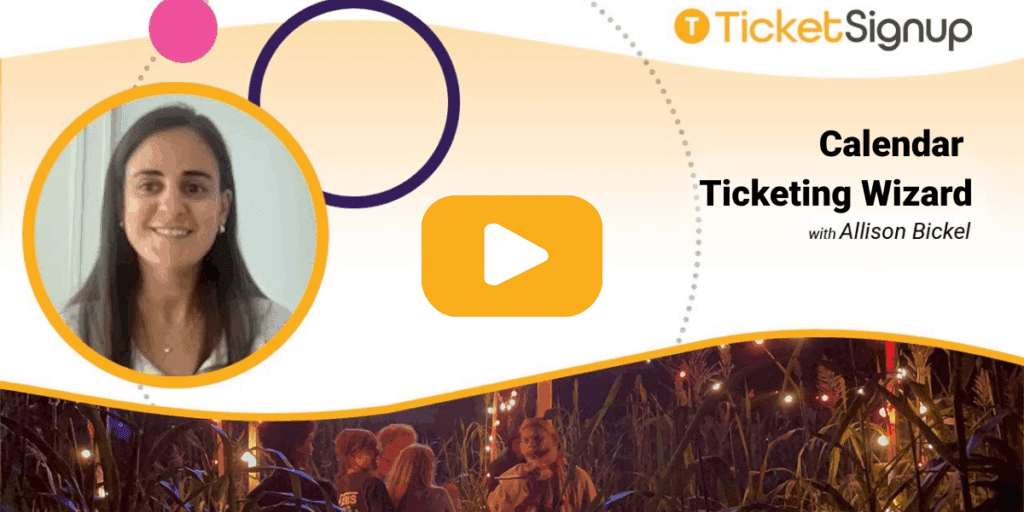
Calendar-Based Ticketing Walkthrough
For a walkthrough of the wizard for Calendar Ticketing, review the video below:
Note: our technology is continuously improving. Since this video was recorded, an additional (simple) step has been added. In that step, you will select your branding for your event website. This can be edited later if it is not customized during the Wizard!
Help Resources for TicketSignup
Getting started on TicketSignup is easy, but we know events can be complex. If you need help customizing your event or understanding your options, our favorite resources can be found below.
- TicketSignup Support is full of how-to articles and videos (and even an AI Chatbot in the bottom right corner that you can ask for assistance).
- TicketSignup Blog has all the latest technology updates. Not sure where to start? Use the search icon at the top of the TicketSignup website to find content related to your topic of interest.
- TicketSignup Webinars has upcoming and on-demand webinars on an array of TicketSignup features. If you want a deeper dive into your initial setup, checkout TicketSignup 101 (for Ticket Events) or Calendar-Based Ticketing 101 (for Calendar ticketing).
Customer Support for Your First TicketSignup Event
Self-serve doesn’t mean unsupported. Our TicketSignup support team is here to help if you have questions about your setup, or need assistance understanding the customization options on your event dashboard after setup. In addition to dedicated Account Managers, you can email info@ticketsignup.io or fill out a support ticket to reach our support team 7 days a week.
Optional Next Steps
Some events are ready to go once they complete the initial Wizard and payment setup. However, TicketSignup’s robust set of tools gives you a ton of flexibility to customize your event website, create email marketing campaigns, and manage your on-site operations. If you’re looking to further refine your event, these are a five of our recommended next steps:
- Customize your event website using the intuitive website builder and add an FAQ and an AI Chatbot for Customer Support
- Create an Email Marketing campaign by uploading all verified contacts and sending an email
- Use integrated tools to create a marketing plan for your event
- Add a store to boost revenue through merchandise and add-on experiences
- Prepare for event day by downloading and configuring the Tickets App for check-in (and more)