You’ve promoted your event and sold your tickets, and now it’s time for the fun part: Event Day. Providing an event day experience that is stress-free allows your attendees to focus on fun and ensures that they come back year after year (and bring more friends with them!). This guide covers how clear communication, flexible options, a speedy check-in process, and extended post-event celebrations can help you build attendee loyalty and grow your event.
Jump To:
- Step 1: Pre-Event Communication Tools to Get Everyone on the Same Page
- Step 2: Ticket Management Options to Eliminate Confusion
- Step 3: On-Site Signage to Limit Ticket Purchasing Lines
- Step 4: Ticket CheckIn App to Get People In, Faster
- Step 5: Free Photo Platform to Extend Event Day Excitement
Step 1: Pre-Event Communication Tools to Get Everyone On the Same Page
Step one for a seamless event day: clearly communicating with your attendees. TicketSignup’s free email and websites can help you share all your key details (like parking and ID requirements) as well as attendee-specific information (like ticket time and QR code for admission).
Event Website
Event Logistics Page
Use the Website Builder with pages and menu items to add a page for your event day logistics. First, navigate to Website Options >> Website Builder, and use the add symbol to add a new page.
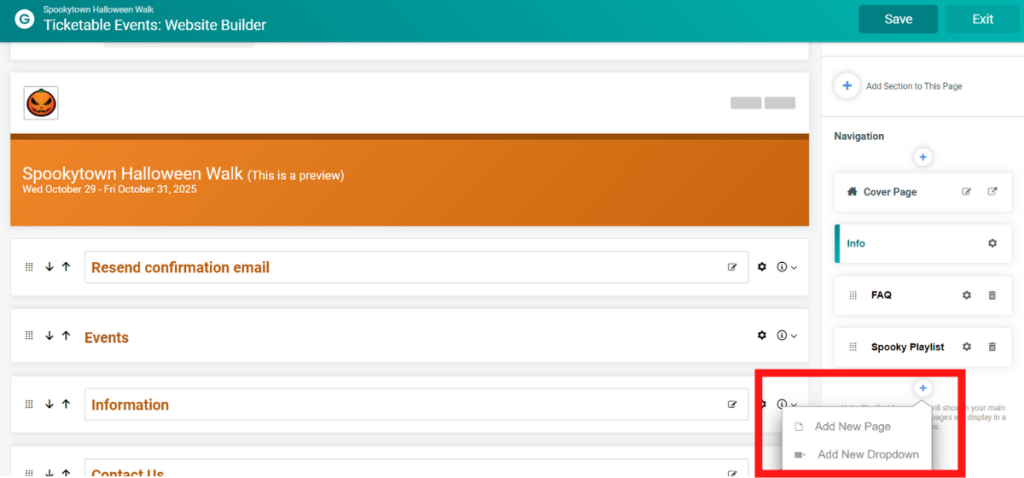
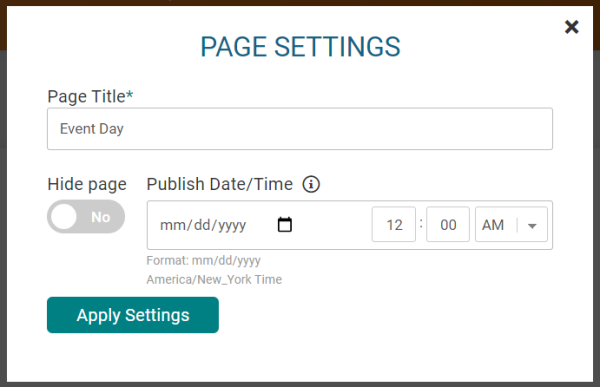
The, name your page and set a publish date. If you’re not sure when you want the information to show, you can choose to hide the page for now and then enable it at the appropriate time.
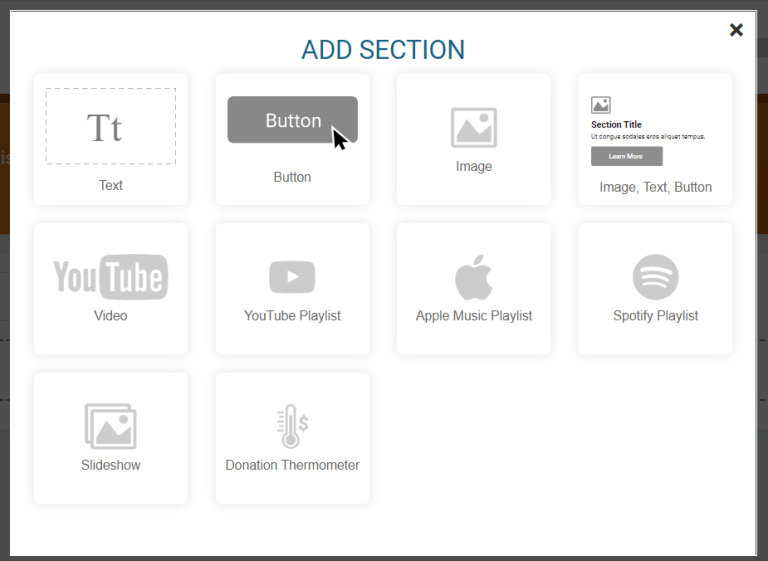
On your new page, you can add contents in one column or two.
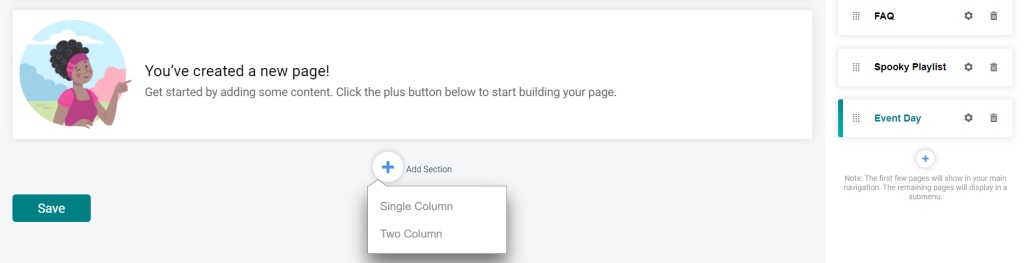
Content types include text, buttons, images, playlists, videos, and more.
Your event day page should include important details like parking, check-in procedure, any bag/coat check, any ticket transfer options, and more.
Free Email
Using free email to communicate with your attendees is simple. Pre-event emails typically include the basics of when and where, a reminder of the number and type of tickets purchased, parking or transportation details, and important items to bring to the event.
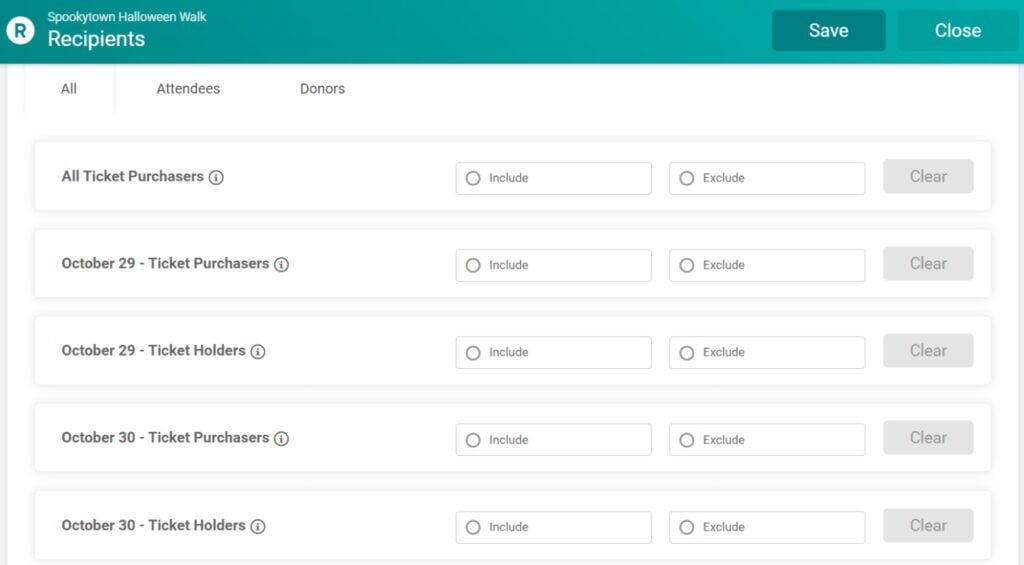
Select Your Recipients
You can include/exclude different attendee lists from your dashboard by going to Email >> Send Email >> Select Recipients, depending on whether your event day details differ for different tickets or ticket groups. Default email lists allow you to instantly select:
- All ticket purchasers
- All ticket holders
- Ticket purchasers or holders for specific ticket groups
- Ticket purchasers or holders for specific tickets
Data Replacement Tags
While you can target your emails to specific tickets or ticket groups, there’s another (even more dynamic) way to ensure that attendees get personalized information. Replacement Tags allow you to add simple personal elements (like %FIRST_NAME%, %LAST_NAME%), purchase details like %NUM_TICKET%, and key event day items like their QR code for entry.
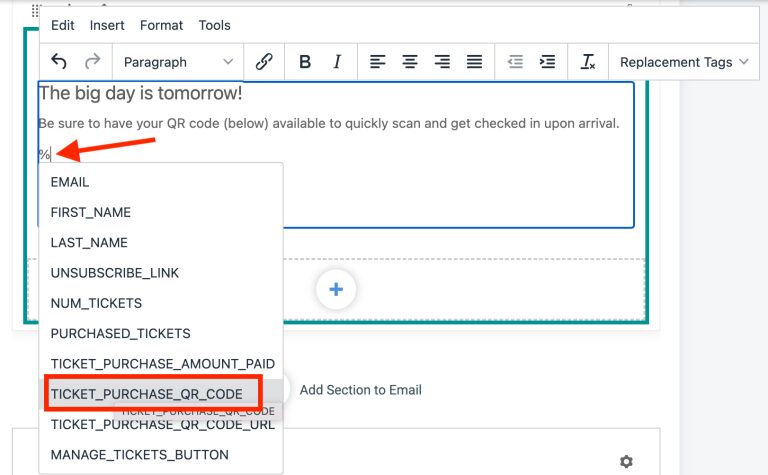
Send QR Code
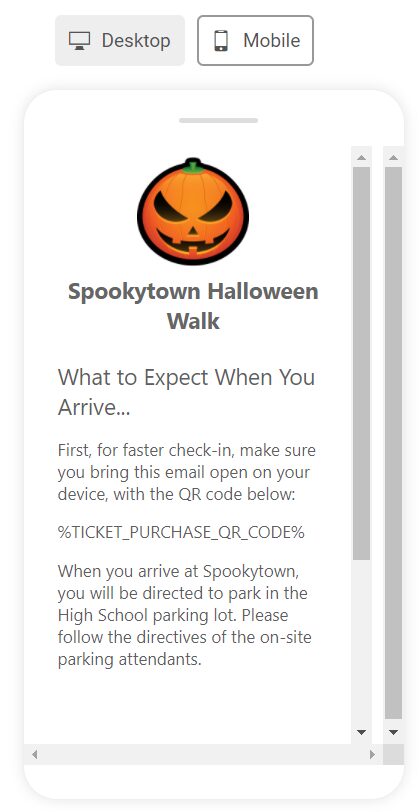
For faster event day check-in, we recommend sending attendees their personal QR codes a day before the event. That’s quick and easy with the TICKET_PURCHASE_QR_CODE data replacement tag. To insert the data replacement tag, you can either click on the Replacement Tags menu, or simply start typing a % to prompt all available tags will pop up.
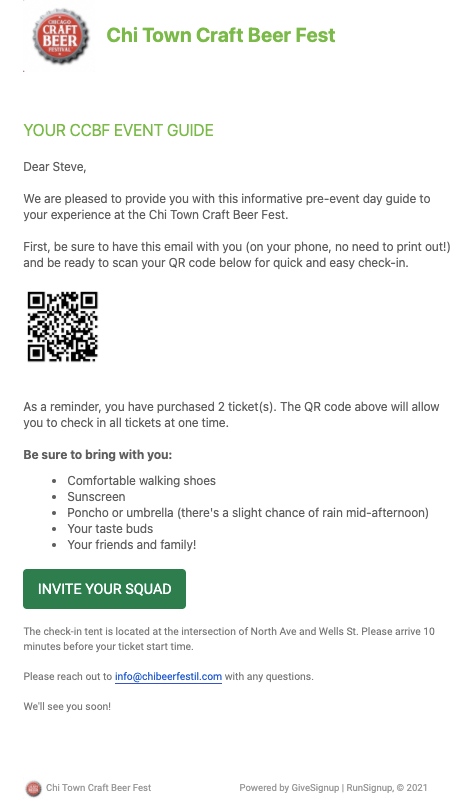
From the user experience side, your attendees will get an email with their unique QR code to speed the check-in process (more on that in Step 4).
Review and Schedule Email
Once the content for your pre-event email is set, it’s time to review and schedule it. When you first click the Continue button, you’ll be taken to a page to preview your email on both desktop and mobile and ensure that your email is readable on all types of devices. Note: Replacement tags will show as the tag on preview since the preview is not tied to a specific recipient.
When you are confident in your email, click Review Email to continue.
Pre-event emails are typically transactional emails, since you are using them to email people who have bought a ticket from you with important information for them to attend the event.
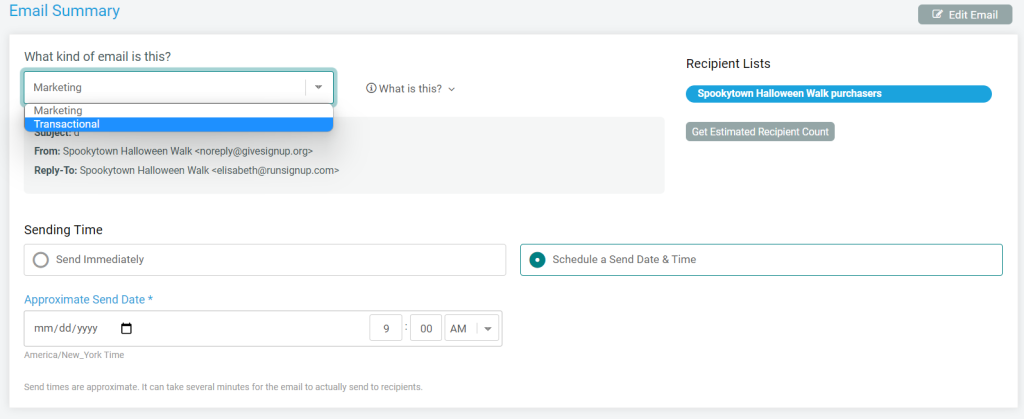
Want to get ahead of the game? Rather than waiting to prepare your pre-event email, you can design it ahead of time and then schedule to send at the appropriate day and time. The email system automatically recognizes the updated attendee lists, even if you set up the email months before it is set to send.
Step 2: Ticket Management to Eliminate Confusion
One underrated way to ensure a smooth event day is to enable ticket management for your attendees. When it’s possible for your event, flexible options for changing tickets can reduce attempts at chargebacks, prevent customer service roadblocks from attendees arriving at the wrong time, and ensure a positive experience for your attendees.
While you can also opt to transfer tickets as an event director, we are going to focus on the ability for your attendees to transfer their own tickets and entirely remove customer service on your part.
Enable Participant Transfers
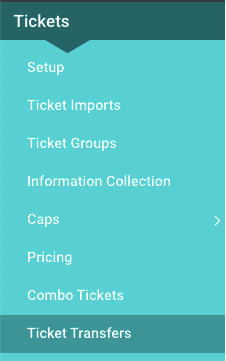
First, you need to enable participant transfers (by default, they are not allowed). Navigate to Tickets >> Ticket Transfers:
Next, toggle on the ticket transfer features:
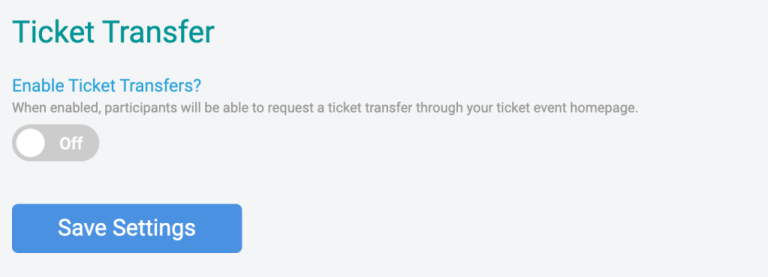
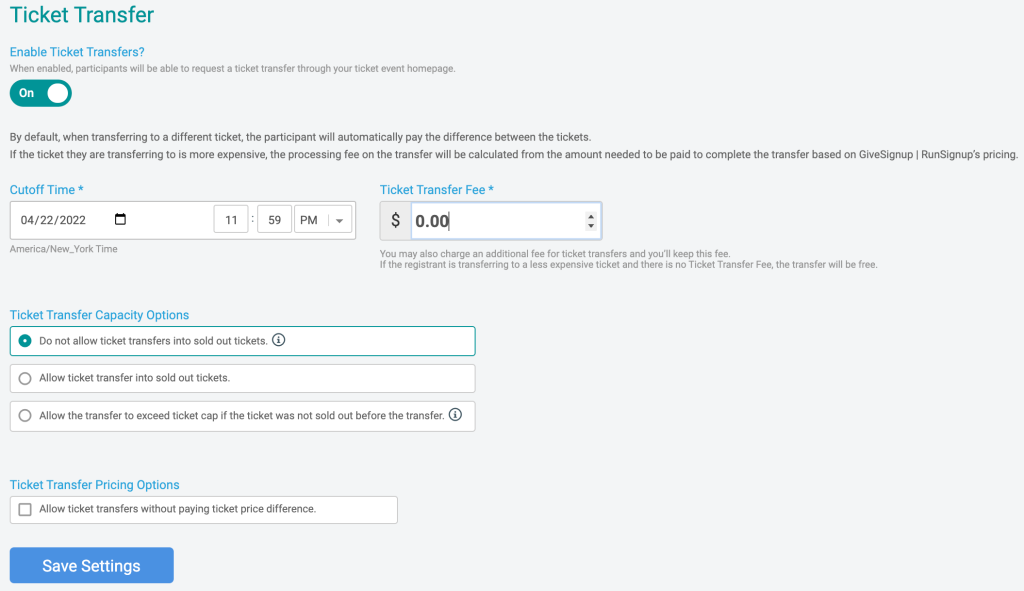
Finally, configure our settings to fit your event’s needs, including:
- Set the final date that self-service transfer are allowed (“Cutoff Time”)
- Charge a flat fee per transfer (“Ticket Transfer Fee”)
- Override or follow ticket capacity rules (“Ticket Transfer Capacity Options”)
- Charge the difference between the old and new ticket prices (“Ticket Transfer Pricing Options”)
Note that refunds are not available for tickets being transferred to lower-priced tickets.
Inform Your Attendees of Ticket Management Options
Use the pre-event emails and website page you set up above to share the ticket management options with your attendees before they email you (or show up at the wrong time). To make it easy, you can just copy the How-To section below and paste it into your race website for a quick how-to to send to your attendees.
How-to Transfer Your Ticket (for Attendees)
From the ticket confirmation email, click on “Manage Tickets.”
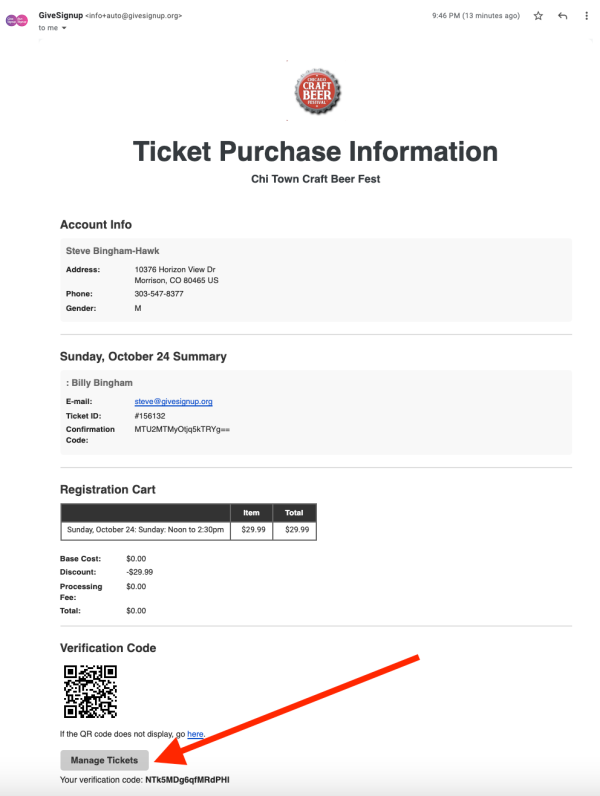
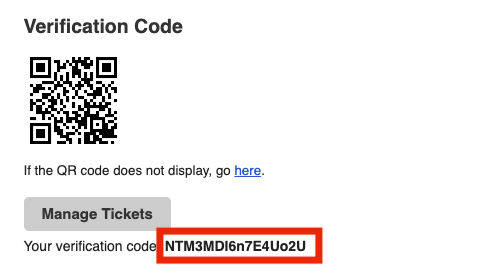
They will be taken to a link where the verification code provide in the confirmation email (noted in the screenshot above) will need to be entered. Then, click “Verify Access.”
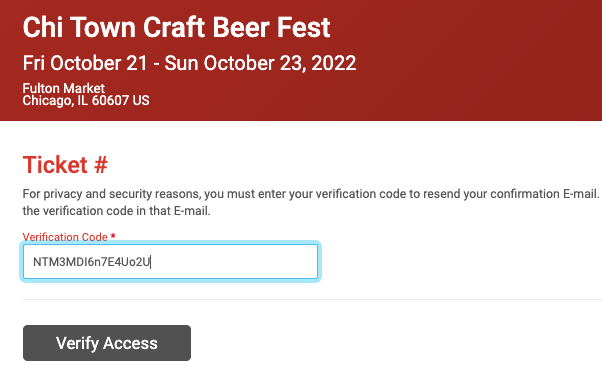
The ticket(s) will then appear after a successful submission of the verification code.
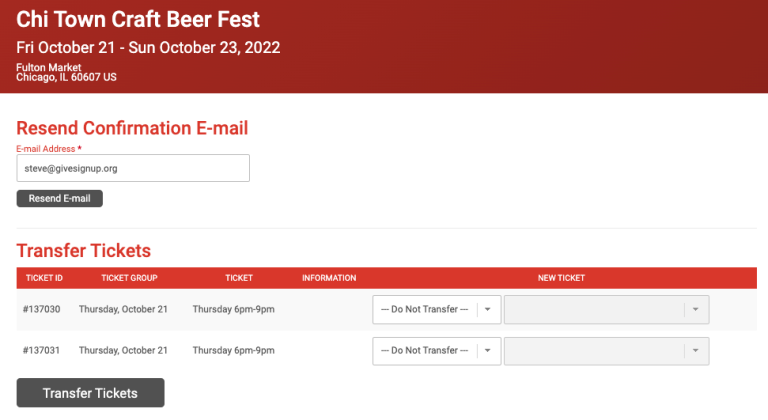
From the drop-down menus, change the ticket group (in the example below, the ticket groups are the days of the event) and the ticket (in this case, the tasting period for the chosen day). Once the options are selected, click on “Transfer Tickets.”

The next screen will ask you to verify the details of the ticket holder.
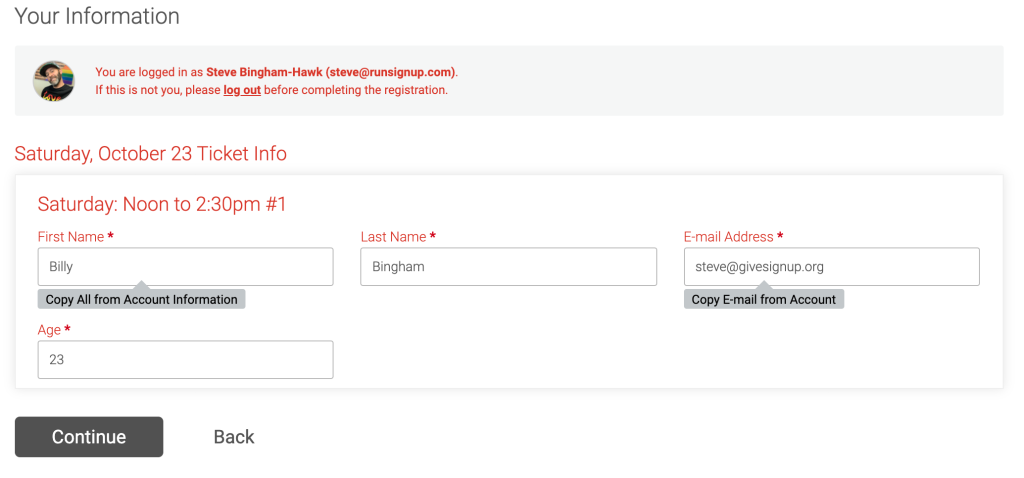
Custom questions will be shown to verify details.
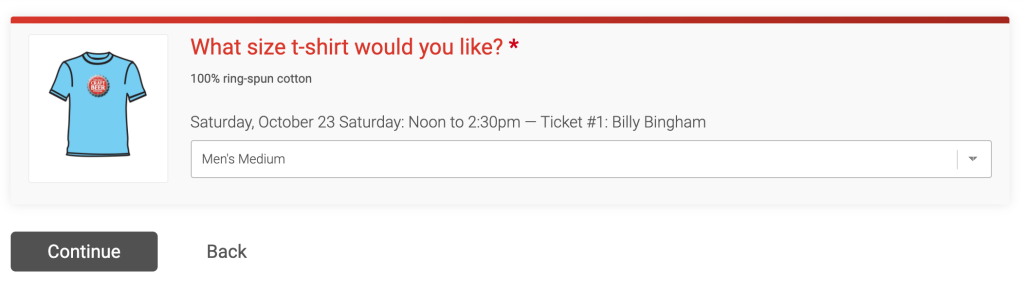
If there is a transfer fee, it will show in your checkout cart.
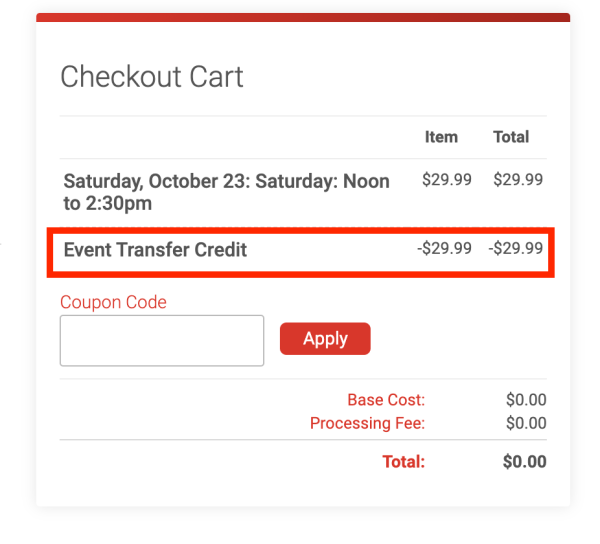
A confirmation email with the details of the new ticket they transferred to will automatically be sent to the ticket holder. The registration cart showing the event transfer credit will be included in the confirmation email.
Step 3: On-Site Signage to Limit Ticket Purchasing Lines
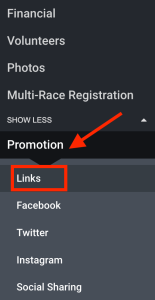
Further reduce (or eliminate) on-site ticket lines with comprehensive signage including QR codes and quick text options encouraging last-minute attendees to register on their devices from the parking area. You can find you links and codes by navigating to Promotion >> Links.
Here, you will find links for your website homepage and ticket purchasing page (as well as a donation page). You can select the optimal size (small, medium, large) for your QR code and right click & save the QR code, and then add that to printed signage and posters on-site. As an additional option for attendees who may not be as comfortable with QR codes, each link is also available as a short code. For this option, include both the short code (the number to send a text to, in this example, 49514) and the message (in this case, T1246). Once that text is sent, the sender will get an automatic reply with a link directly to the website or purchase path and can acquire their ticket(s) in seconds.
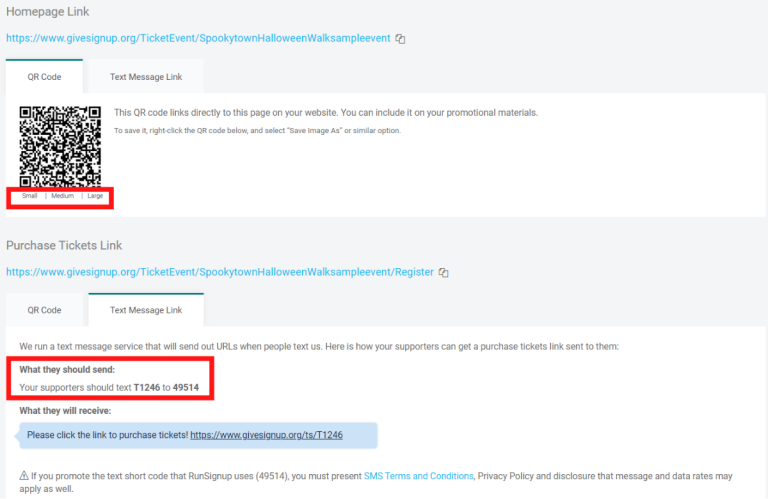
Once that text is sent, the sender will get an automatic reply with a link directly to the website or purchase path and can acquire their ticket(s) in seconds.
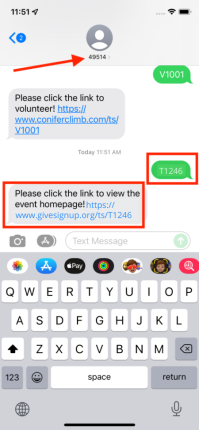
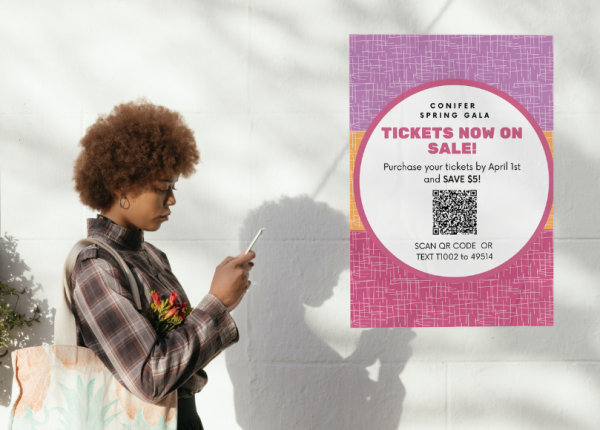
Your on-site signage should include both the QR and texting options to ensure everyone has a choice they are comfortable with.
Step 4: Ticket CheckIn App to Get People In, Faster
This is the fun one. You’ve done all the prep work – communicated with your attendees, provided options, and helped people buy their tickets before they get to the door. Now, all that’s left is to get them into your event quickly and efficiently. The Ticket Checkin App is your answer!
Enable the Ticket CheckIn App
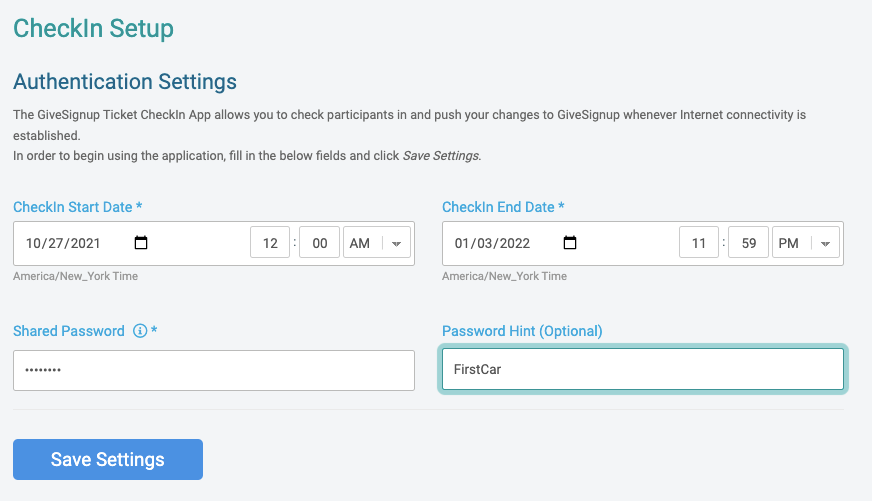
To start, enable the Ticket CheckIn App from your dashboard by navigating to Event >> CheckIn and setting the dates the app should be available (I.E., the dates you intend to check people in, along with any testing/training days), and the password needed to access the event within the app.
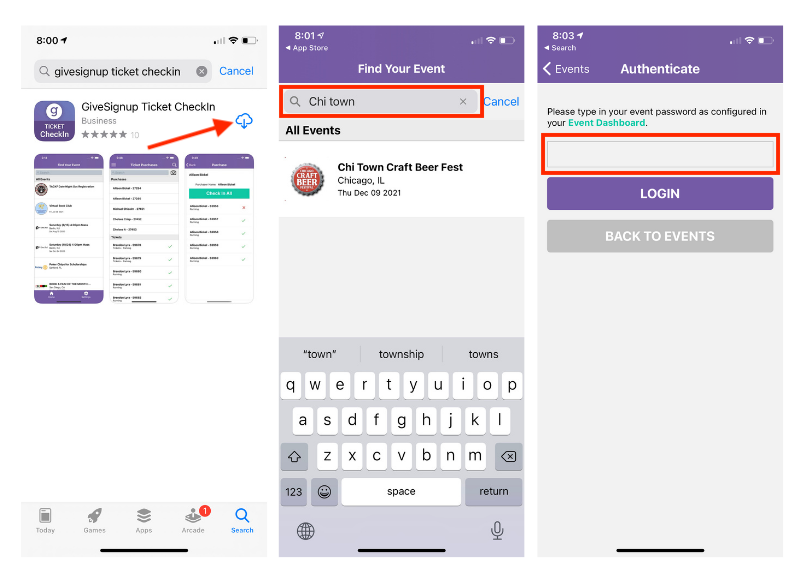
Make sure your staff and/or volunteers download the free app from their app store (available on both Android and Apple devices), search for the event, and enter the password (from the dashboard).
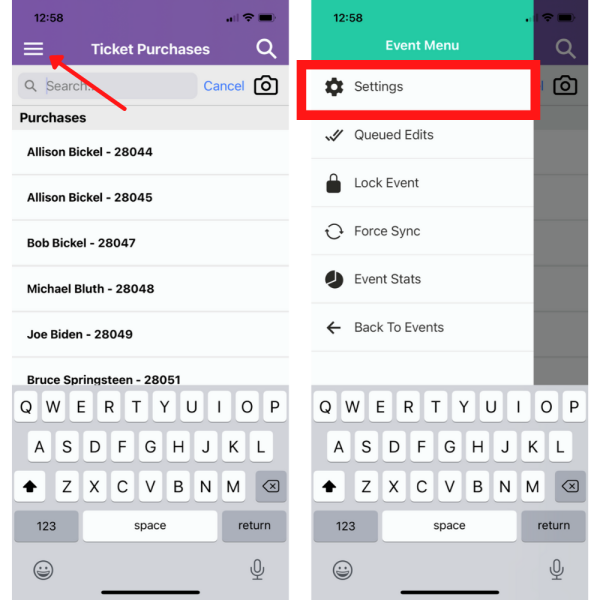
To ensure that your staff/volunteers who are checking people in see all the relevant information they need (and nothing more), you want to edit your configurations. You can find this by clicking on the hamburger menu at the top left and going to Settings.
There are two ways options for editing what shows in the Ticket CheckIn App. Ticket Information Presets sets preferences by the ticket level, whereas Configurations sets preferences at the purchase level. You can add additional presets and configurations via the plus sign.
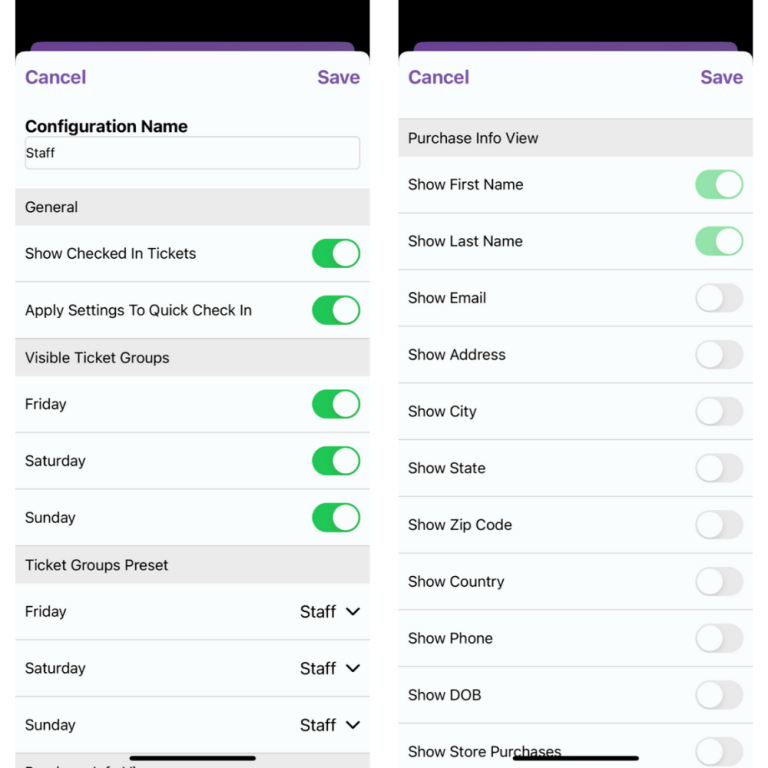
Setting up optimal presets and configurations helps reduce search times and reduces the potential for error by selecting the wrong ticket. For example, you can create a configuration for Friday tickets that only shows the Ticket Group for Friday to ensure that no one accidentally checks in a ticket from another day.
In each preset, you can select what fields will show when the ticket holder attempts to check-in, as well as indicate if you want to show tickets that have already been checked in.
Adding Purchases and Questions to Your CheckIn App
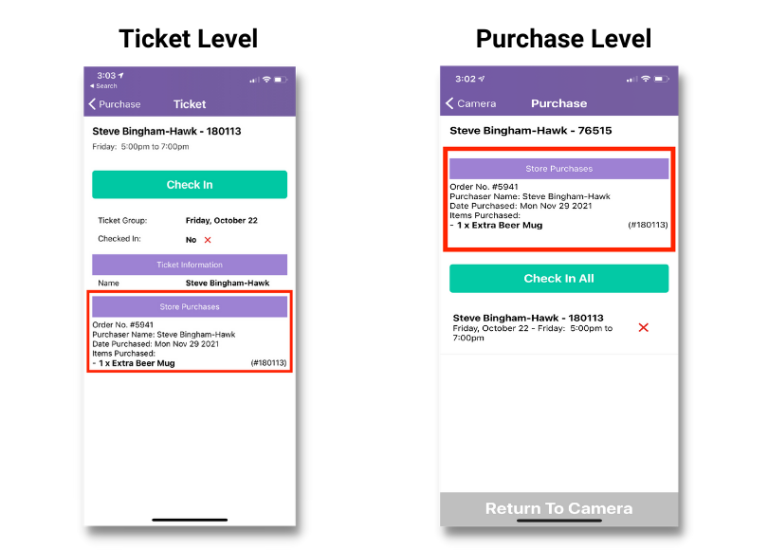
When you opt to show store purchases, this will show at both the purchase level and the ticket level:
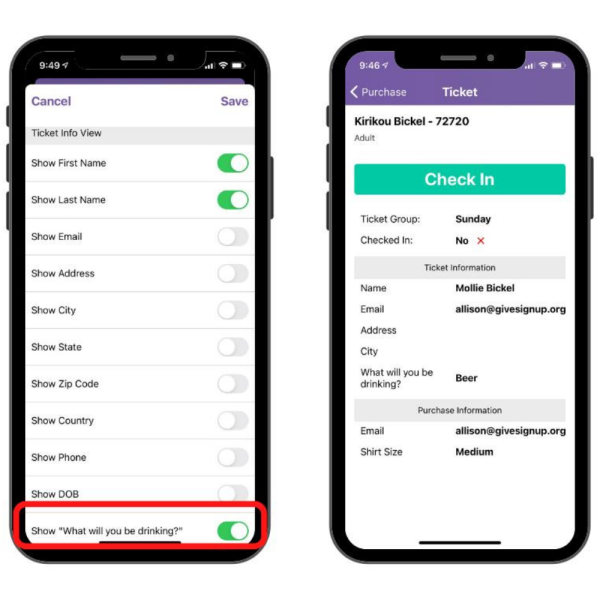
If you have included any questions on your ticket event, you can opt to show those either per ticket or per purchase as well. Questions that have been asked will show up as an option when you set up your preset and configurations, and then once enabled, on either the ticket or purchase information at CheckIn, like this question about what drink options the attendee has chosen:
Upload Your Preset(s)
Once you create your presets, a pop-up box will ask if you want to upload and make the configuration available to other users. If you have staff or volunteers checking people in, the answer is yes!

How to Check Attendees In
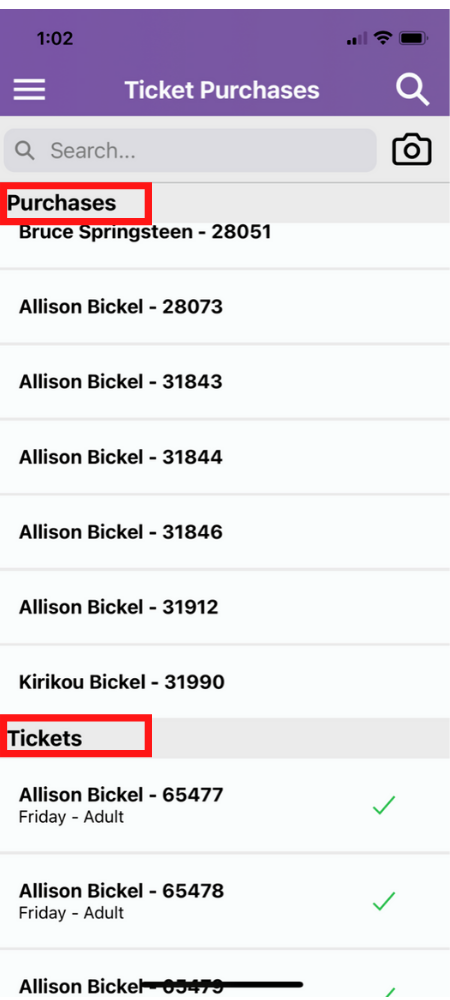
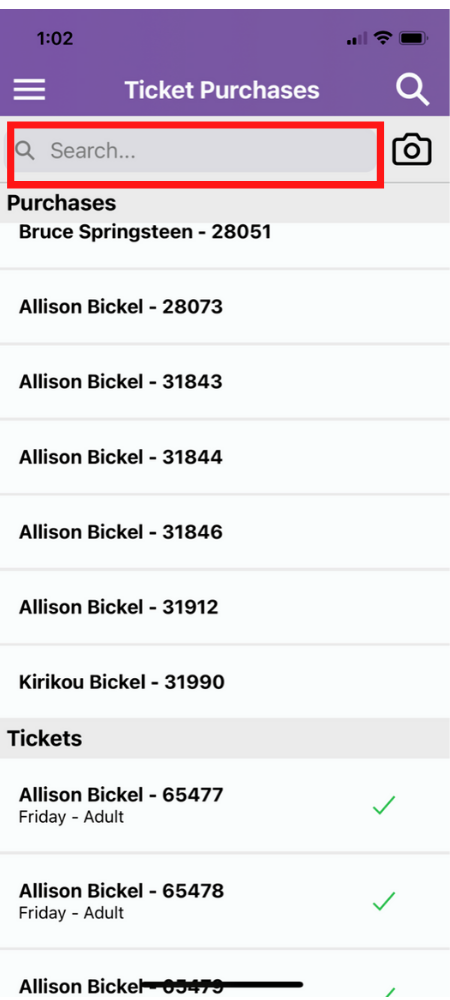
Now that all your setup is done, it’s time to train your volunteers on the CheckIn App. In the app, there are two groupings of your event’s tickets – All Purchases, and All Tickets. Select All Purchases to check-in some or all ticket holders within that transaction; All Tickets is useful for events that collect each ticket holder’s individual information.
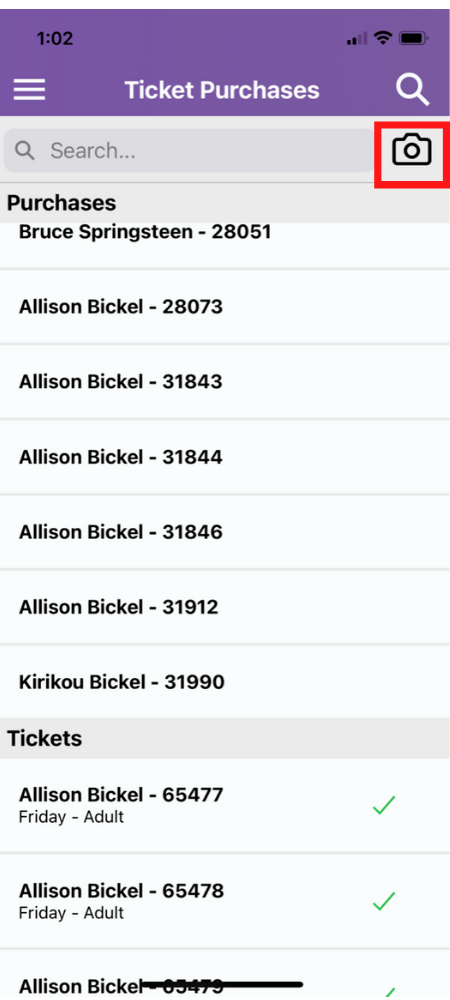
The fastest and simplest way to check in attendees is to scan QR Codes – the same ones you sent out to attendees earlier, via free email marketing. To scan the QR code, select the camera icon in the upper-right corner of the app and your phone will automatically scan the code and pull up the Ticket Purchase or Individual Ticket.
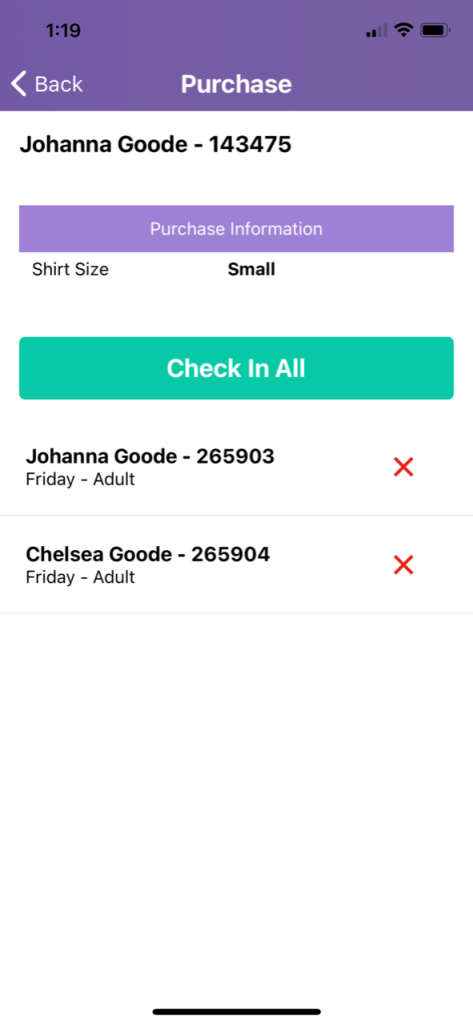
In the example below, the ticket event is only collecting the personal information of the ticket purchaser, so individual tickets all show under the ticket purchaser’s name. You can select the green CheckIn All button to automatically check in all tickets in the purchase. You can also check in individual tickets if not all ticket holders in the purchase arrive at the same time. You’ll be able to pull up the same ticket purchase (by QR code or name/ID search) to check in the remaining tickets at a later time.
If an attendee does not have their QR code, you can also use the search bar to pull up a ticket purchase or individual ticket by purchaser name or ticket purchase ID (from the confirmation email).
Step 5: Free Photo Platform to Extend Event Day Excitement
Photos are an often-overlooked but valuable addition to your event day. By uploading your event day photos to your event website for attendees to access and download for free, you drive traffic to your website (with more chances to donate or interact with sponsors), encourage social sharing, extend your event experience, and create FOMO.
Add Photos to Your Website
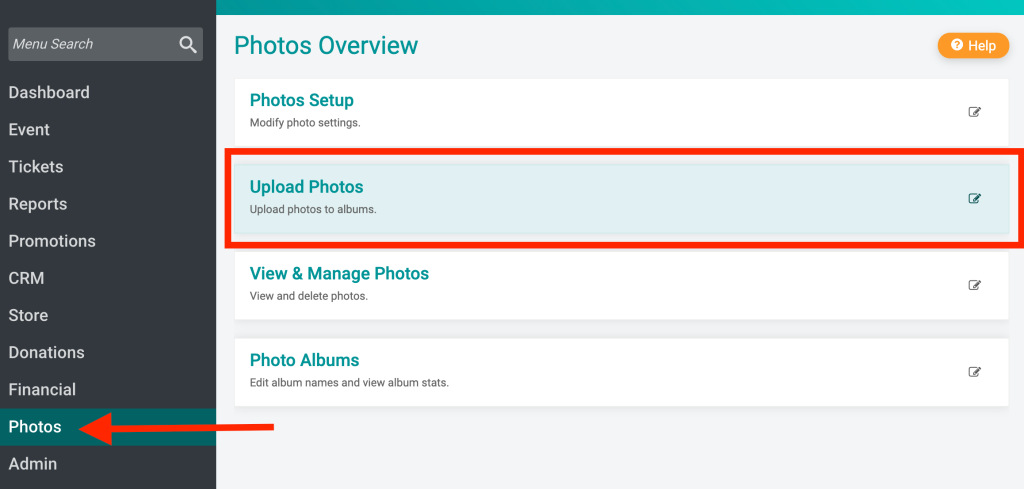
To add photos, navigate to Photos >> Upload Photos:
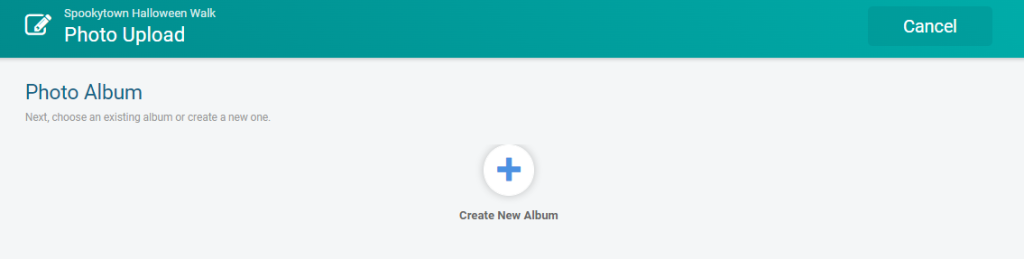
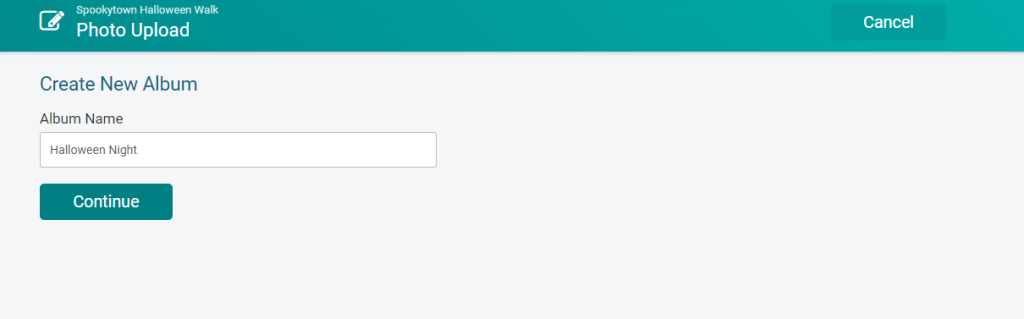
If you haven’t created a photo album yet, you’ll be prompted to add one. If you have a significant number of photos, organizing them into albums (for example, Hole 1, Hole 9, and Luncheon) will help attendees find their photos and keep them engaged.
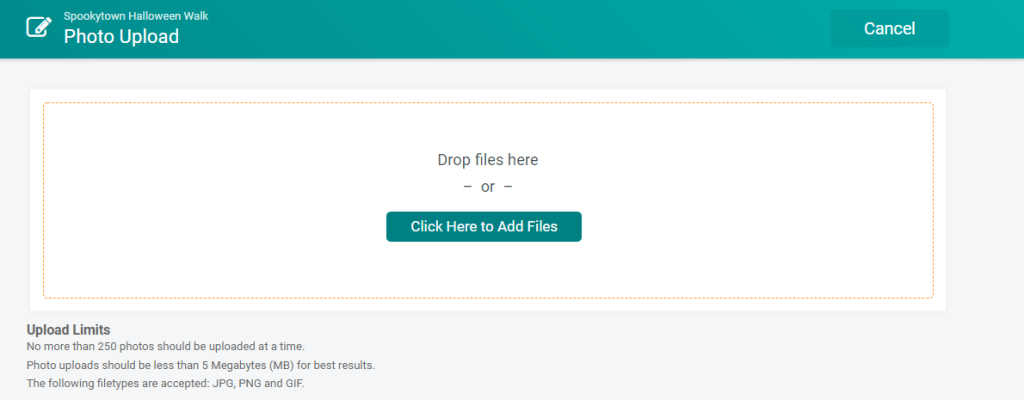
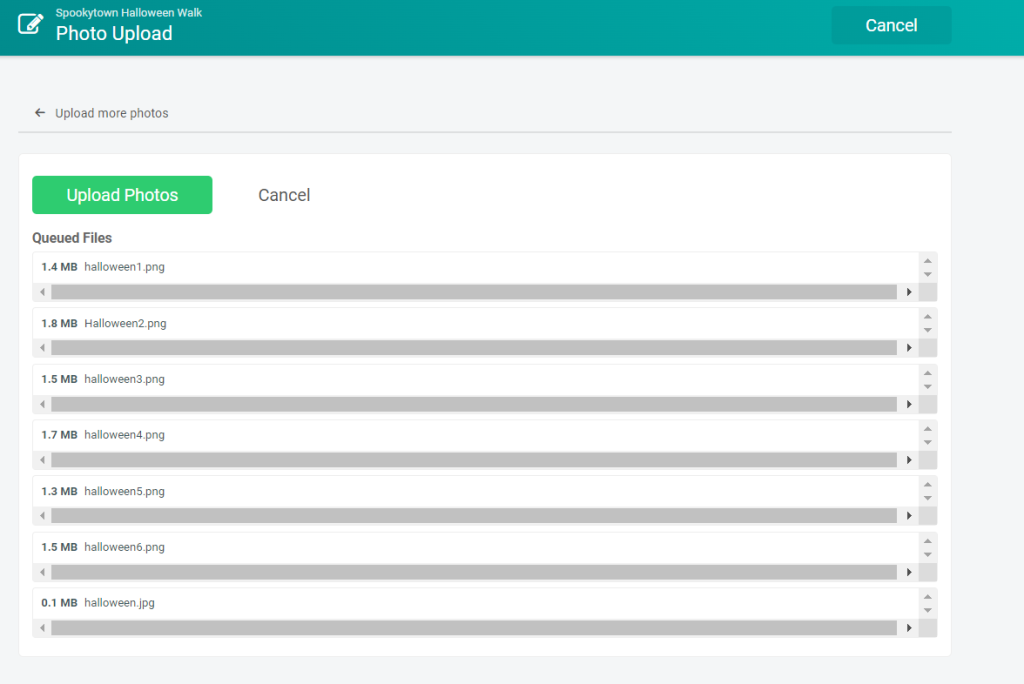
To upload your photos, you can drag and drop them one at a time, or click upload to find a photo or folder of photos. Once you’ve selected your photos, click Upload Photos.
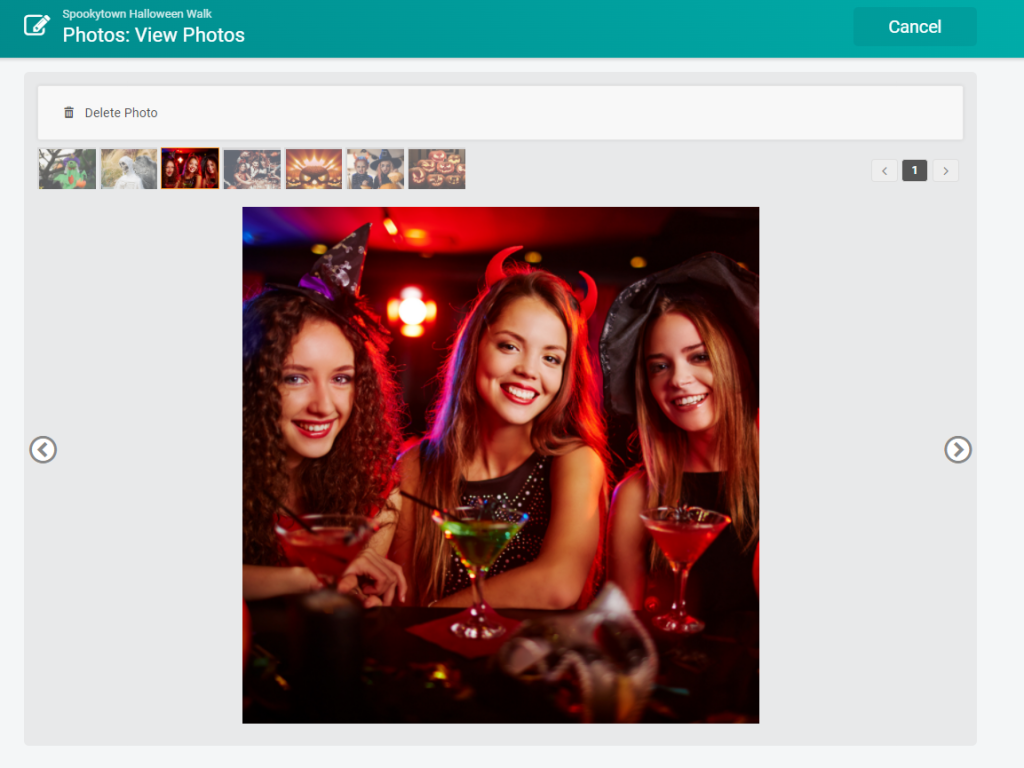
From there, click the success message to view your photos (and delete any that were accidentally uploaded).
Your photo albums will automatically show on your Event Info page.

For more visibility, add a section to your event cover page highlighting your photo albums and email your attendees to let them know their photos are available.

When attendees hover over photos in your album, they’ll have the option to download the photo or share it to Facebook – and there’s no better promotion for your next event than a happy attendee sharing how much fun they had!

And that’s a wrap! Your event day is over, but by making event day hassle-free and photos easy to share, all the post-event chatter is on the experience you provided.