
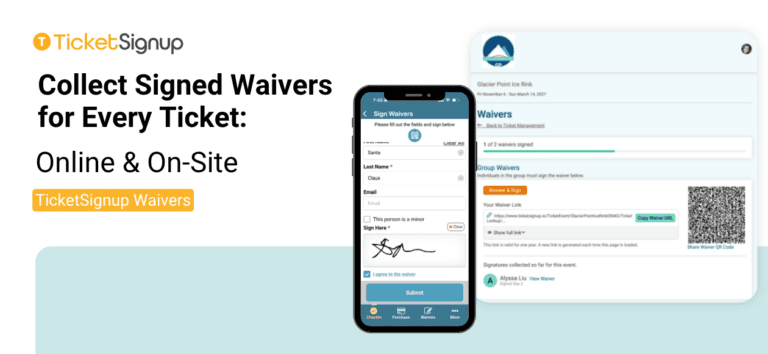
If your event carries physical or participation risk, a checkbox at checkout may not be enough. A real, signed waiver from every person who shows up could give you stronger protection, whether they sign ahead of time online or on-site at check-in. TicketSignup now offers Attendee Waivers, a signed liability release collected from each attendee, separate from the terms a buyer agrees to at checkout.
Two Waivers, Two Purposes
TicketSignup separates waivers into two distinct agreements, and you can have both on the same event.
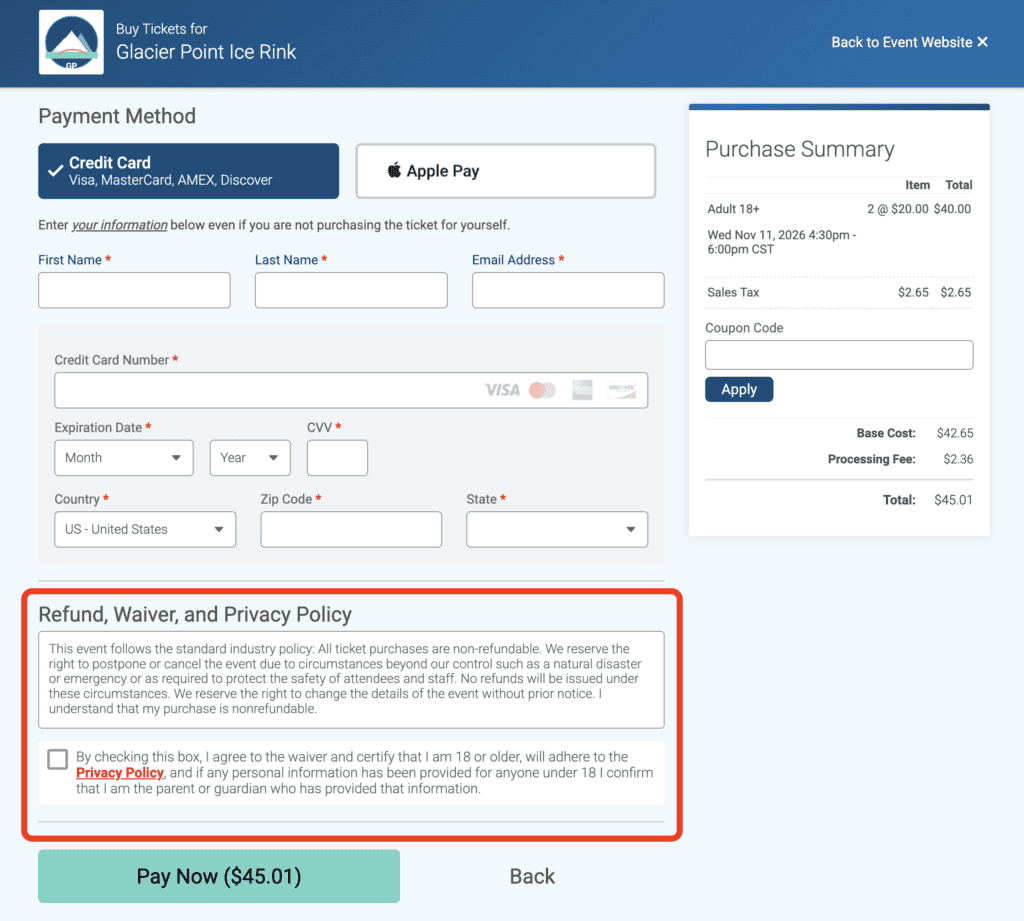
The Checkout Waiver is what a buyer agrees to once, at checkout. By default it covers a no refund policy and purchase terms, plus whatever additional event policies you want to add, and it keeps working exactly as it does today on every ticket event. Edit it from the event wizard or Event >> Waiver Agreements, and it’s what TicketSignup uses to fight chargebacks on your event’s behalf. For many events, this is all that they need.
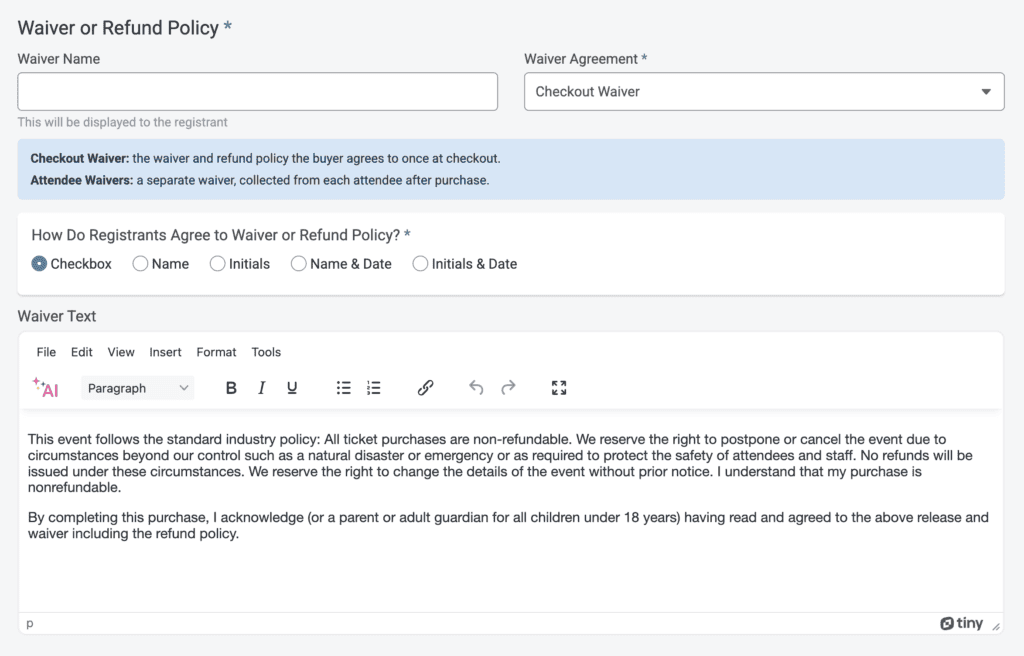
Attendee Waivers is a separate agreement, collected from each attendee after purchase. It covers the risk each individual person is accepting, and TicketSignup tracks a running Sign Waivers (X/Y) count so you and your attendees always know who still needs to sign.
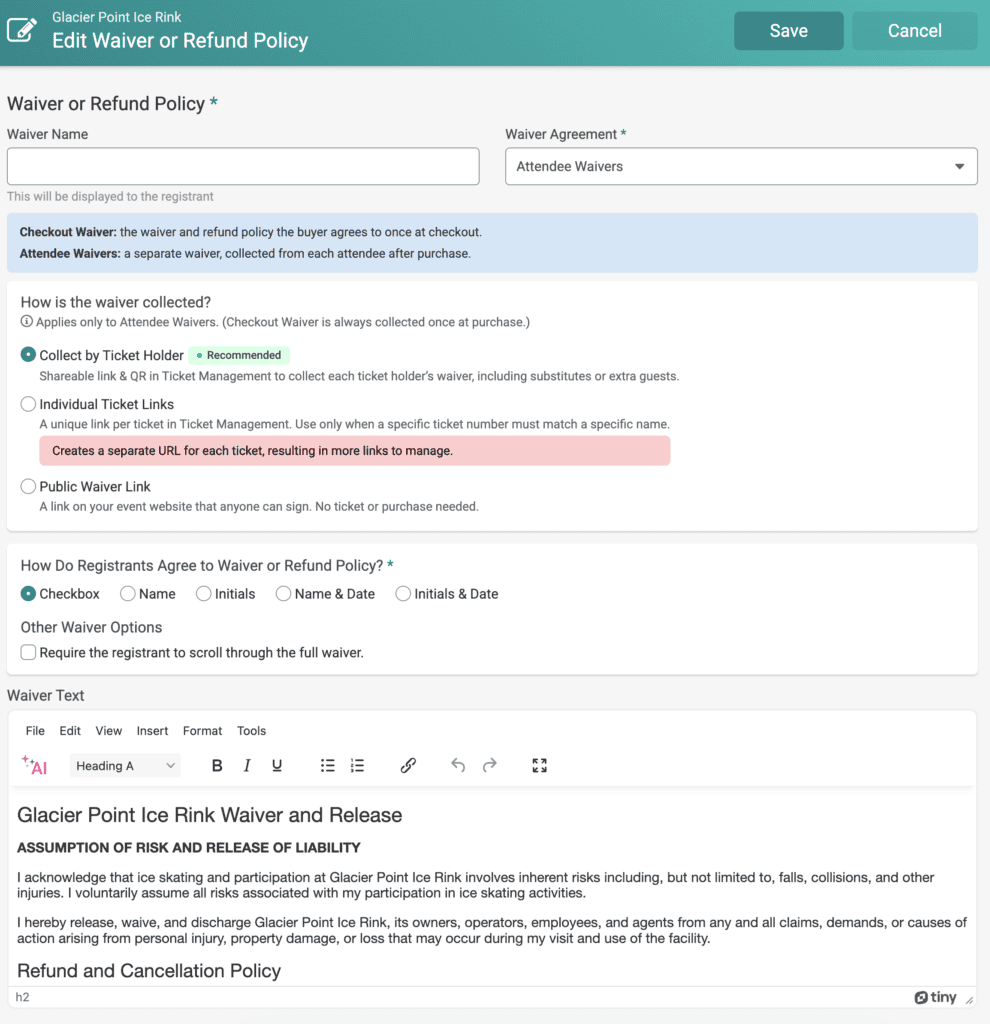
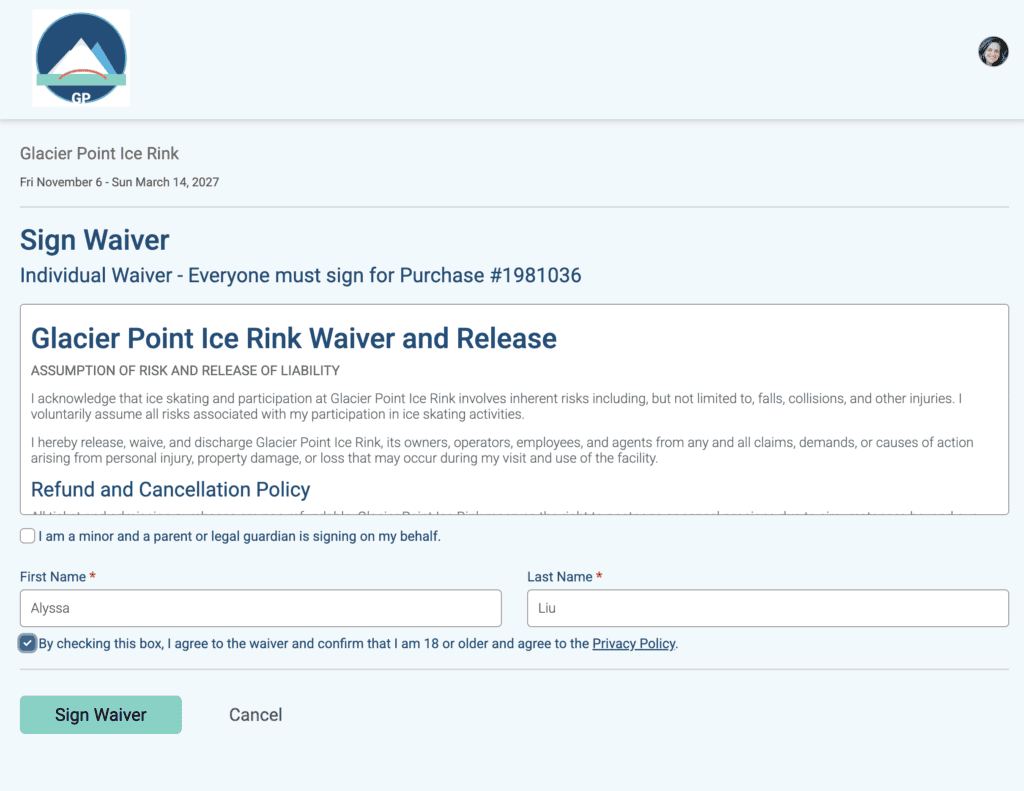
You turn on Attendee Waivers from Waiver setup on your event dashboard. Write your waiver text, choose how registrants agree (checkbox, name, initials, or name/initials with date), and optionally require them to scroll through the full waiver before they can agree.
Three Ways to Collect Attendee Waivers Online
Once Attendee Waivers is on, every purchaser gets a Sign Waivers (X of Y signed) button right on their Ticket Management page, the same page they already use to resend a confirmation email, transfer to a new date, upgrade, add items, or share their tickets.
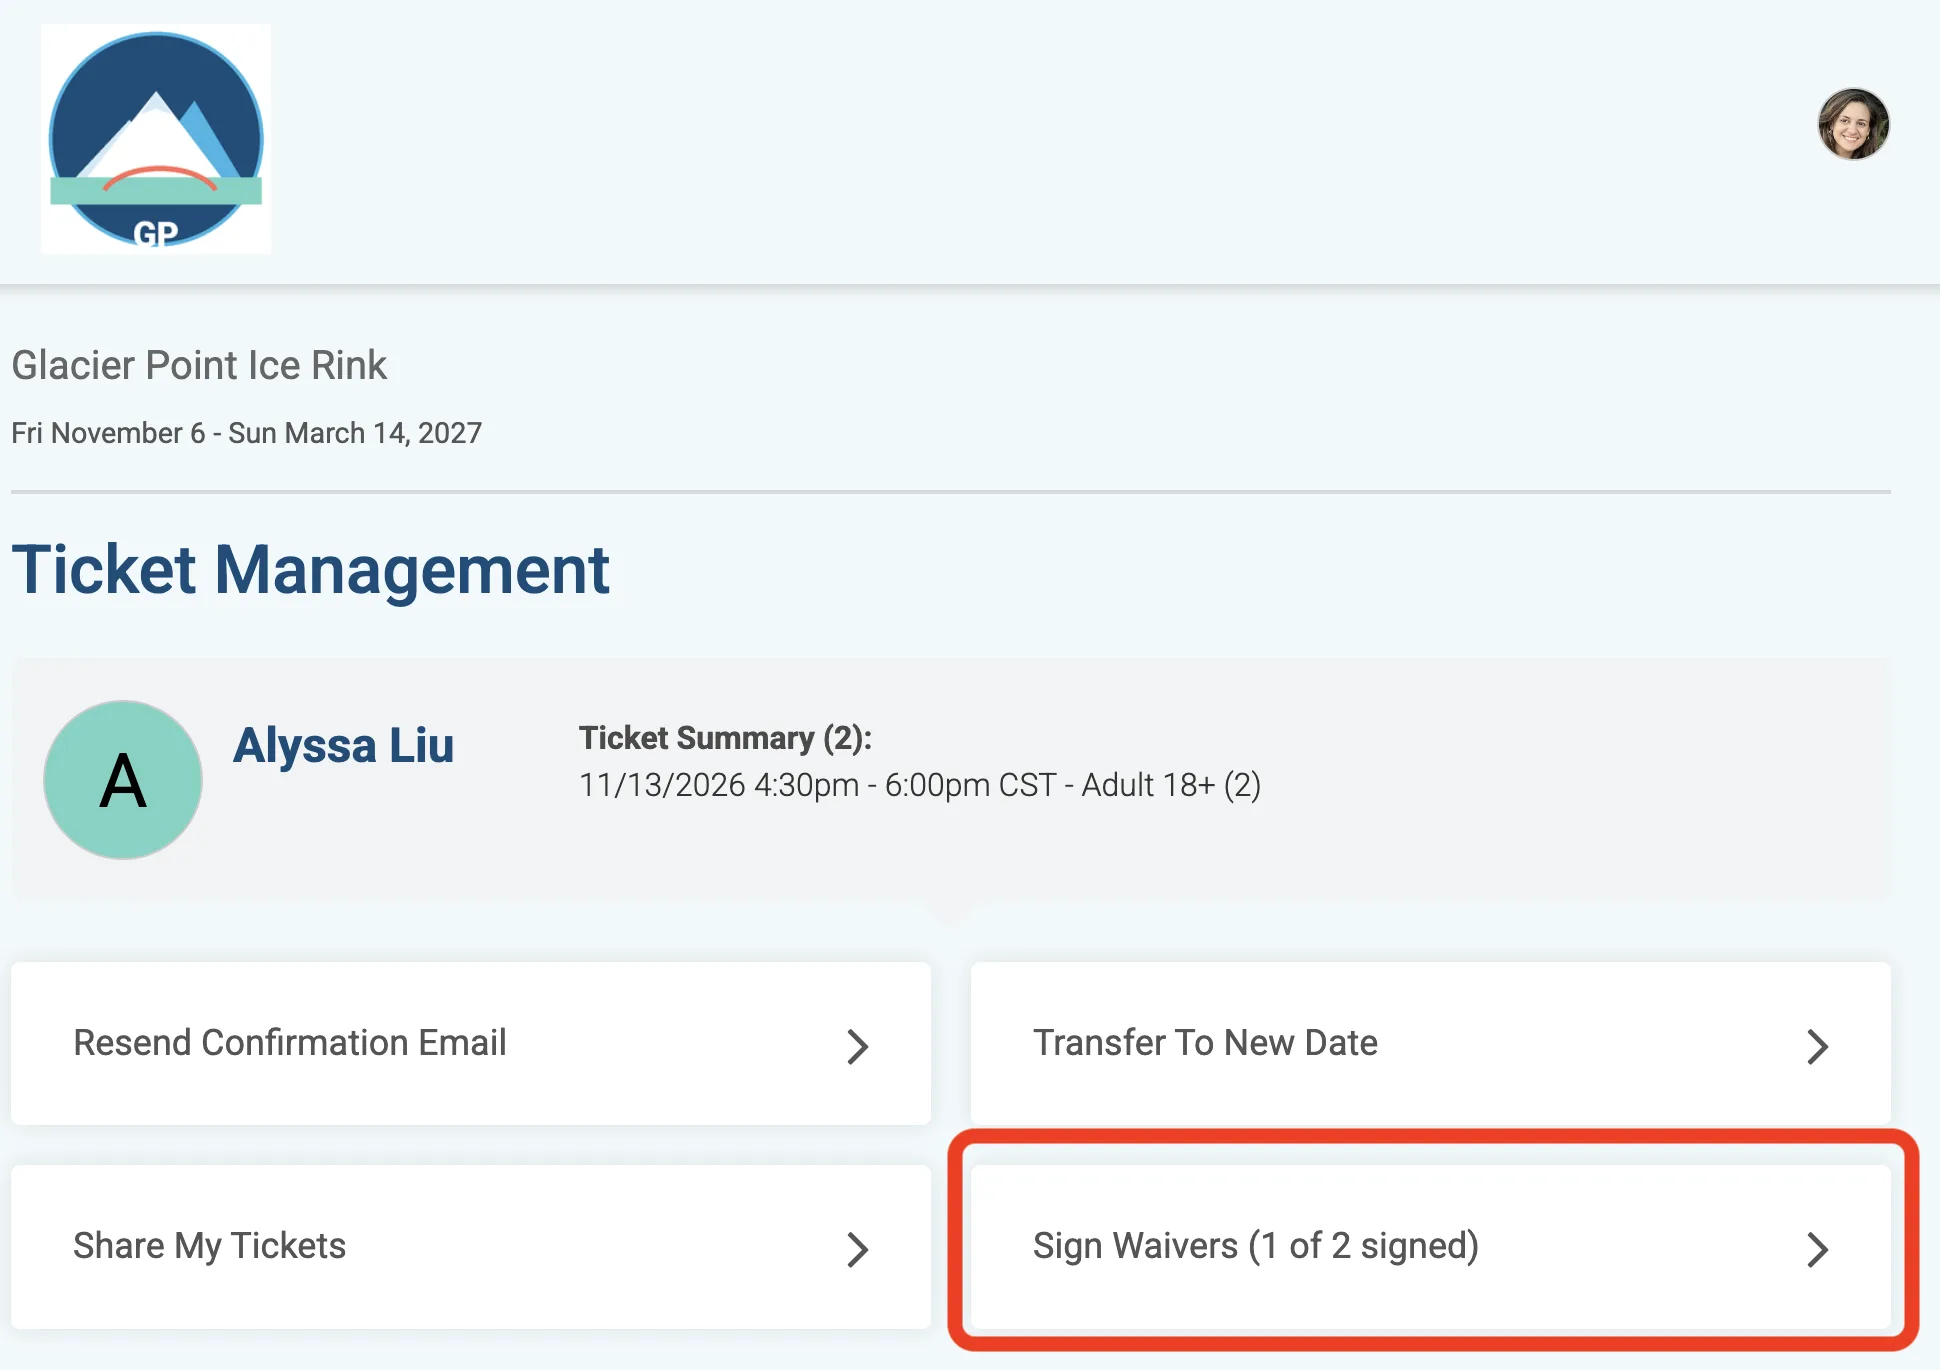
What that button leads to depends on which collection method you choose:
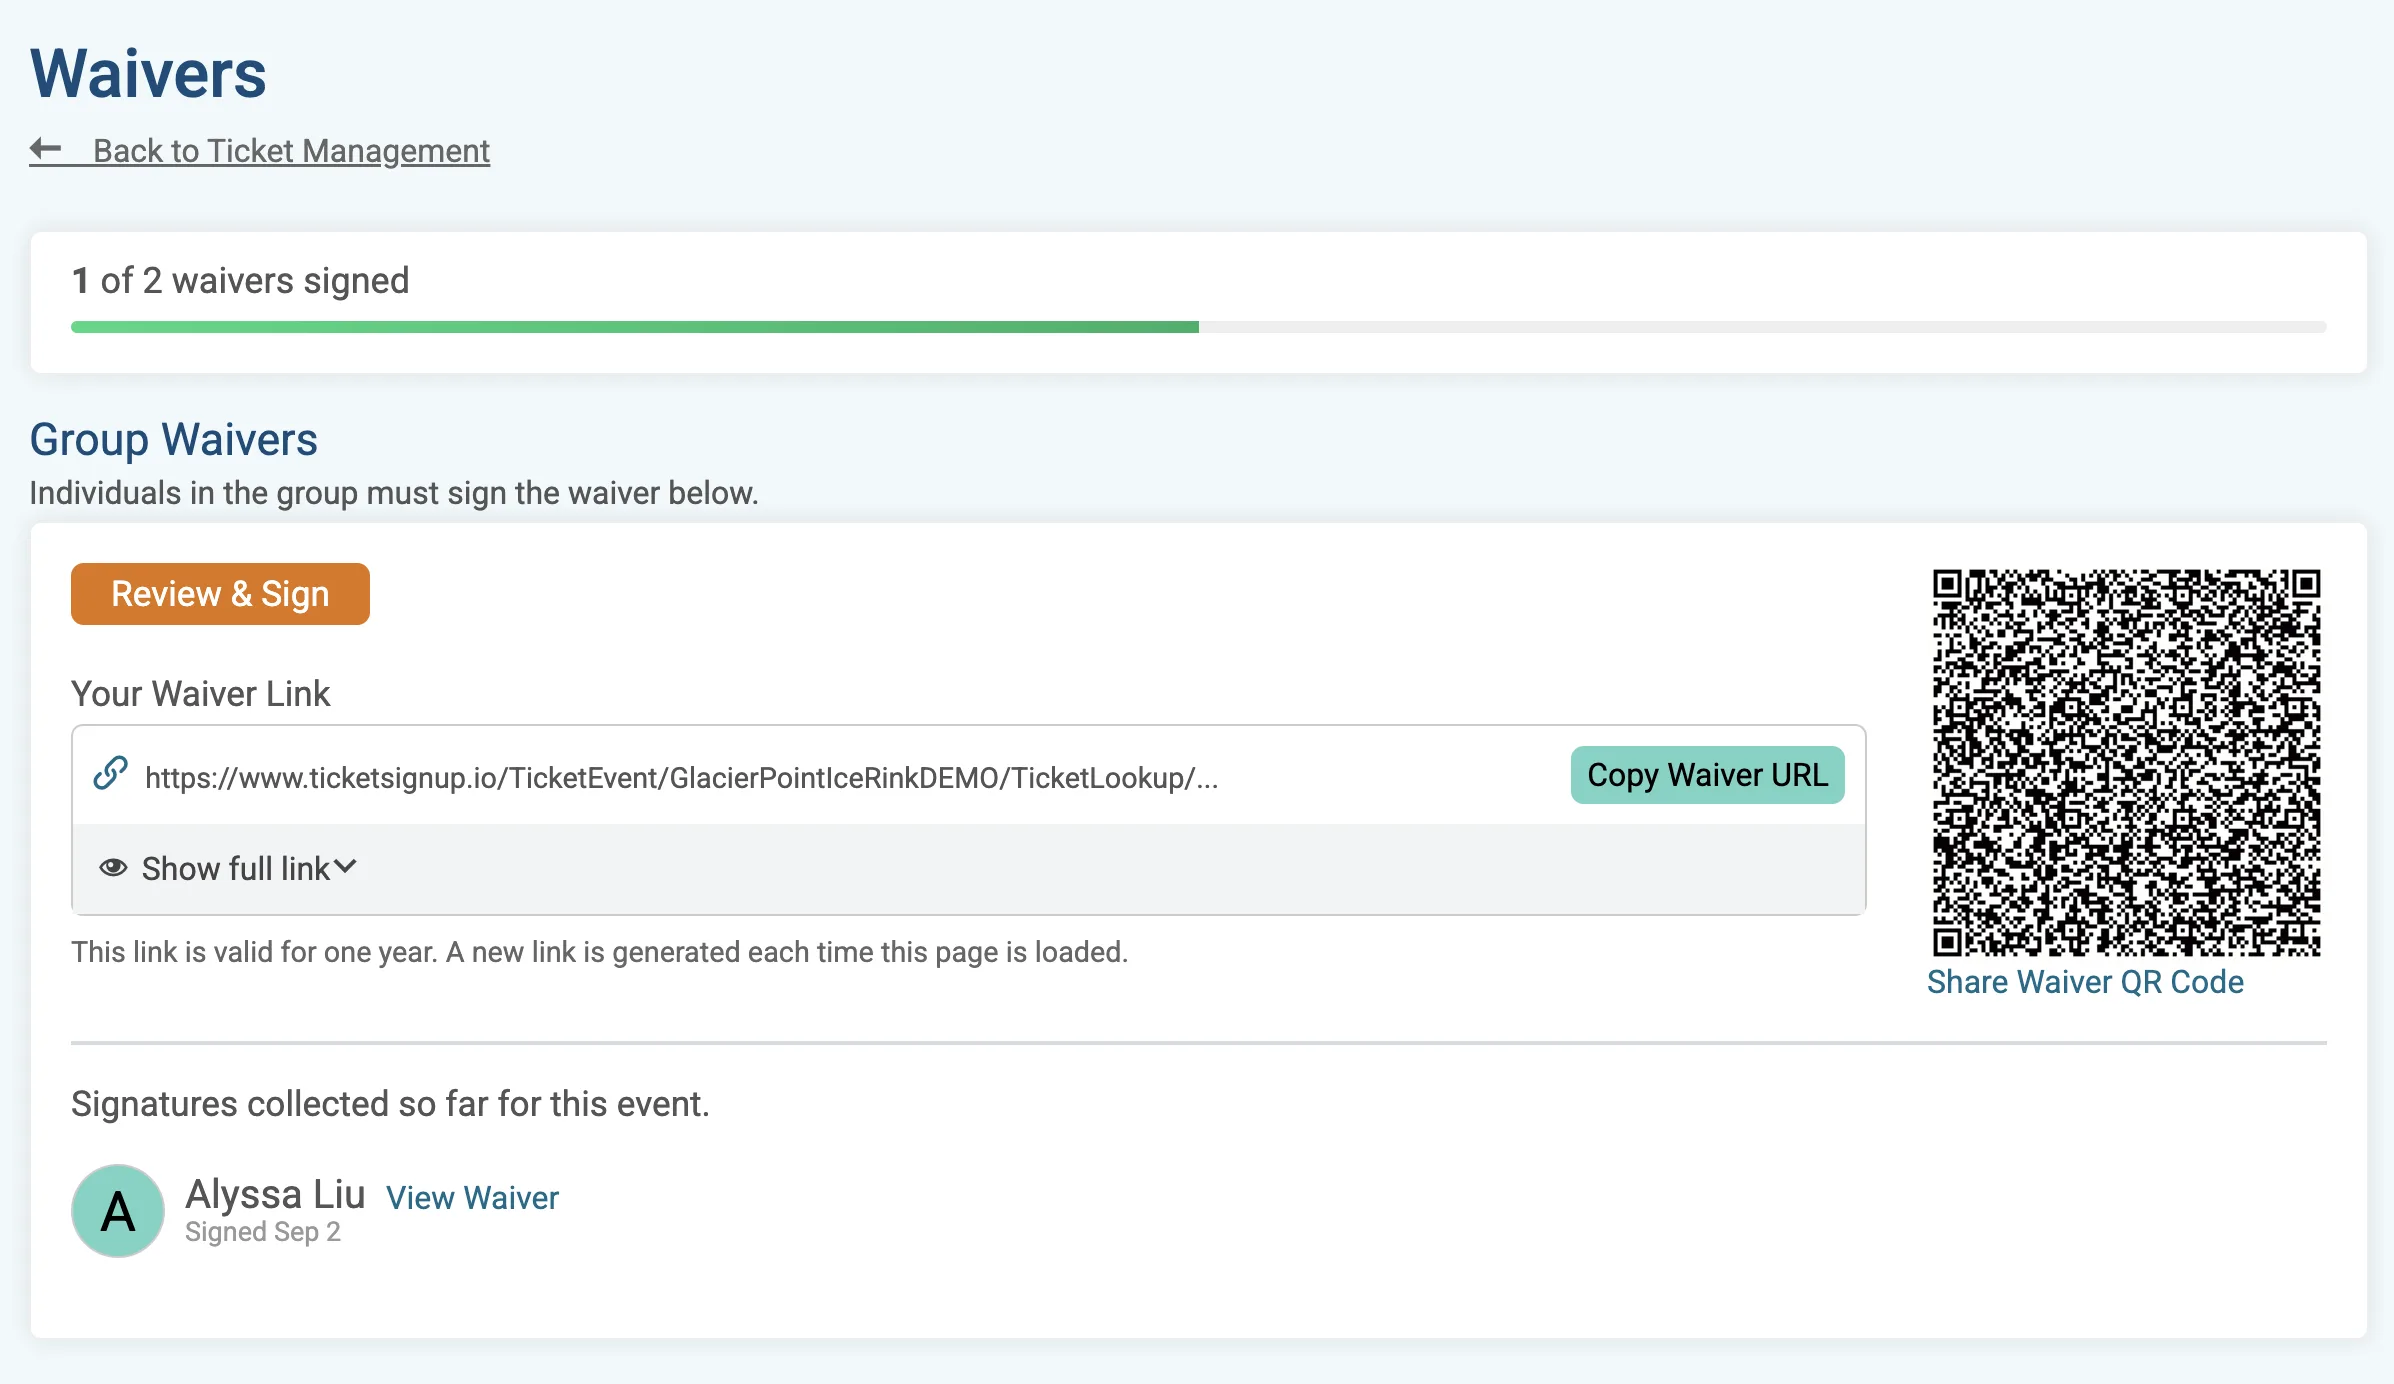
- Collect by Ticket Holder (recommended): one shareable link and QR code per purchase so any ticket holder can sign, including a substitute or an extra guest who wasn’t part of the original headcount.
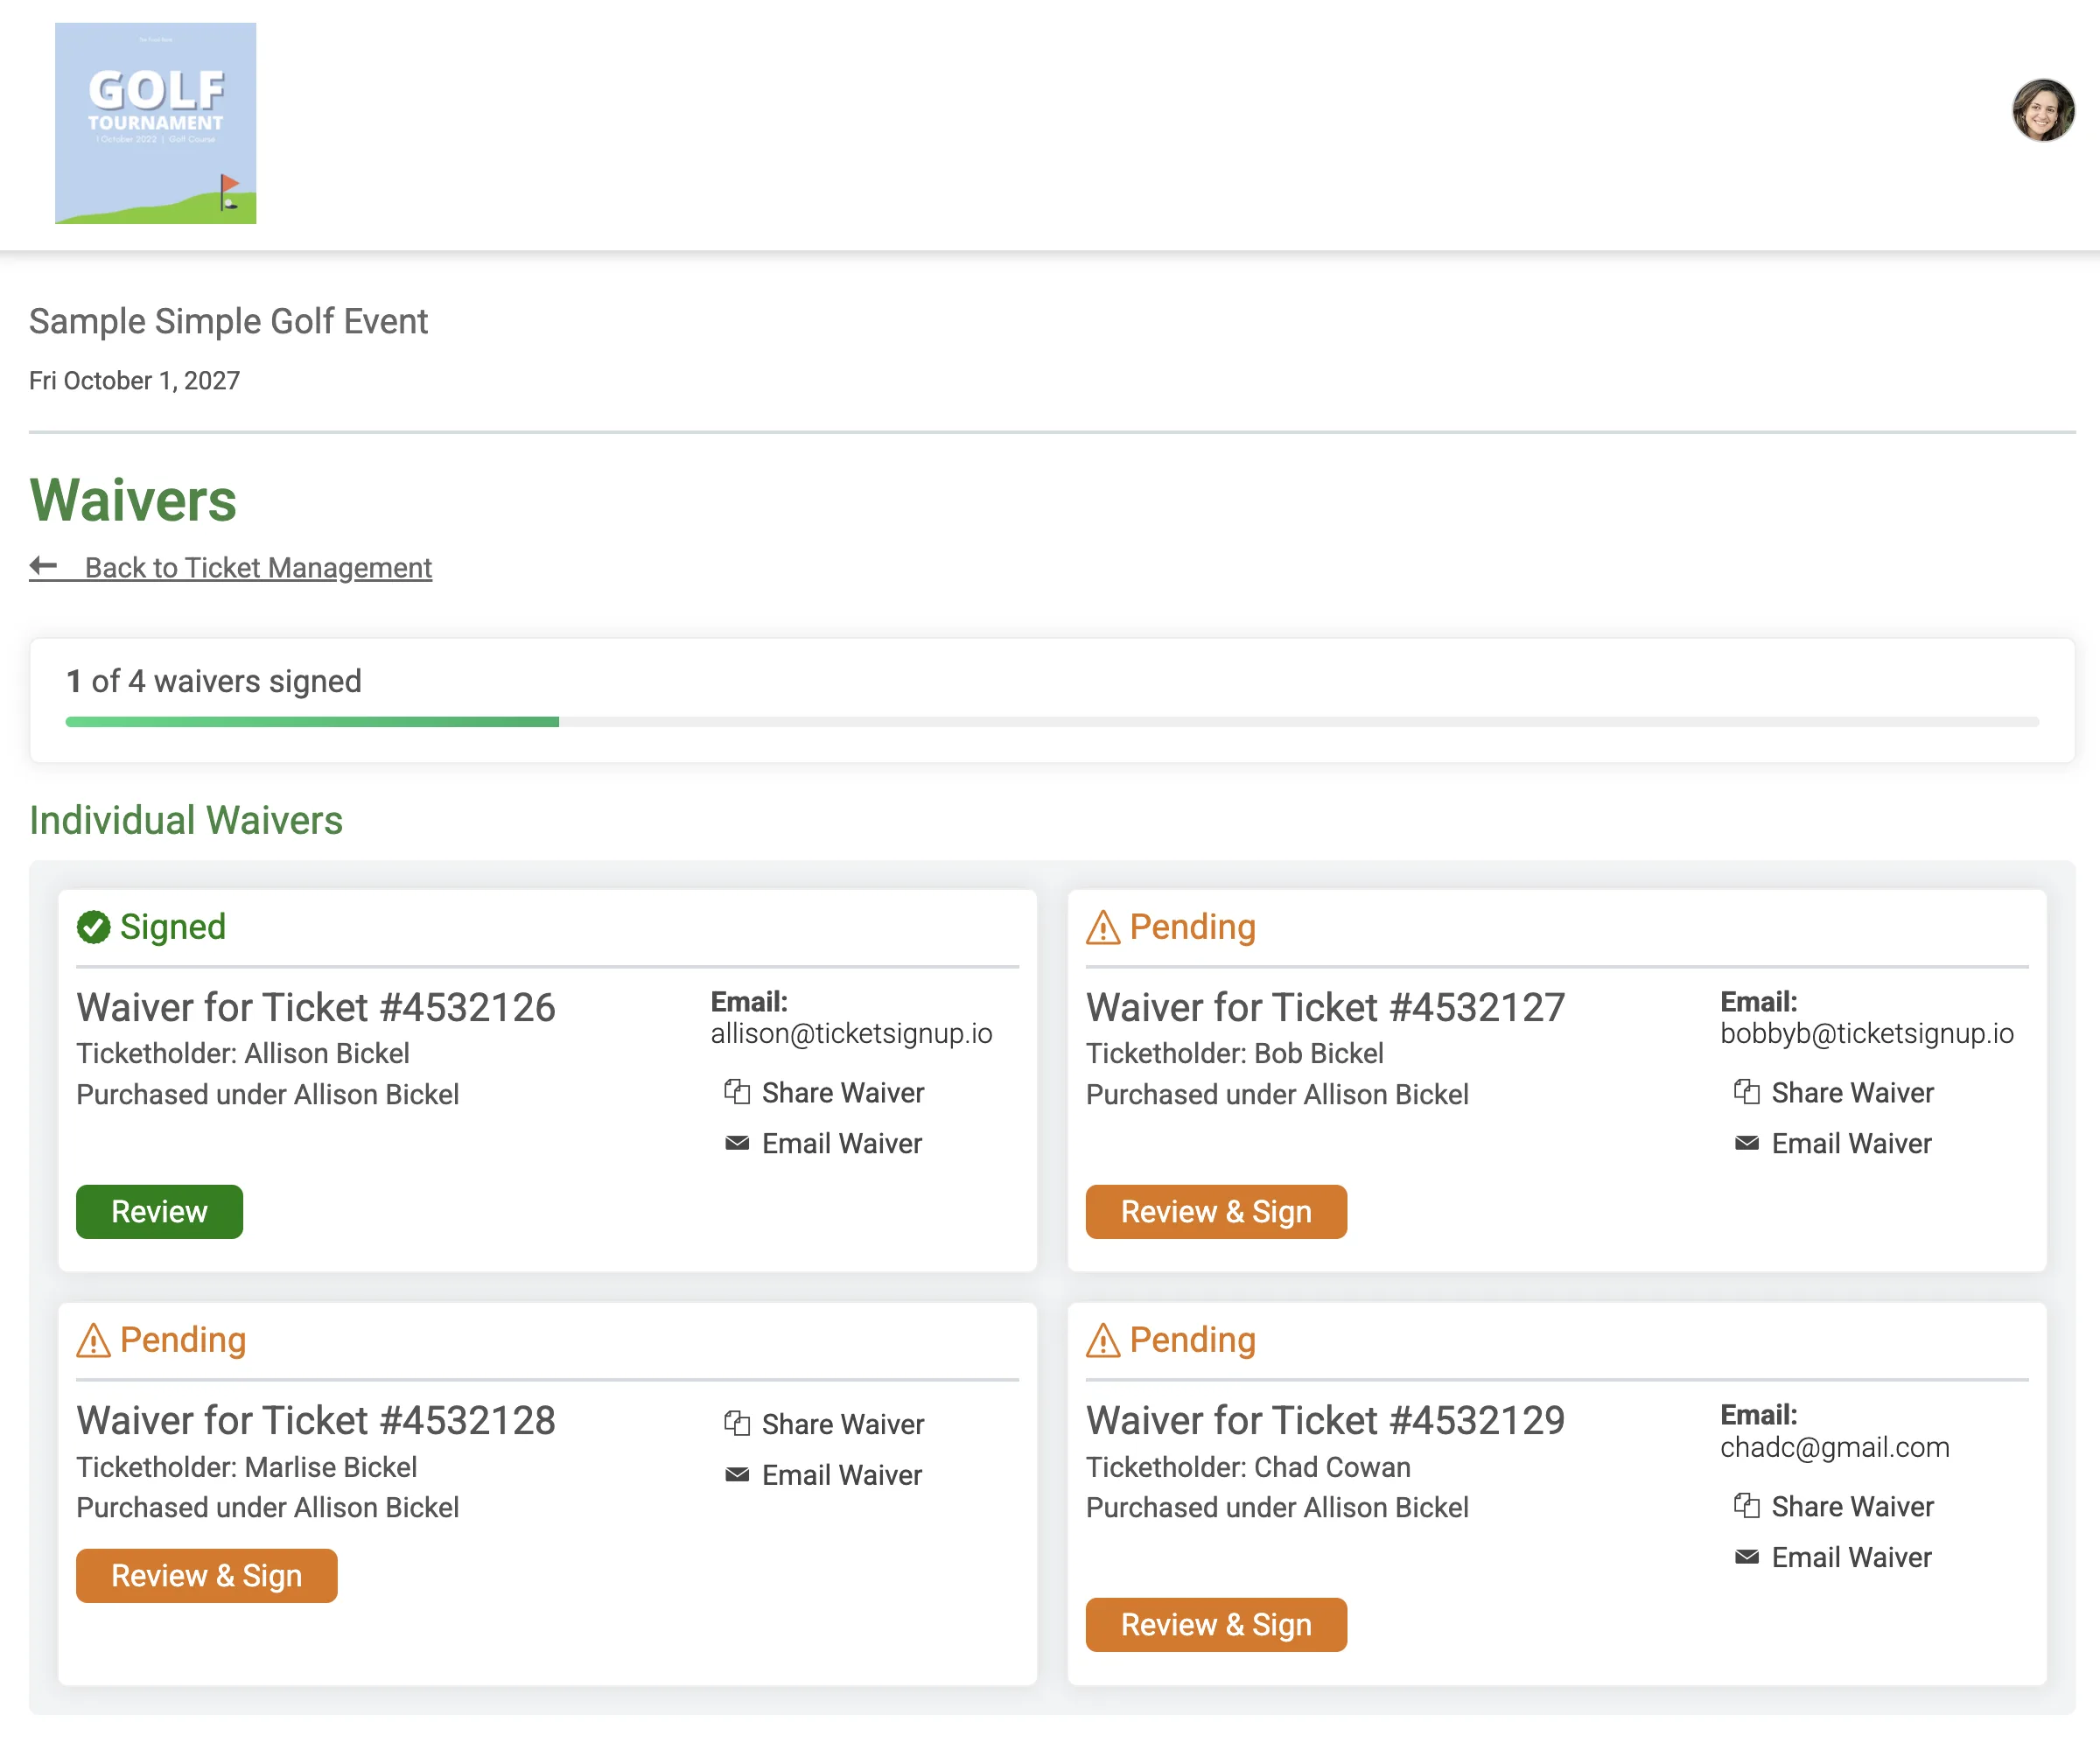
- Individual Ticket Links: a unique signing link for each ticket, listed individually in Ticket Management, for events where a specific ticket number needs to match a specific name. This setup creates unique waiver links per ticket, which can add unnecessary overhead for the majority of use cases.
- Public Waiver Link: an open link you post anywhere, your website, a printed sign, social media, that anyone can sign without a ticket or purchase confirmation. This is like collecting paper waivers, except the link is even more accessible and you can use waiver reports to manually search and validate waivers as needed.
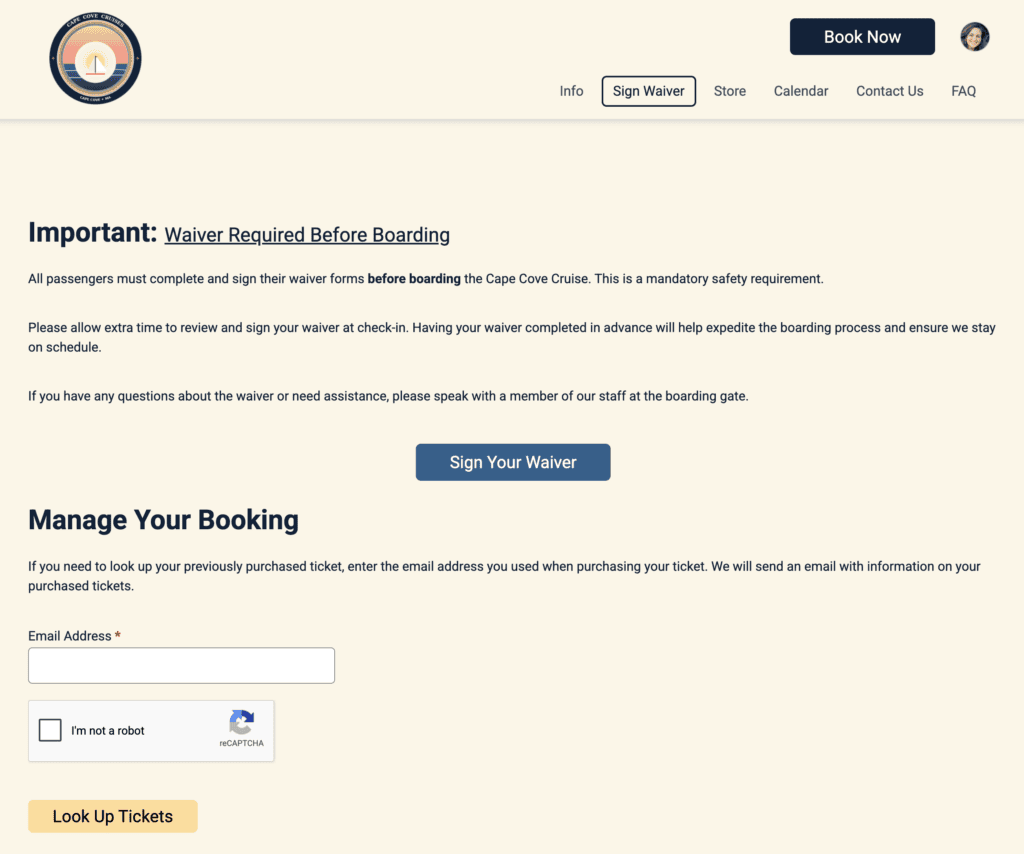
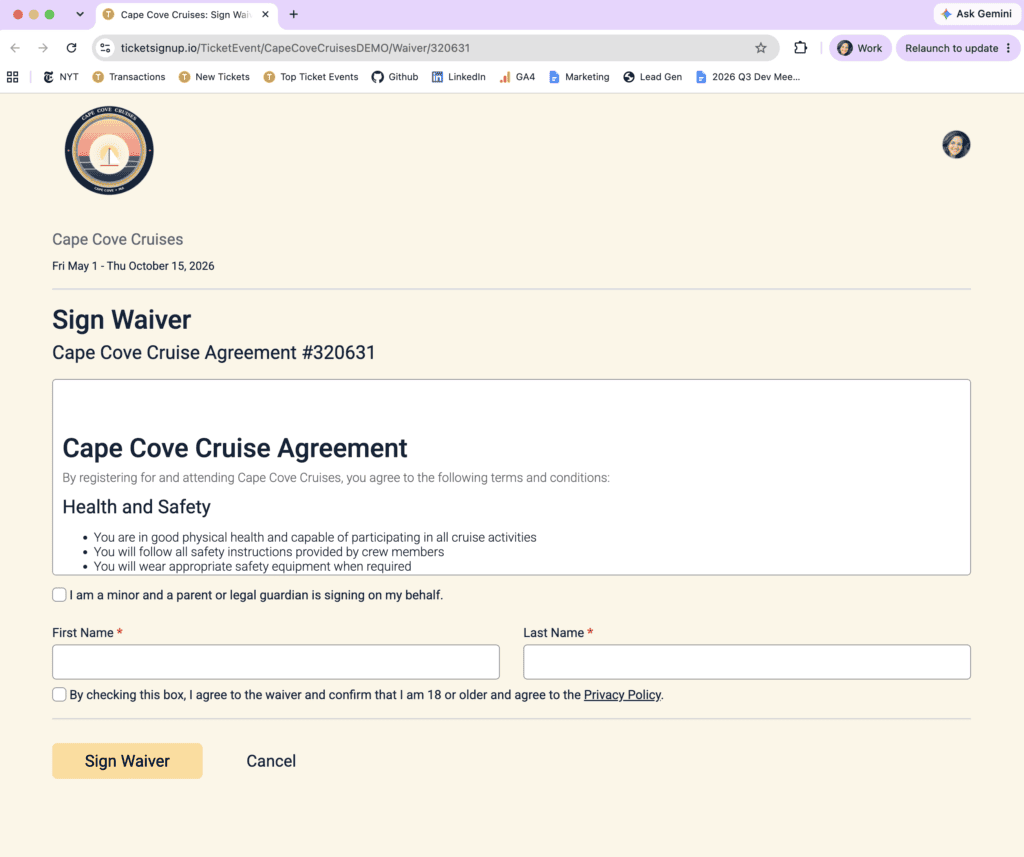
Each method has its own setup, its own signing experience, and its own reporting. The four linked posts below walk through each one, plus the Ticket App, in full detail.
Getting Signatures Before Attendees Arrive
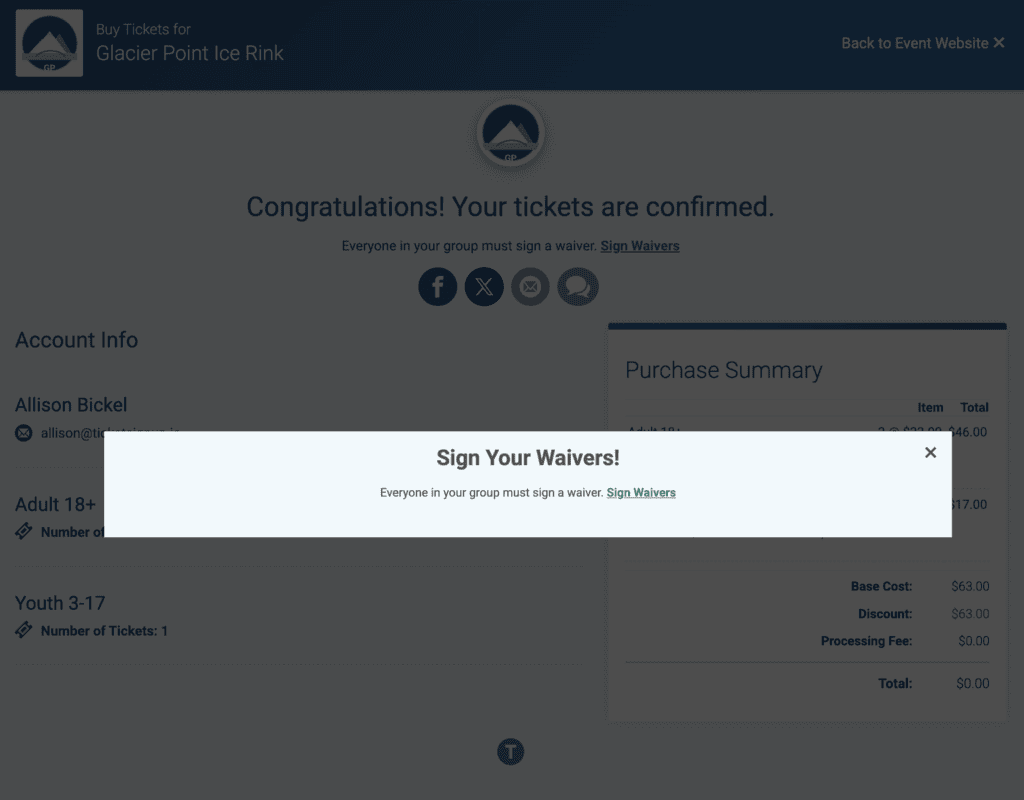
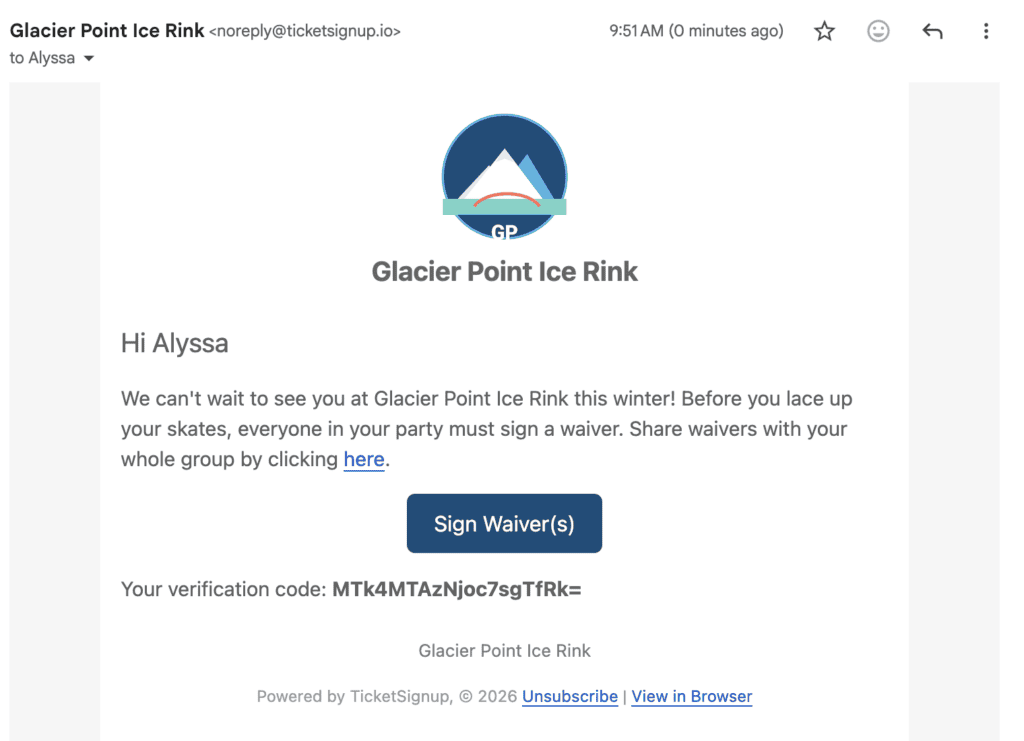
The fewer waivers you collect at the gate, the faster your line moves. Get attendees to start signing their waivers as soon as they finish buying tickets with a popup that links to waivers they need to sign. Waiver signature status and signing links can now drop directly into your automated ticket confirmation notification and automated drip campaigns via TicketSignup’s free Email Marketing, so purchasers get a nudge to sign before they arrive.
Signing On-Site in the Ticket App
Not every attendee signs ahead of time. TicketSignup’s free mobile Ticket App gives you flexible options to collect the rest.
Turn on waiver signing as a step in the normal check-in flow, and staff see how many waivers a purchase still needs right as they check someone in. From there, staff can hand over the app and let the attendee sign right on the device, or show a QR code and let the attendee scan it with their own phone to sign on their own device while the line keeps moving.
Turn on Waiver Mode, and those same signing options work independently of check-in. A staff member can walk the line ahead of the gate, validating that each group has every waiver signed before anyone reaches check-in, showing a QR code or handing over the app for the attendee to sign as needed. Or set Waiver Mode up as a self-serve kiosk: attendees look up their own purchase, by scan or by name search, then either grab their QR code or sign right there on the kiosk.
Waiver Signing in Check In Flow
Waiver Mode
Reporting
Every signature collected through attendee waiver links show up in your Waiver Agreements report. Search by name to pull up a specific signer fast, or filter by Ticket Purchase ID, Waiver ID, or Waiver Type. Columns populate based on the data fields you collect, including optional email address.
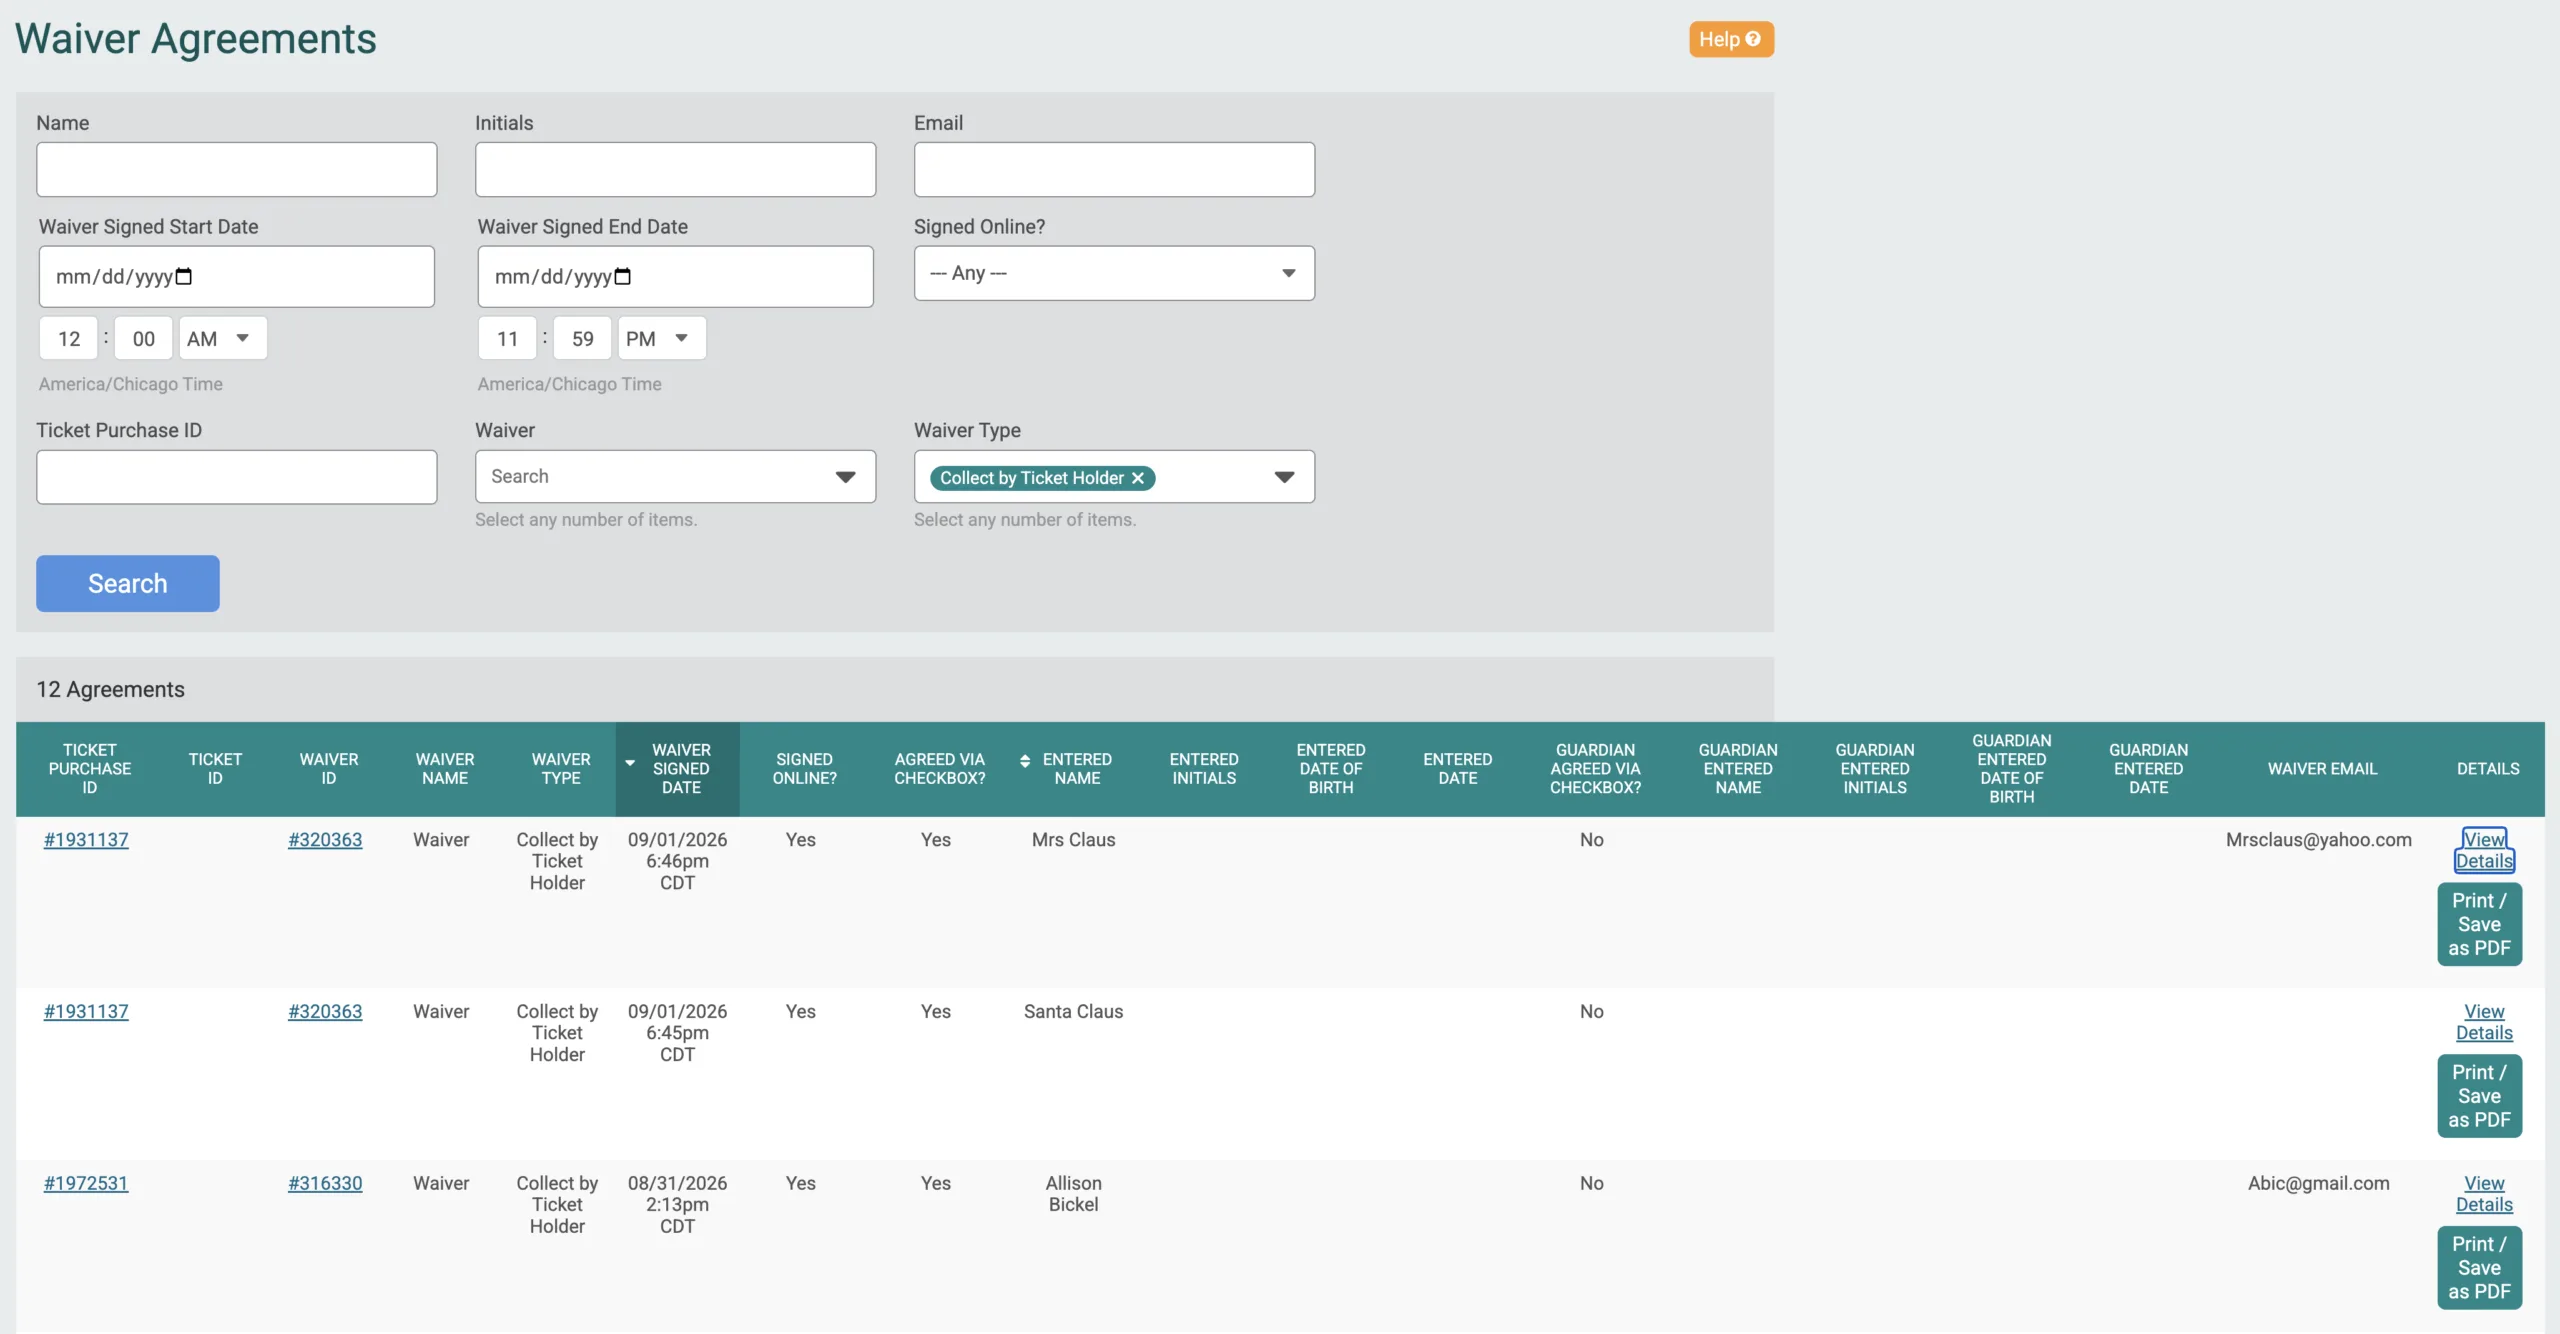
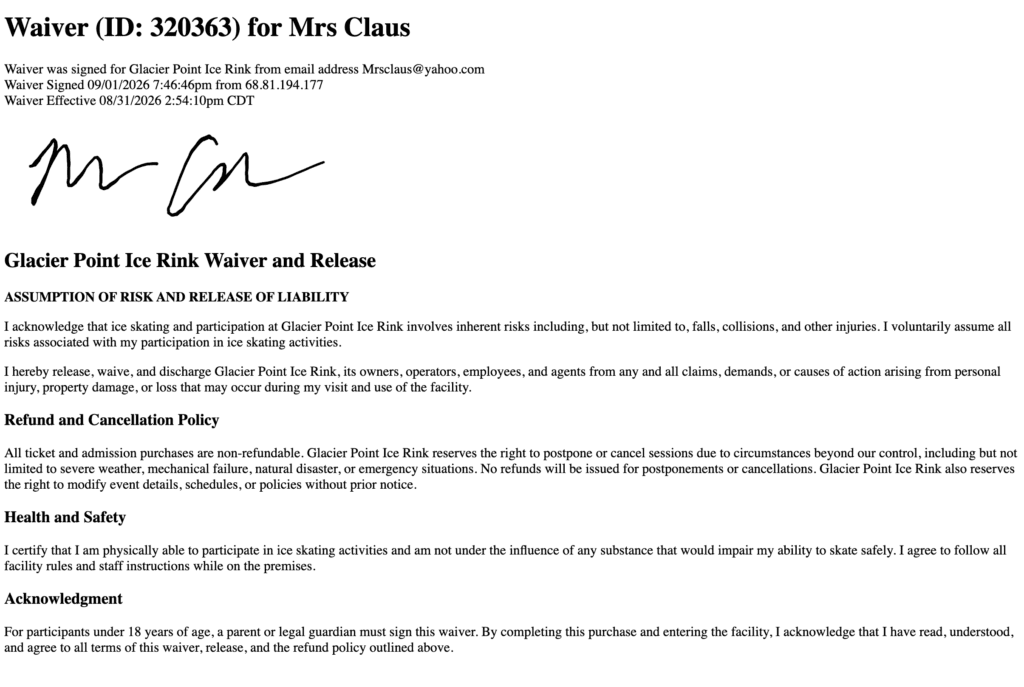
Each record includes the signer’s name, the date signed, their email if you collected one, and their IP address, plus a wet signature image if it was signed via the Ticket App. A print-friendly view is now available directly from the report.
Which Waivers Should My Event Require?
You can speak to your insurance company or lawyer regarding what is best for your event. In general, most events only need to collect the checkout waiver. Attendee waivers offer flexible options for organizations that need to get waivers from every person who attends. You can learn how to setup, collect, and validate waivers in our Setup Guides:
- Collect by Ticket Holder: the recommended default for most events
- Individual Ticket Links: for events where a ticket number must match a specific name, generally lower volume events
- Public Waiver Link: for open, ticket-free signing; best for handling offline bookings and large groups
Activity-based events, haunts, farms, obstacle courses, ropes courses, tours, have always carried some amount of risk. TicketSignup’s free and fully integrated attendee waivers mean you no longer need a separate paid tool like SmartWaiver bolted on to collect them, and you’re not reconciling a second system against your ticket sales. TicketSignup’s waivers work with free websites, free Email Marketing, and the free TicketApp. And it’s all included for free in TicketSignup’s $0.40 per ticket pricing, like everything else on the platform.