
The TicketSignup Tickets App has always made event day CheckIn a breeze, but this latest release helps event directors streamline a whole new area of operations: point of sale. The the latest release of the Tickets App allows you to sell tickets on-site through our integration with Square. Enabling this option means you can simultaneously check in attendees who pre-purchased tickets while accepting payment for new tickets at the door, all from a phone or tablet.
With the Tickets App, you can make it easy for all types of attendees to come to your event, whether they purchase online months in advance, grab a ticket from their phone in the parking lot, or come to your ticket window moments before entering the event.
Key features of the Tickets App with Point of Sale include:
- Quick, easy buying process gets your attendees through the gate and onto the fun.
- Ability to designate a device for purchasing, CheckIn, or both
- Option to Auto-CheckIn on-site purchasers so your stats reflect the true number of attendees
- Option to accept credit payment or indicate cash payment
- Basic reporting of tickets sold via Square within your TicketSignup Dashboard
You can see how smooth and easy the buying process is for your attendees:
Point of Sale Setup
- Integration Must-Haves
- Authorize Square
- Enable Tickets App
- Connect Your Reader
- Configure Your App
- Sell Tickets!
Integration Must-Haves
There are three things you’ll need to do or have to utilize this integration:
- Download (or update) the Tickets App from your App Store
- Acquire a Square Reader
- Setup a Square Account
Authorize Square
To start, go to your Ticket Event Dashboard and navigate to Financial >> Square (alternatively, you can search for Square in the search bar at the top left of your dashboard). From here, click the orange button to Set Up Square Authorization.
This will take you directly to Square to sign into your Square account. Once you have authorized your account, you’ll see the linked account here. You can authorize more than one account and select the correct one, and/or add an additional authorization by clicking the arrow next to More Options.
Enable the Tickets App
To enable the Tickets App, navigate to Event >> CheckIn on your event dashboard. Enter the dates when you want the App to be accessed for either CheckIn or POS as well as a shared password that will be entered on any mobile device using the app on event day.
Connect Square Reader
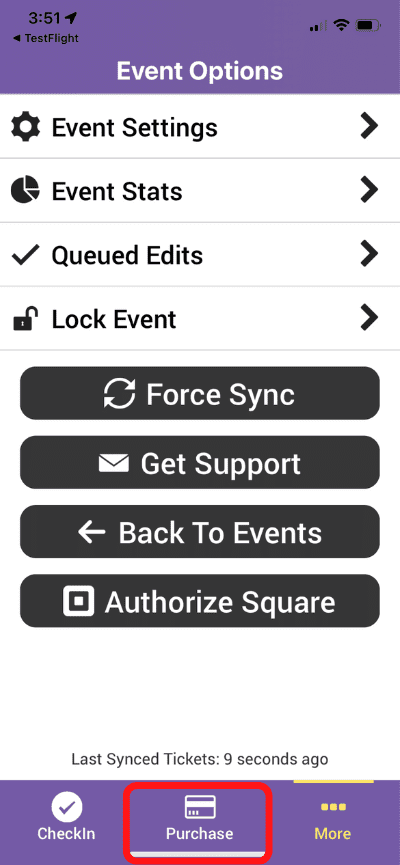
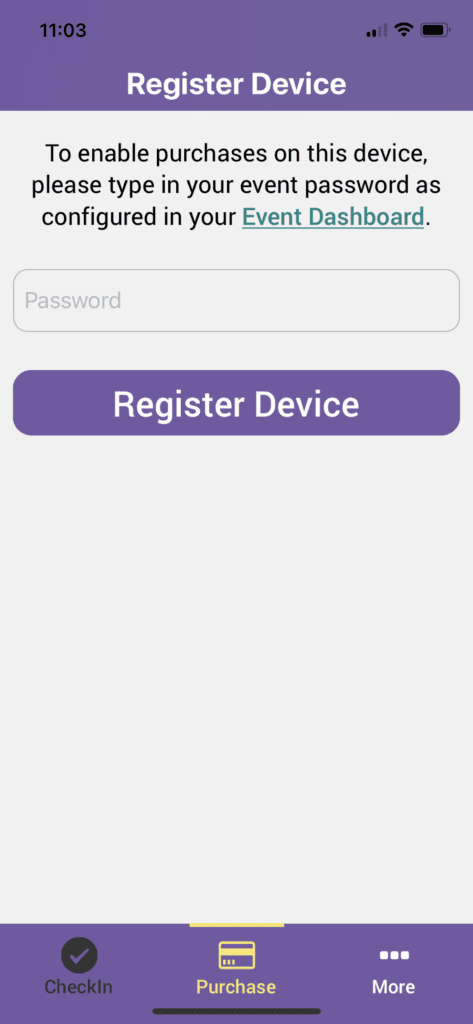
First, find your event by searching events in the app. For this blog, we’re using the test event called “Cookies”. Then, click the button to Purchase at the bottom of the screen. This will take you to the screen to register your device by entering the Password you set on your ticket dashboard (just above).

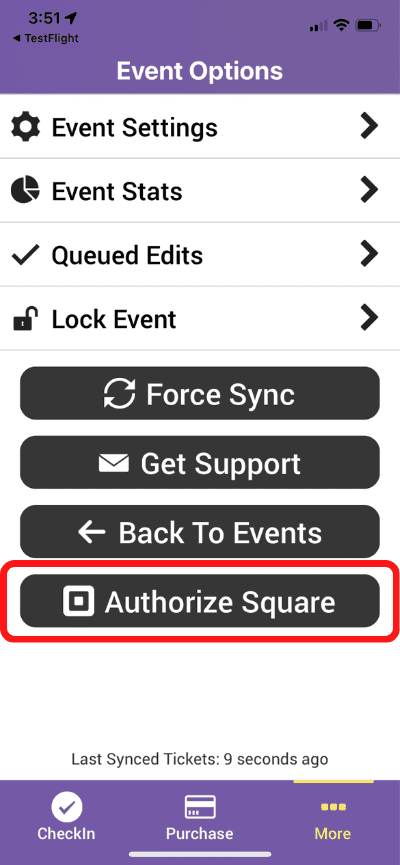
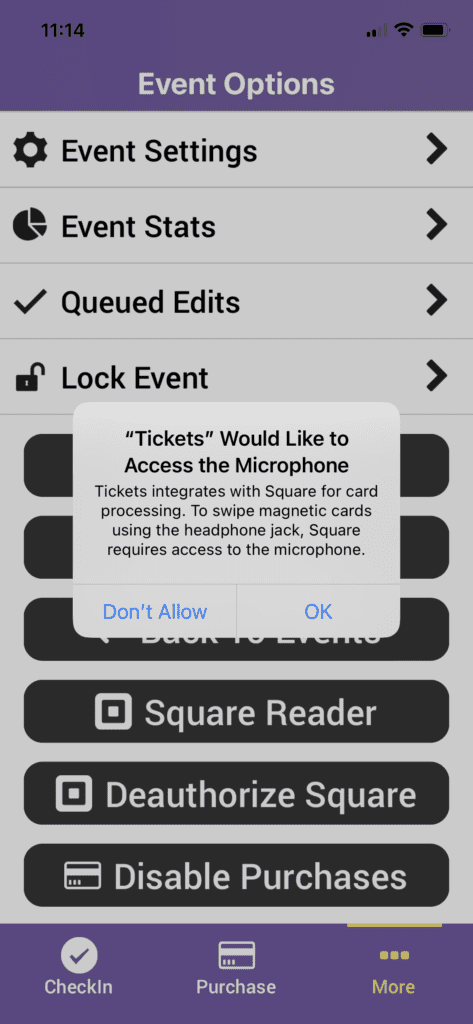
Once you have enabled purchasing, navigate back to the menu screen by clicking on “More”. From there, click on “Authorize Square, and follow the prompts to allow microphone access (if using a headphone jack for your Square Reader) and location access in-app.

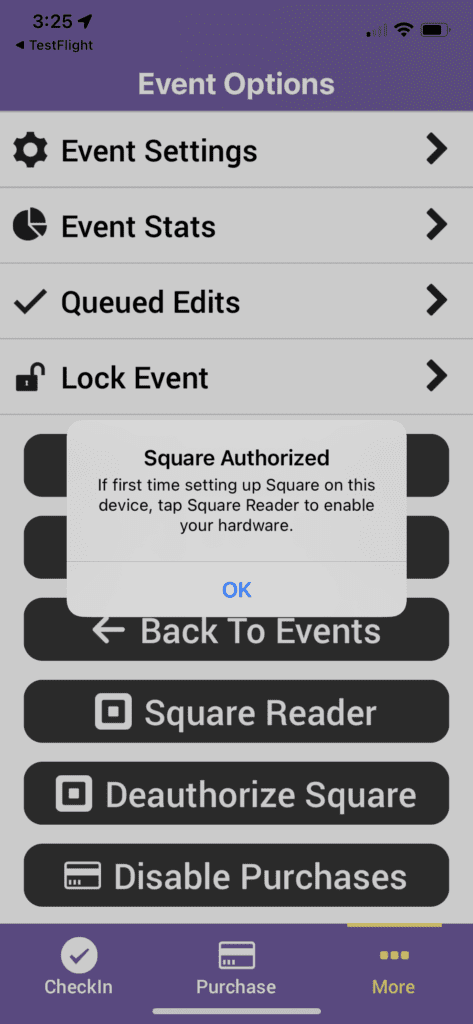
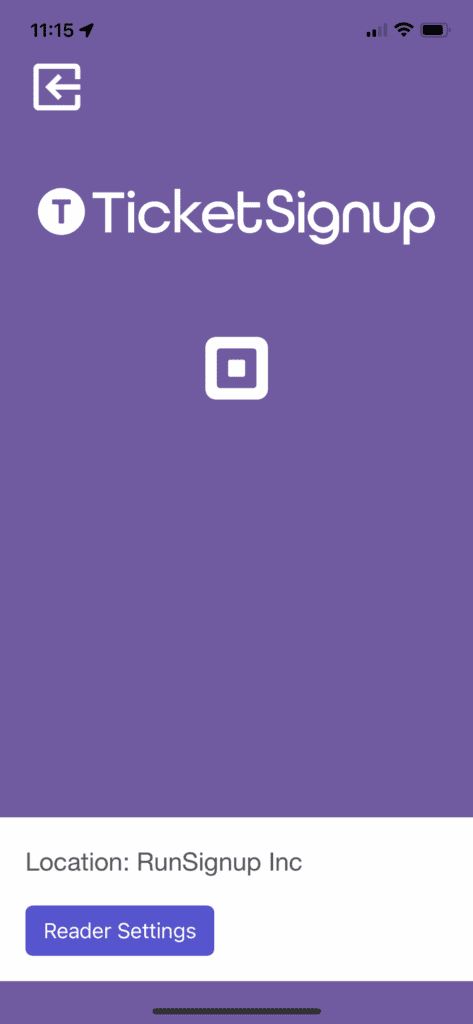
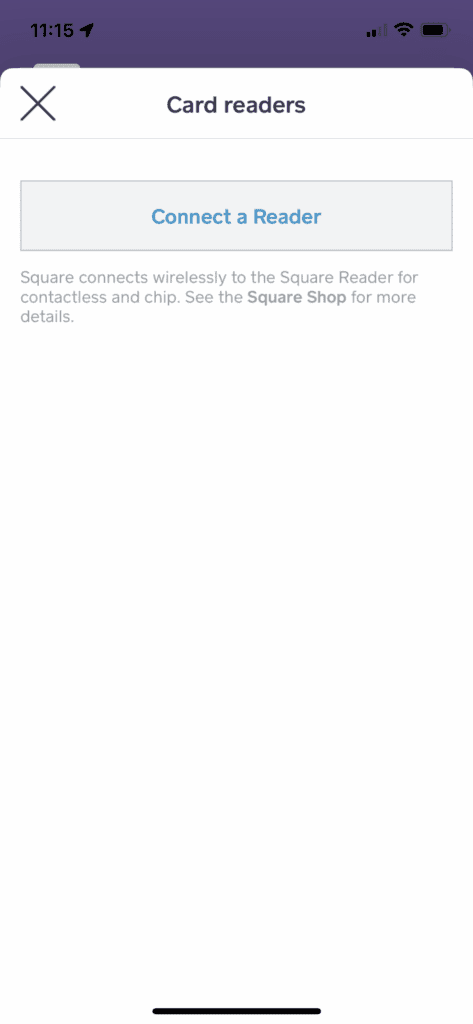
Then, place your Square Reader near your phone, select “Square Reader” on the screen, select “Reader Settings” follow the prompts in the app to connect your device with the reader.
Configure Your App
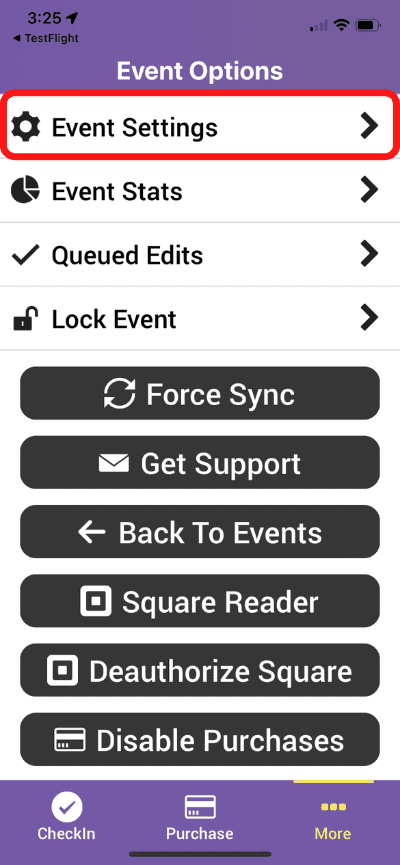
Next, you want to set and pre-sets and configurations on your app. To access these, select “Event Settings”.
For a more detailed explanation of Presets and Configurations, view Step 4 of our Event Day Guide. For the purposes of this release, a few updates to be aware of:
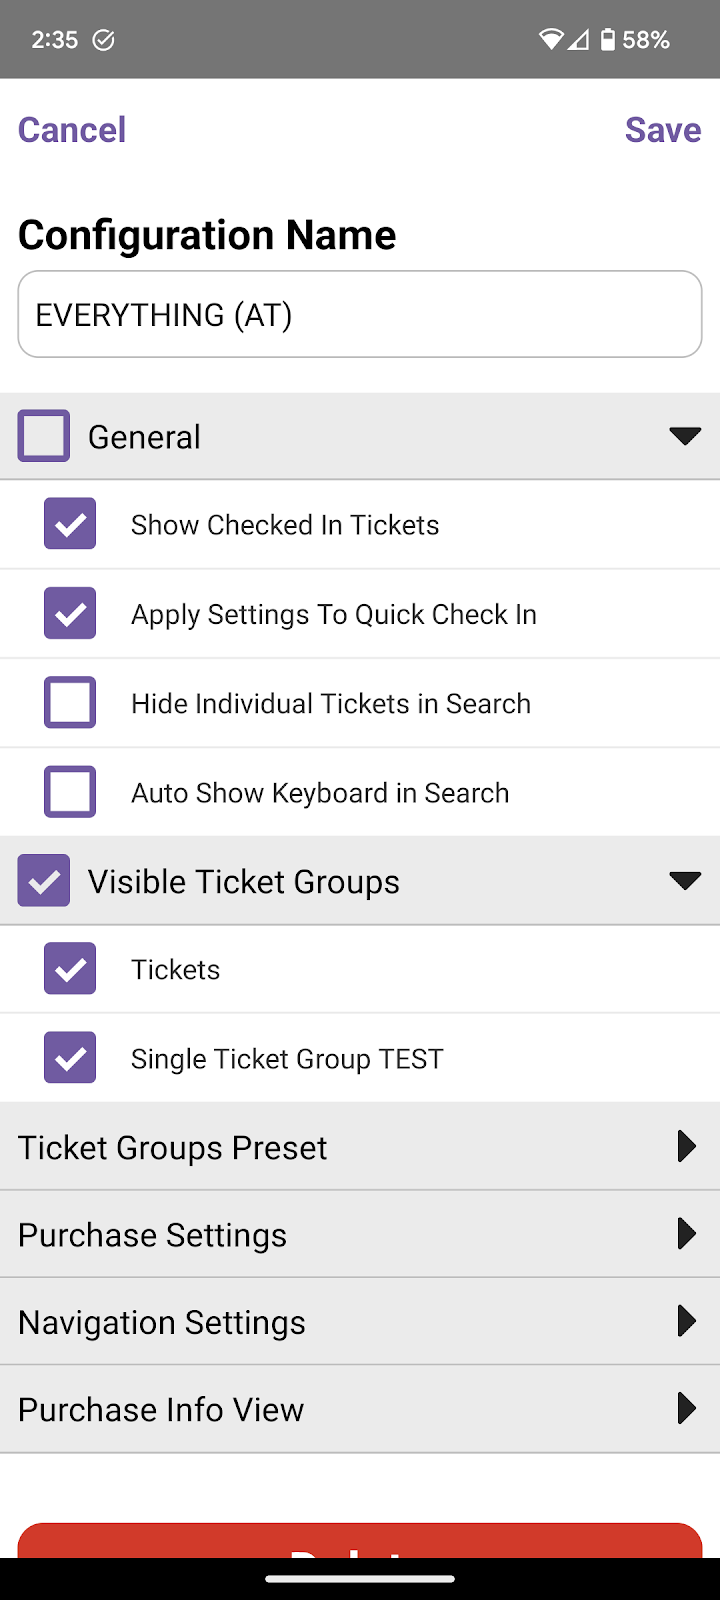
The UI has been updated to include collapsible setup panels within Preset and Configuration Setup.
Auto-CheckIn
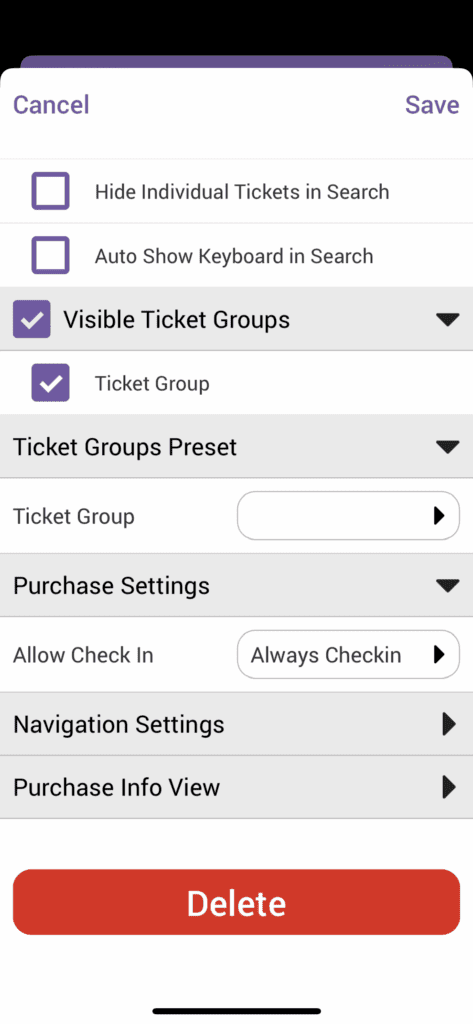
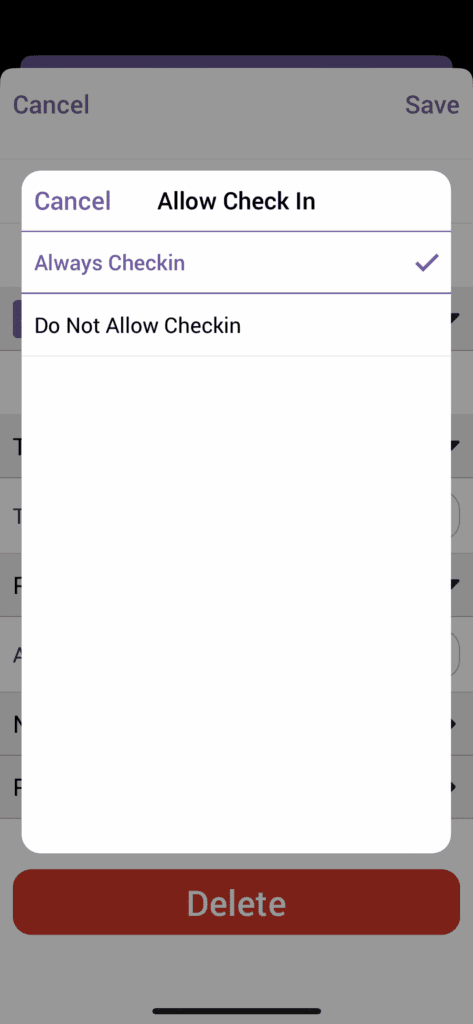
Within configuration settings, open “Purchase Settings” to designate whether on-site purchasers should be automatically checked in.
Limiting Configuration to CheckIn or Purchase only
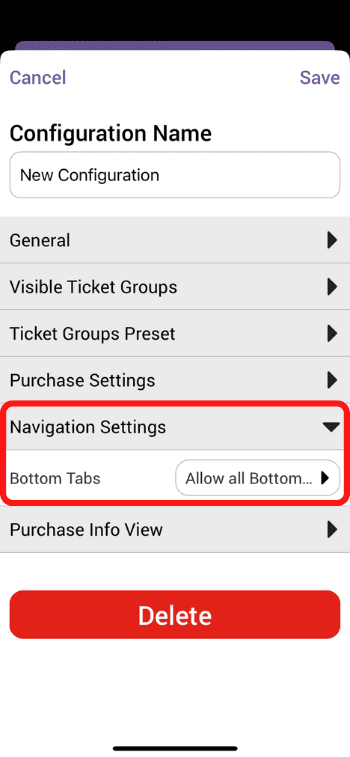
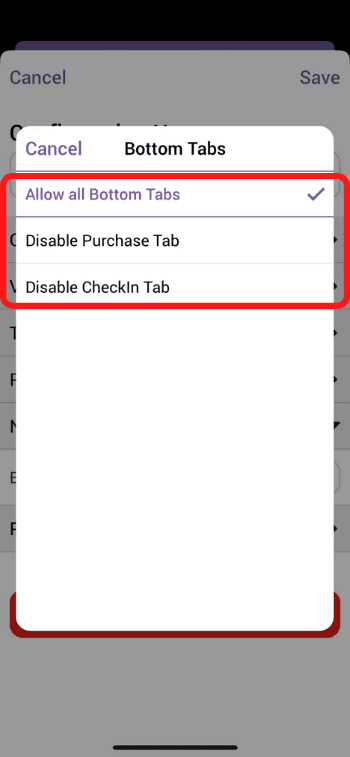
If you want a specific device to be designated for only purchasing or only CheckIn, you can create separate configurations for each. Click into “Navigation Settings” to remove (or add) either Purchase or CheckIn from the bottom menu of any device with that configuration.
Sell Tickets
Now that you’re set up, it’s time to sell!
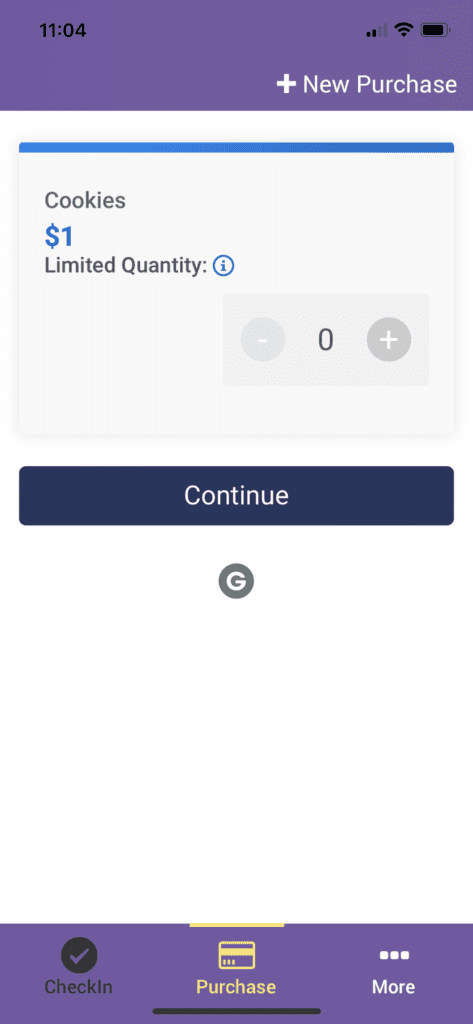
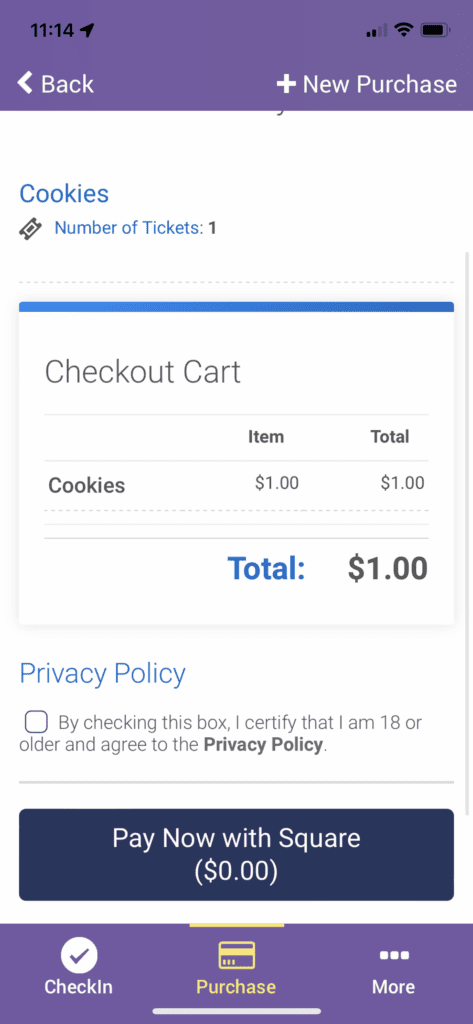
Click the “Purchase” tab on the bottom of the screen, then select the number of tickets (or cookies) and hit continue to go to the Checkout Cart. Once they certify that they are 18 and agree to the Privacy Policy, hit Pay Now.

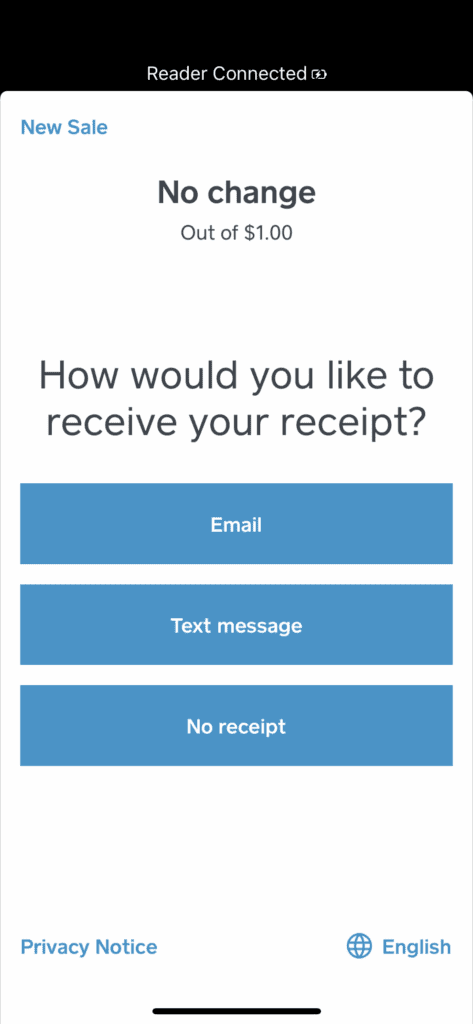
The attendee can then use their card to pay, or you can allow them to manually enter a credit card or indicate that you have accepted cash. The attendee will be prompted for a receipt (if desired), and the purchase is complete!

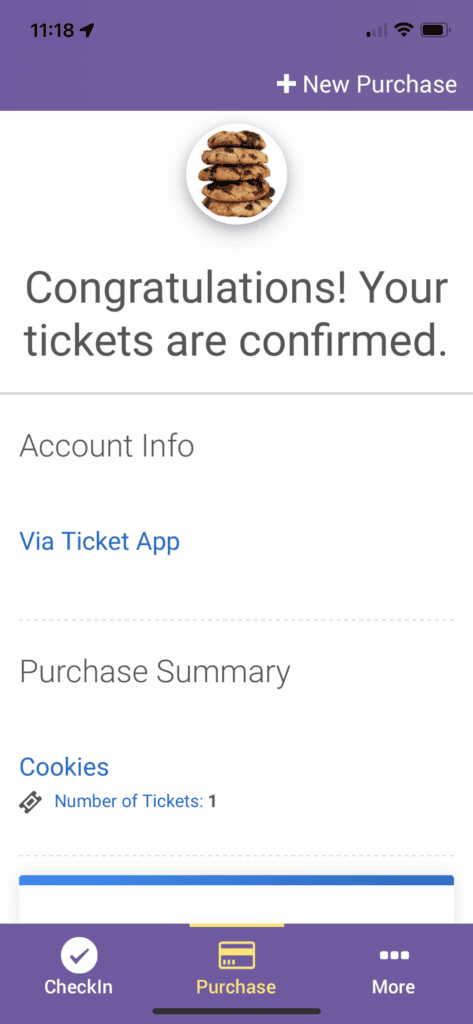
And that’s it! Your attendee’s tickets are purchased, they’re on their way into the event, and you’re ready for the next purchaser. Download the Tickets App today to start streamlining your event day for both pre-purchasers and on-site buyers.
See a demonstration on how we used the Square integration for point of sale, works on tickets and cookies!