Your event website is the public face of your event. With TicketSignup’s free website tools, it’s easy to customize and tailor your ticket event website to meet your needs. How? While the options are endless, your customizing your event website doesn’t need to be intimidating – follow along to learn how you can upgrade your website in 30 minutes (or less). All options are free and can be added at any point!
What can you get?
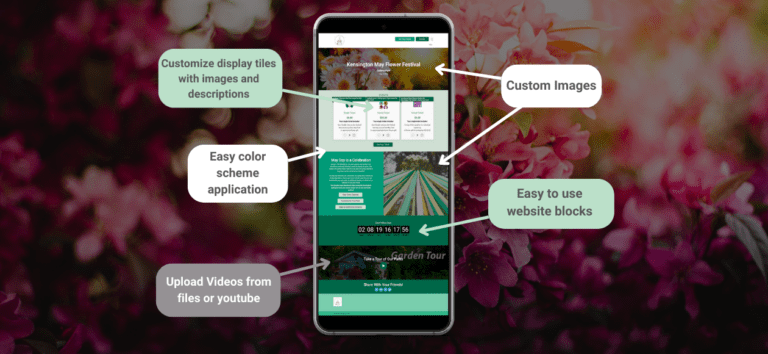
Your ticket event website can be branded and designed to be both beautiful and functional. While there are a myriad of options for every website, this blog focuses on the key branding and cover page elements that can help you create a professional, actionable website in under half an hour.
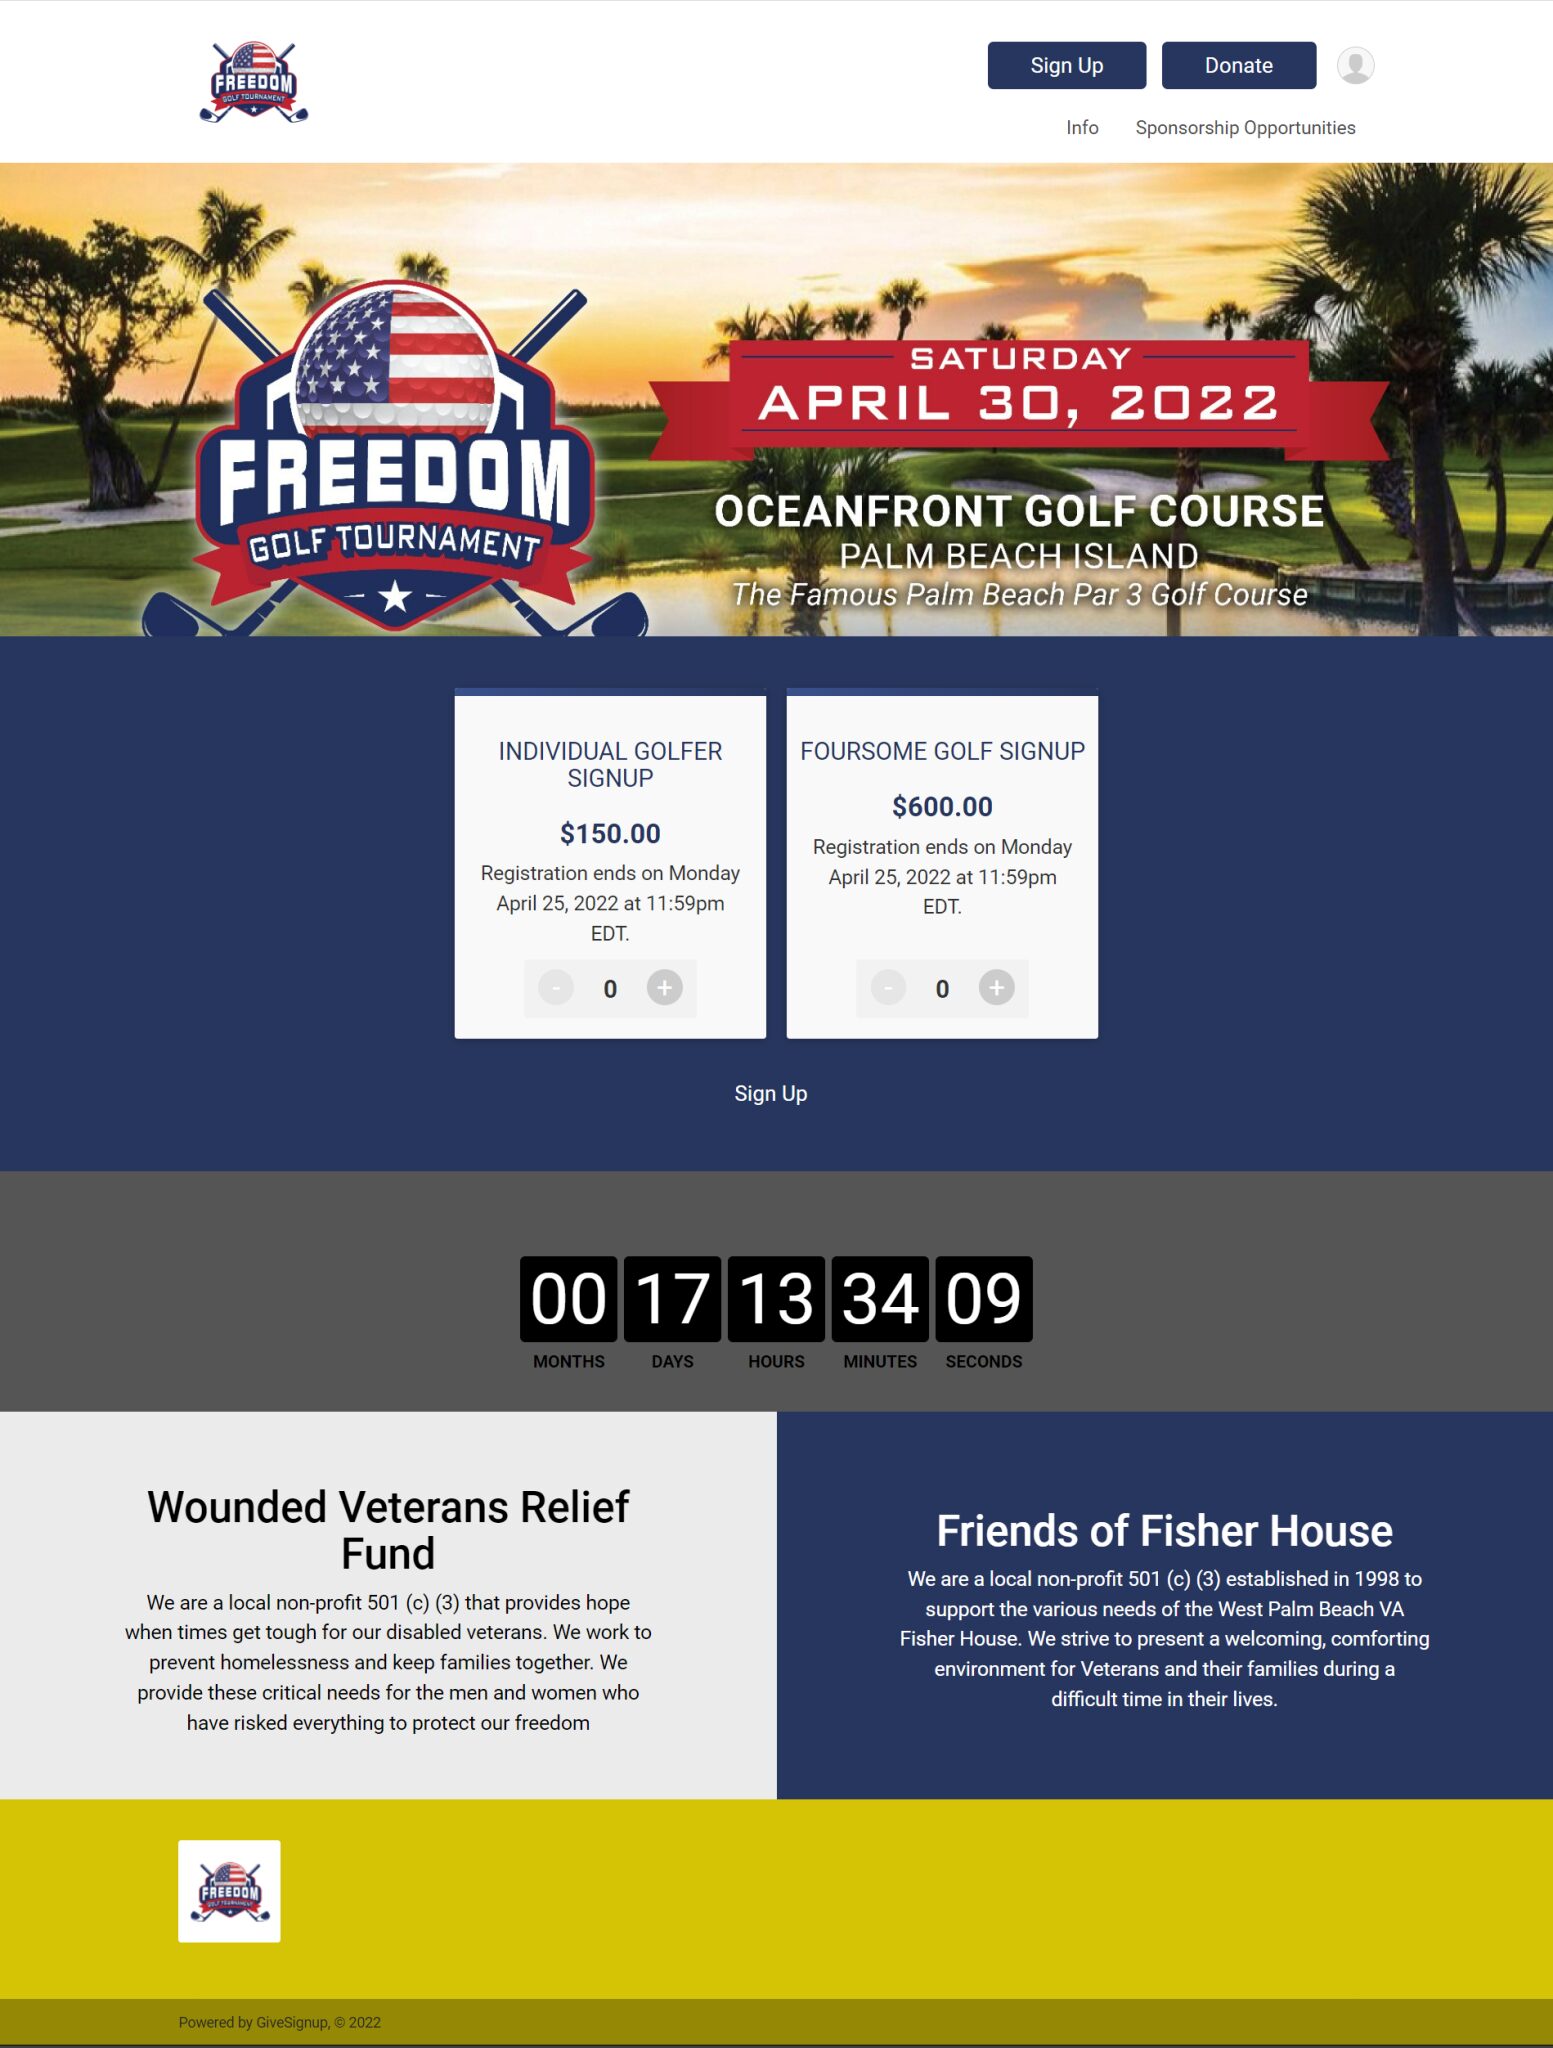
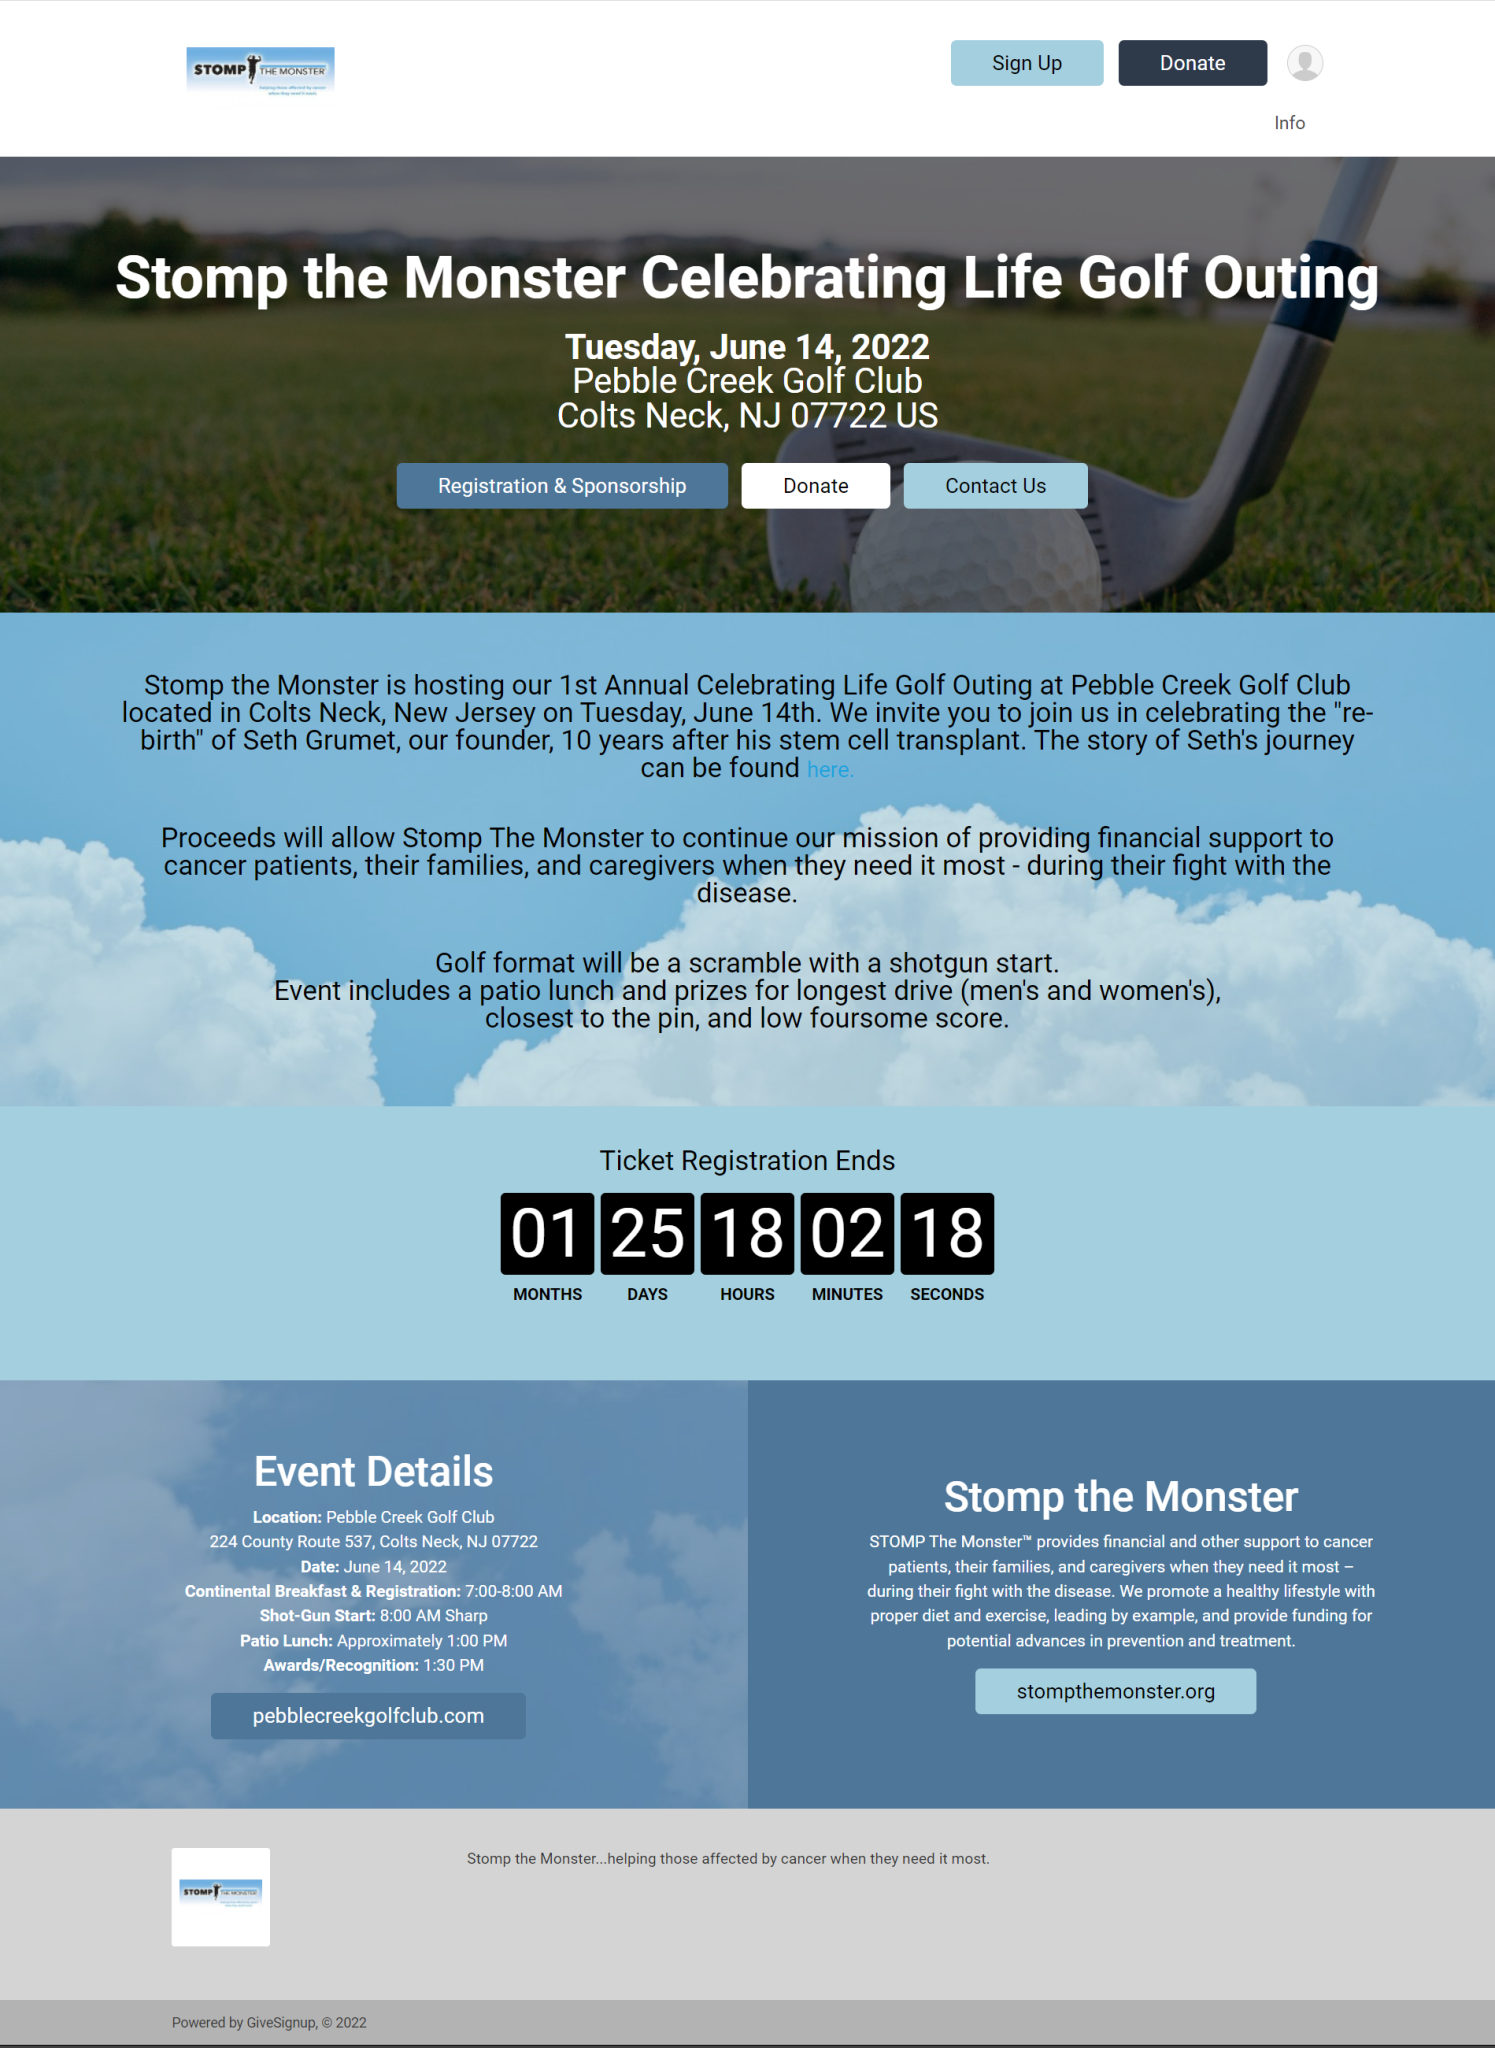
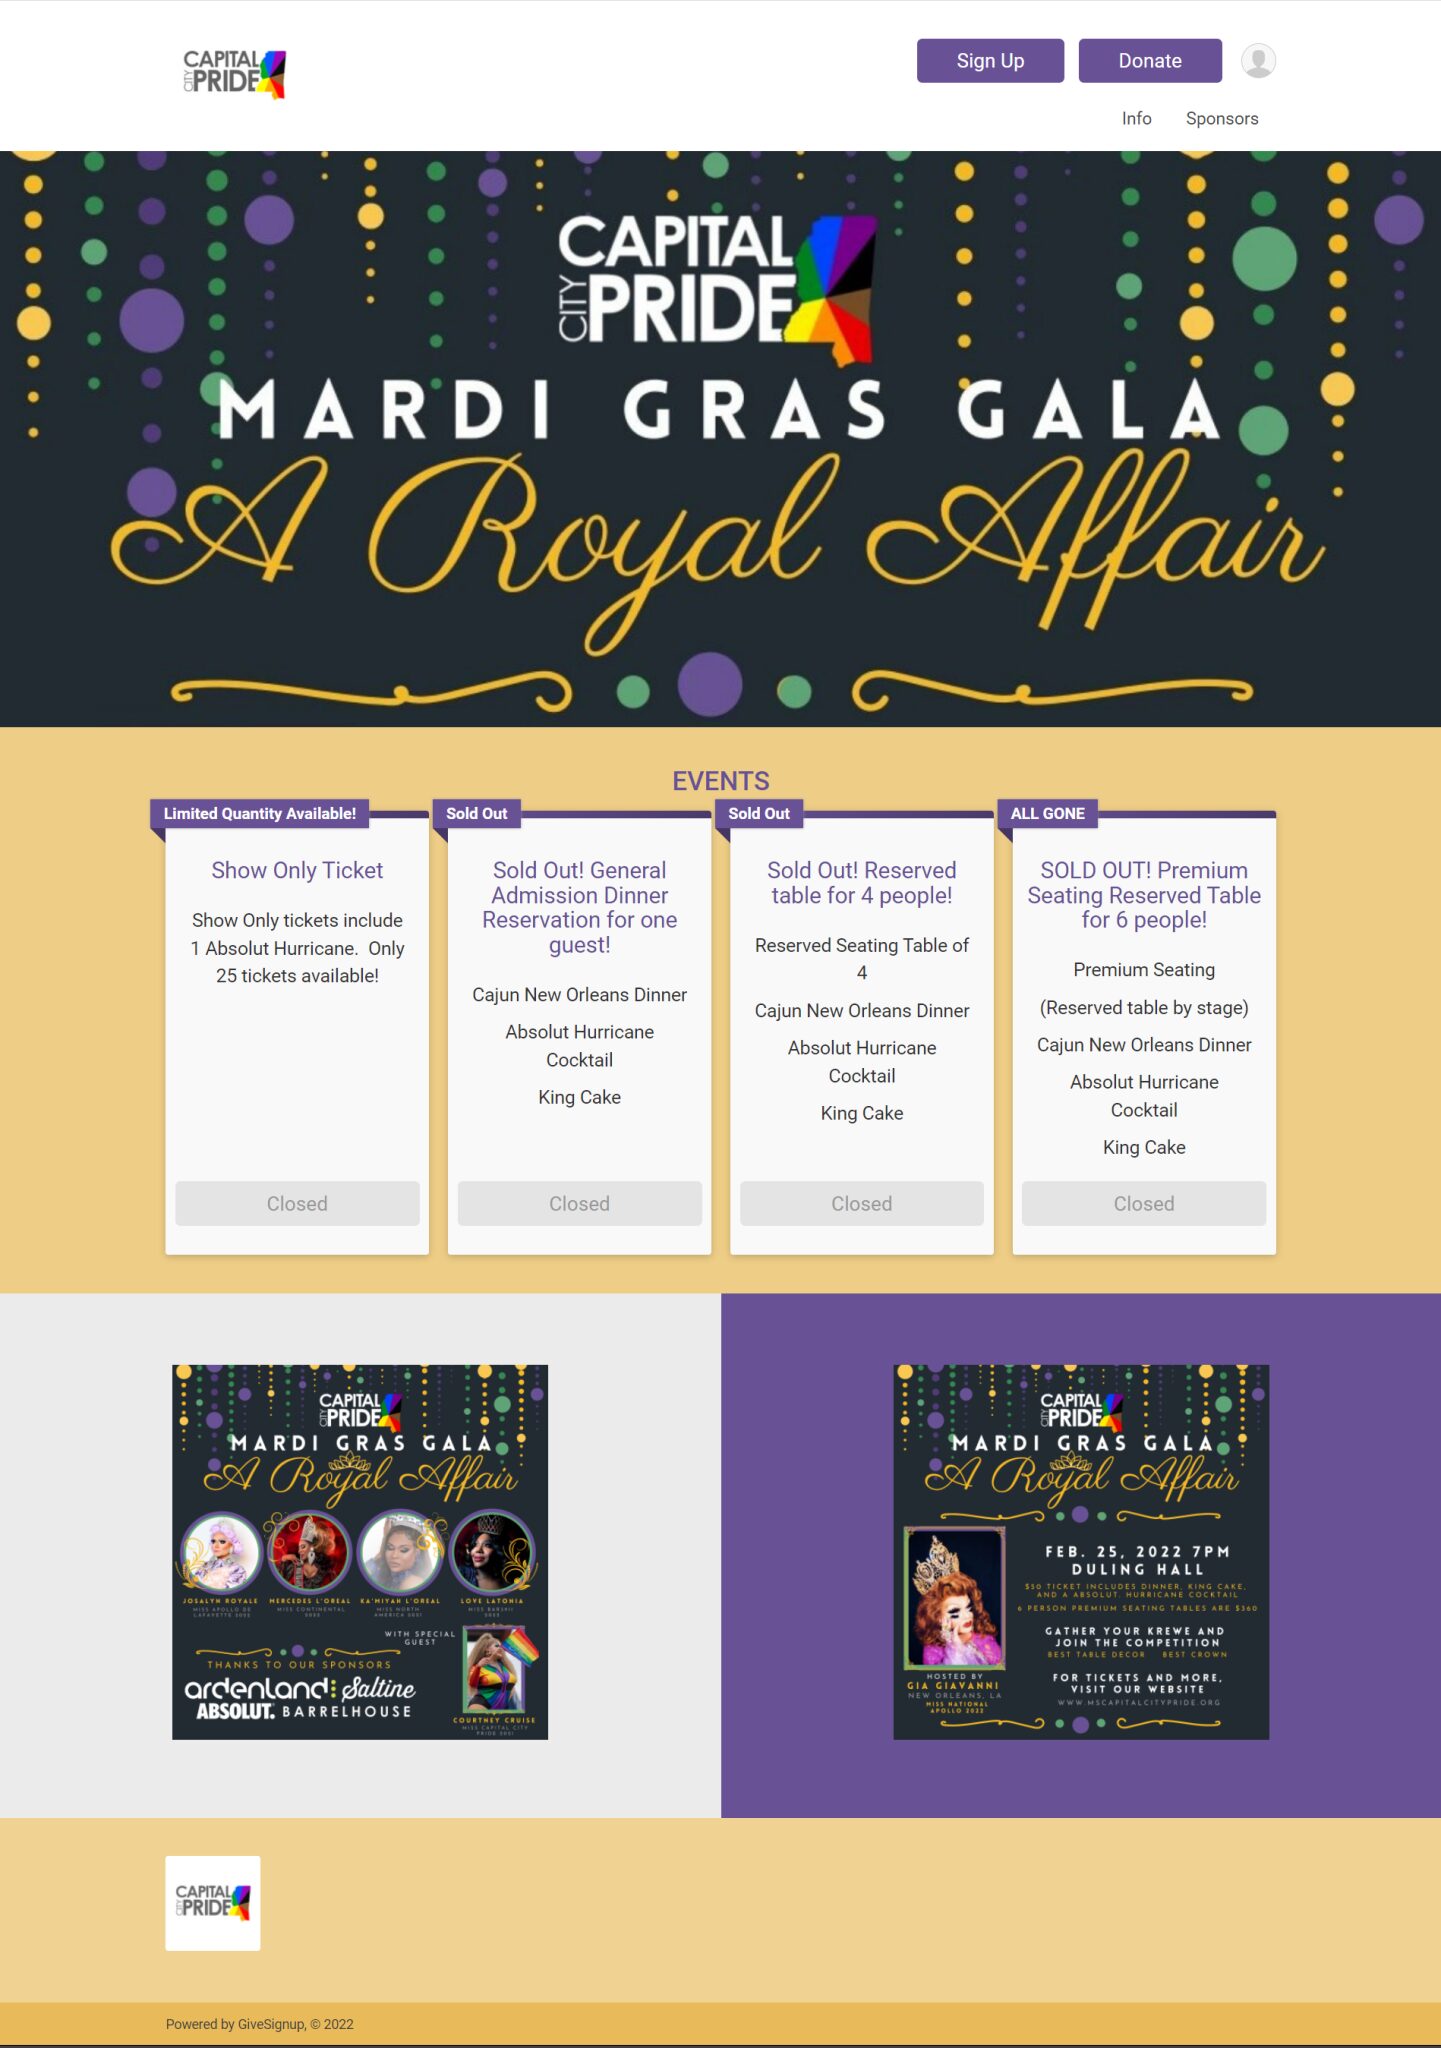
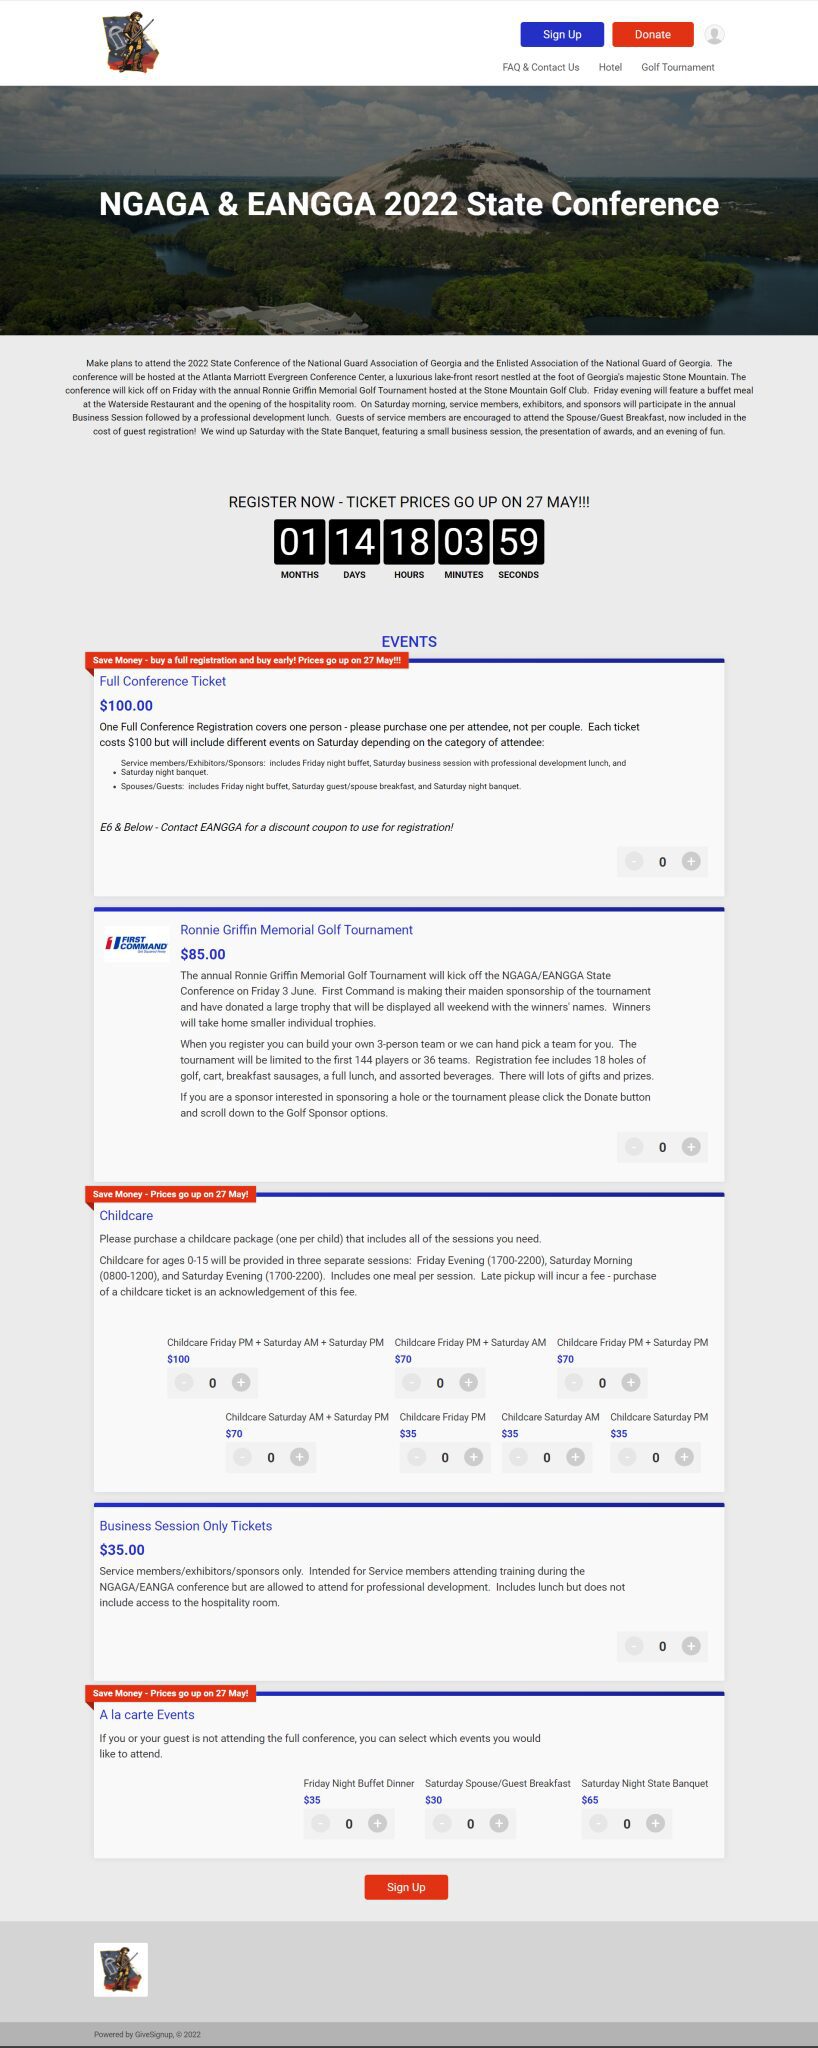
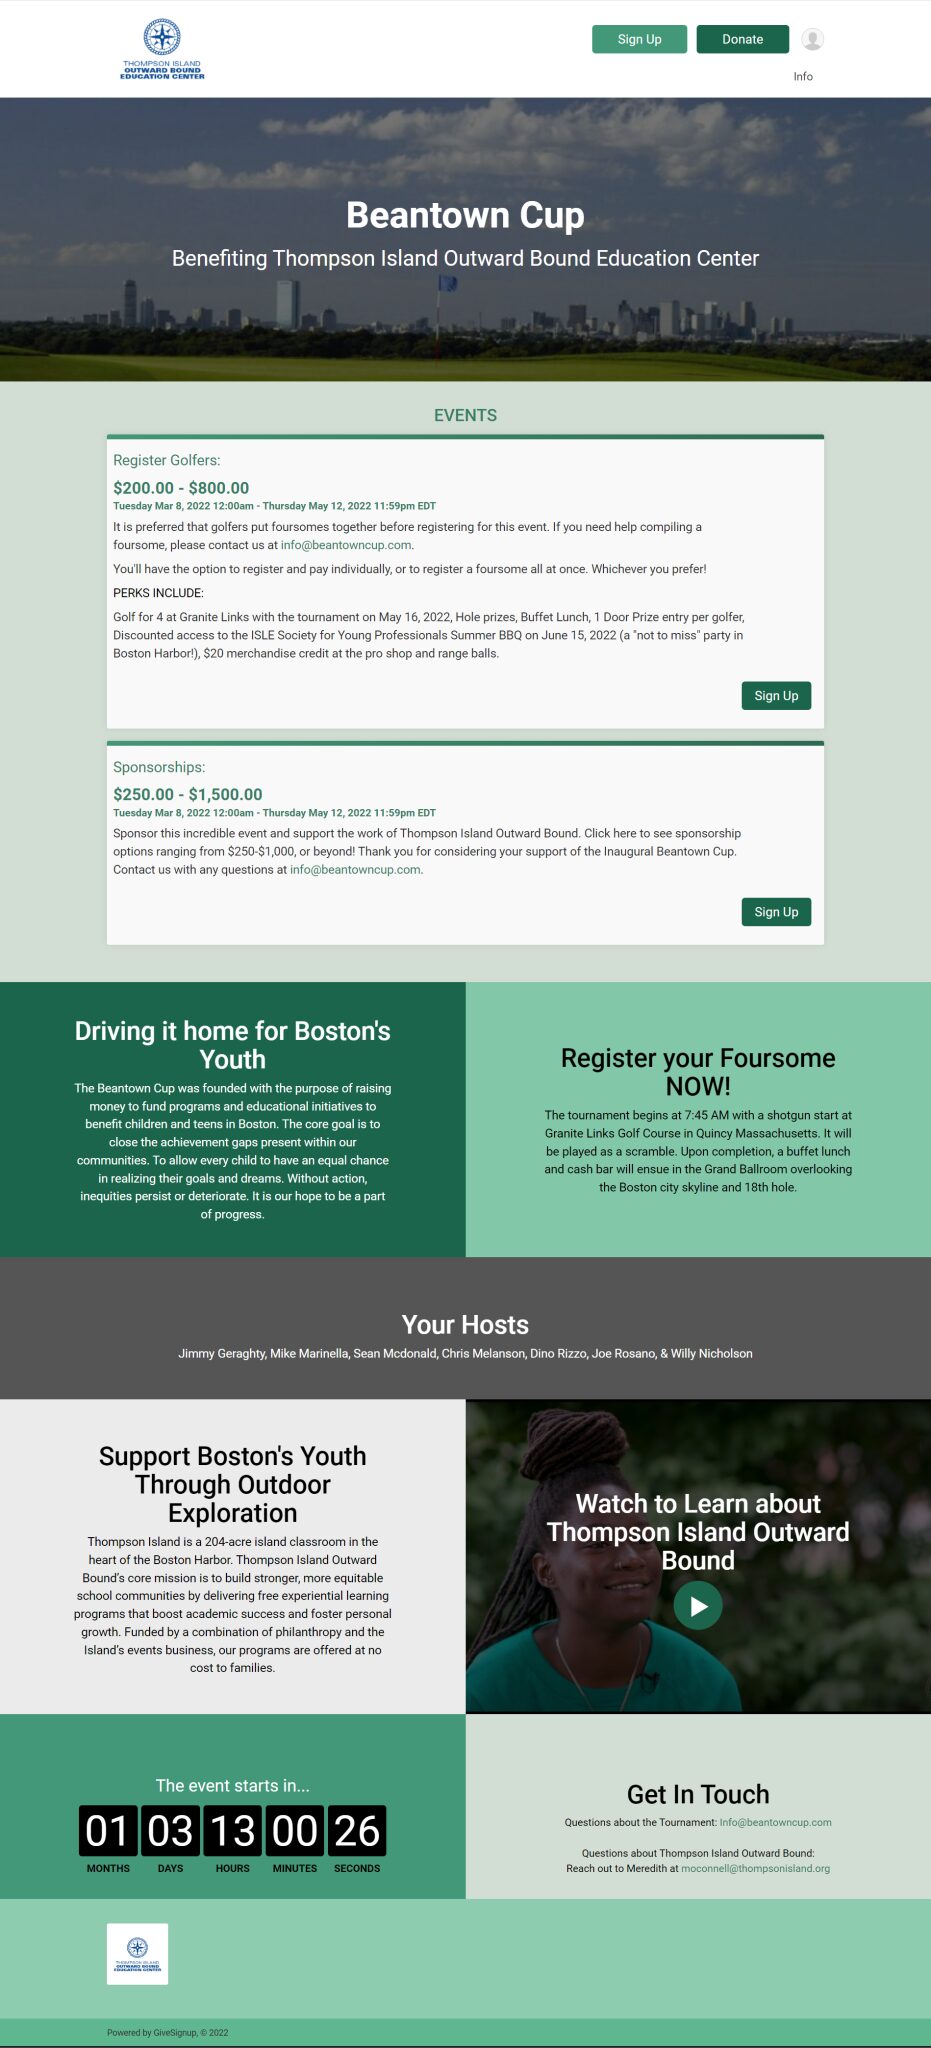
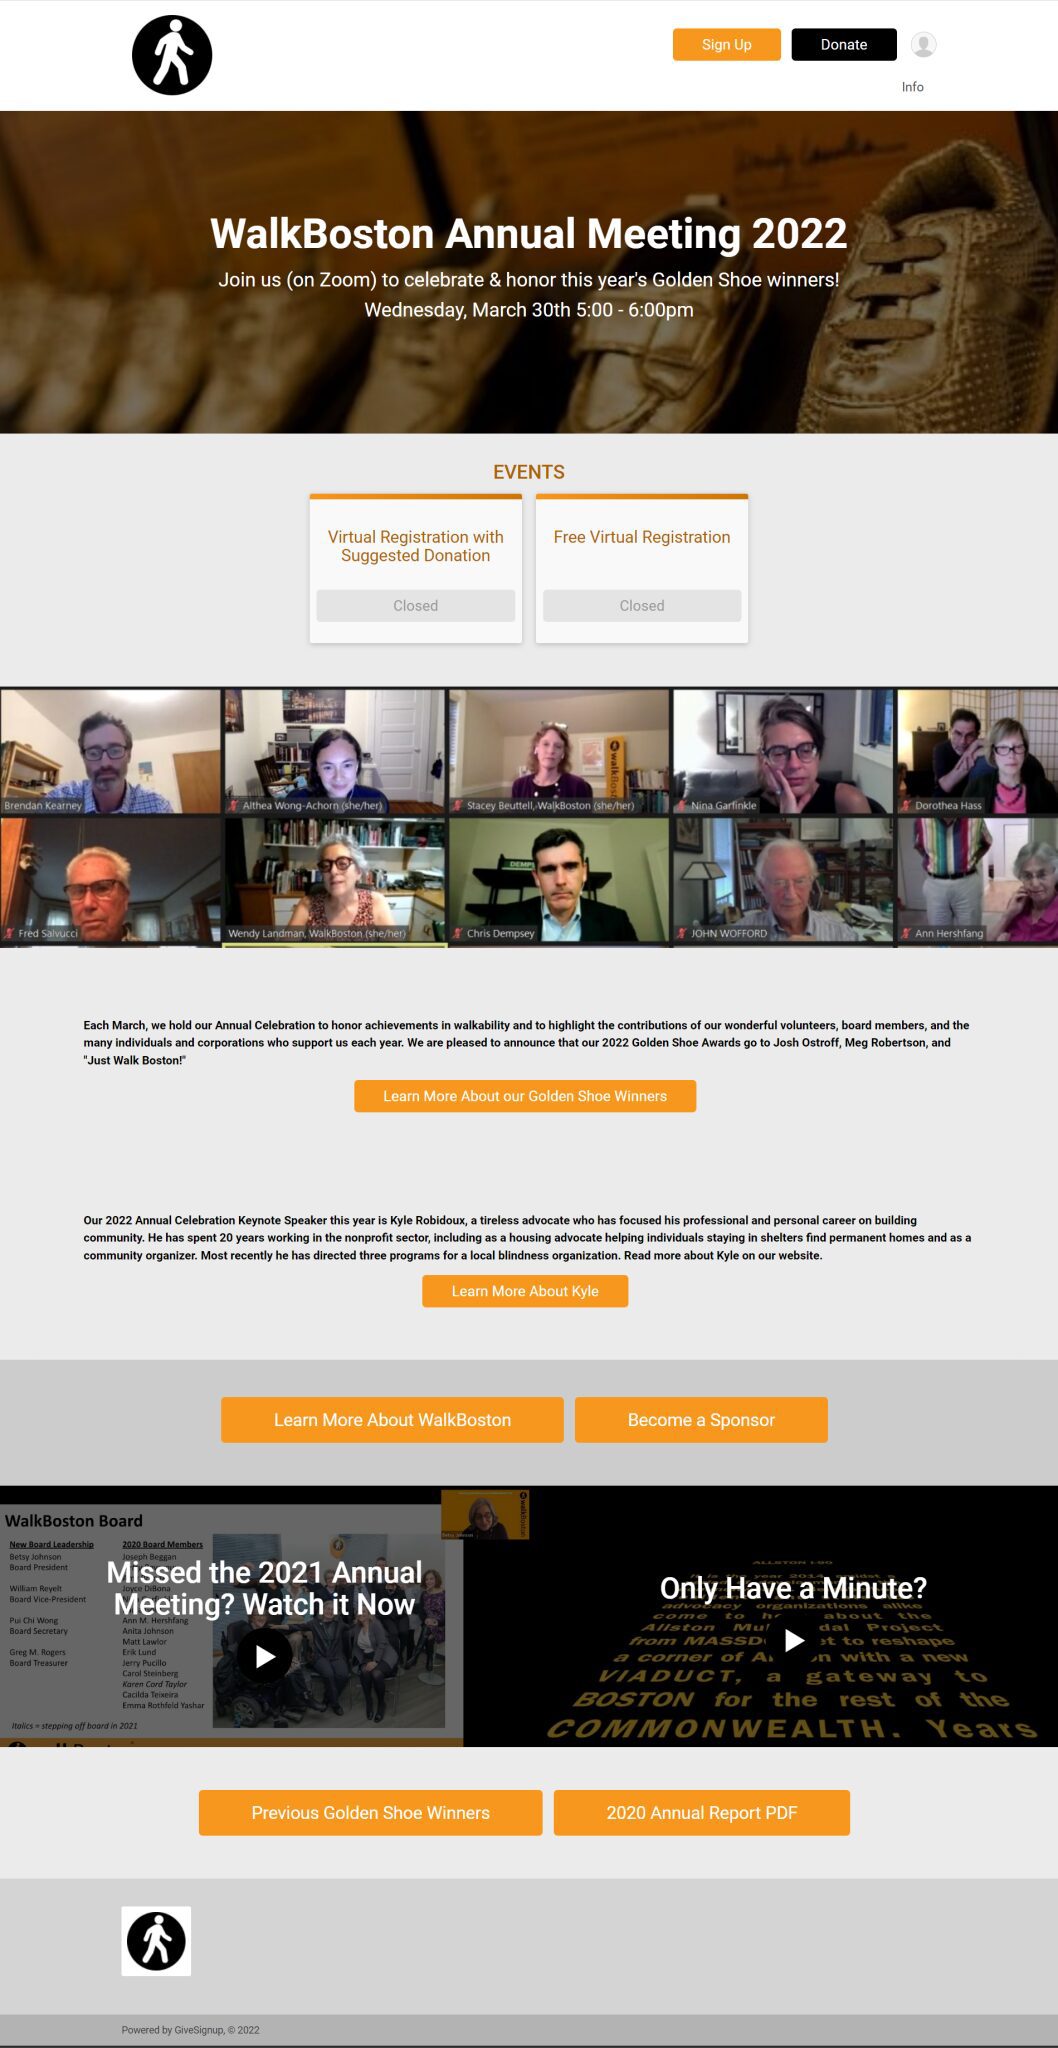
Just a few examples of customers who have customized their event website:
Your Out-of-the-Box Website
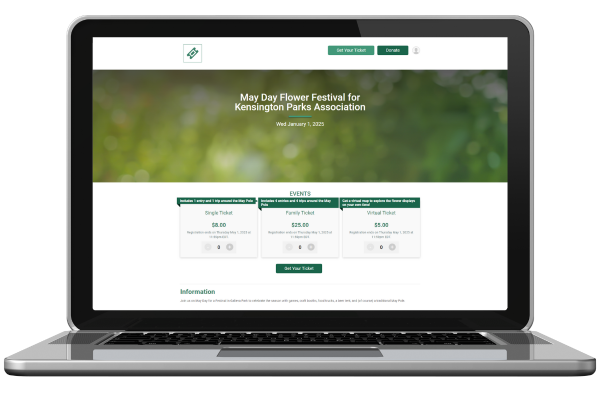
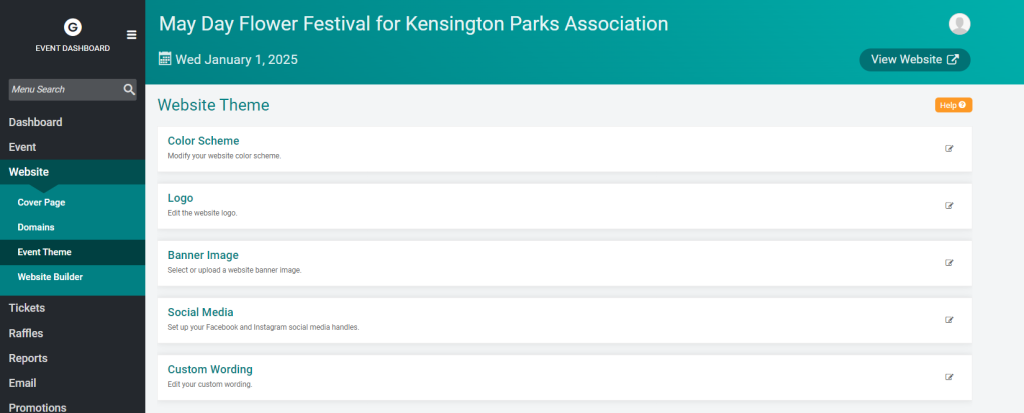
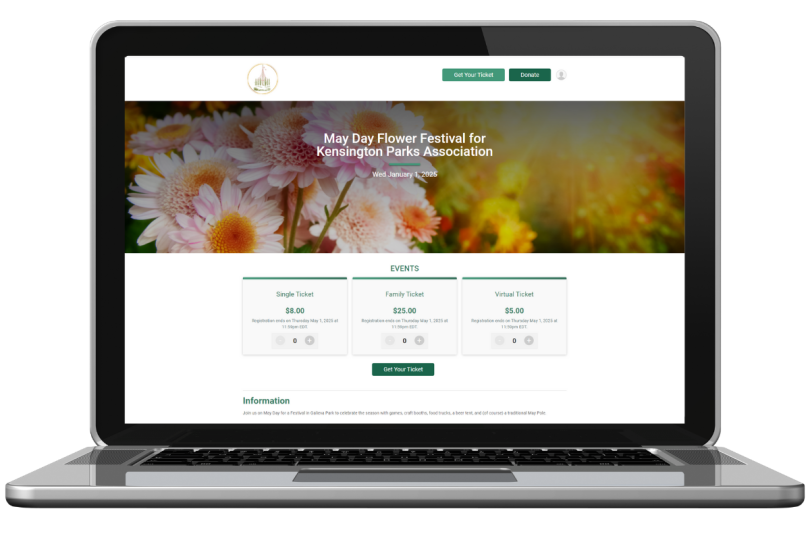
To help illustrate this process, we are going to start with our out-of-the-box website for the (fictional) May Day Flower Festival. This is what the site looked like after we completed the ticket event wizard, before customizing the website:
Brand Your Site (5-15 minutes)
Every event should make a few basic customizations to make your event look professional. Each of these updates can be accomplished in a few minutes by navigating to Website >> Event Theme.
1. Color Scheme
TicketSignup includes an array of color combinations that were selected because the colors are complimentary. If you don’t have brand colors to work with, just find the color scheme that best fits the mood of your event – in this case, we selected the green-focused Grass theme to match our garden-themed event.
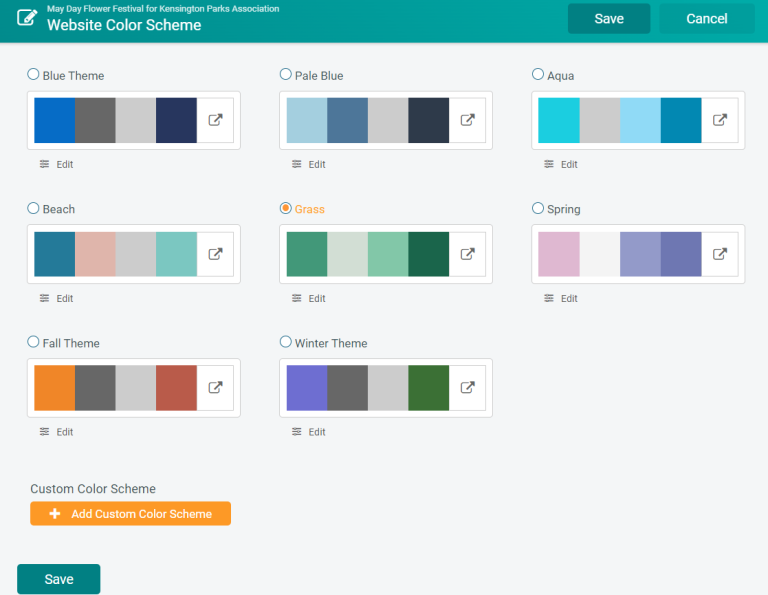
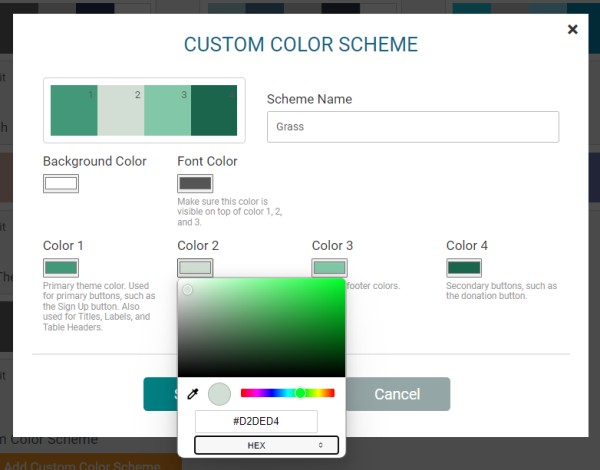
If you do have brand colors, or just want to play around with additional color combinations, you can click that “Add Custom Color Scheme” button at the bottom of the page to pop up a color tool that allows you to add any color to your theme.
2. Logo
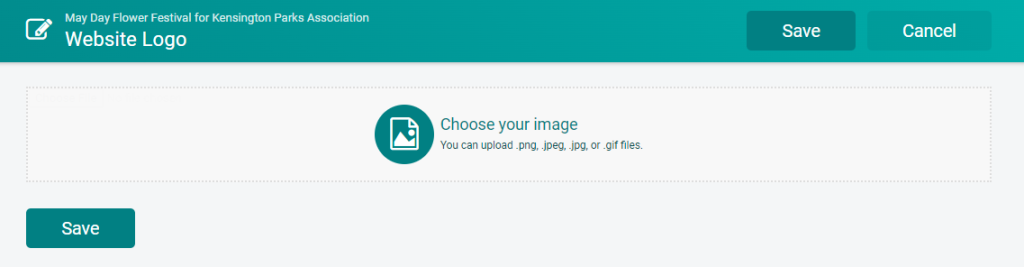
If you don’t have a logo (or haven’t added it), your website will have a simple ticket icon in the left corner:

If you do have a logo for your event or organization, simply select the “Logo” section under Website >> Event Theme, and click to upload your logo:
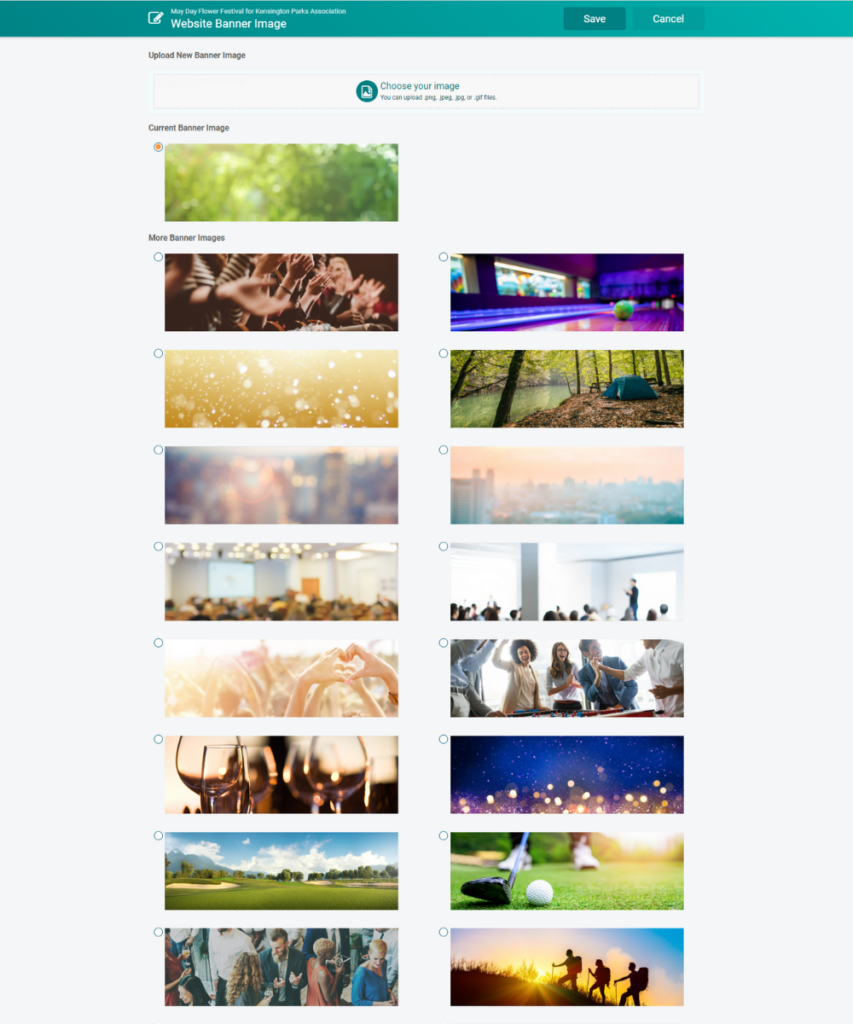
3. Update Banner Image
Now the fun part: updating your banner image to match your event. Like with colors, TicketSignup offers a range of beautiful images that we know work well on an event website, with options that are suited for a variety of events. If you’re in a hurry and have limited graphic design resources, you can update your site with one of your standard images in just seconds. Otherwise, you can do what we did and use the Choose your image button at the top to select your own banner image – anything you want! The standard banner size is 1200×400.
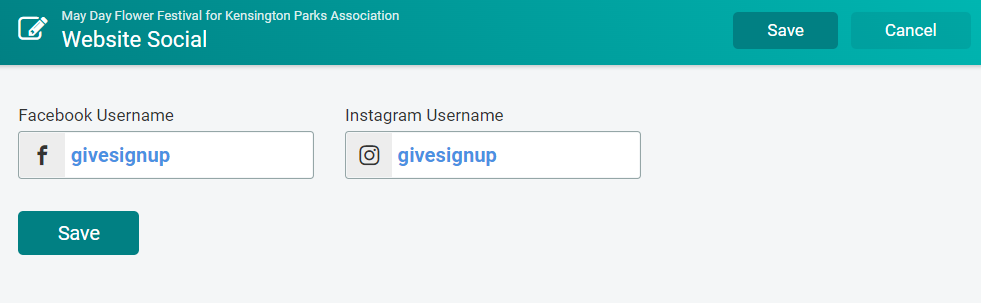
4. Social Media
Add your Facebook and Twitter handles to make it easier for your supporters to connect with you on social media, right from your event website.
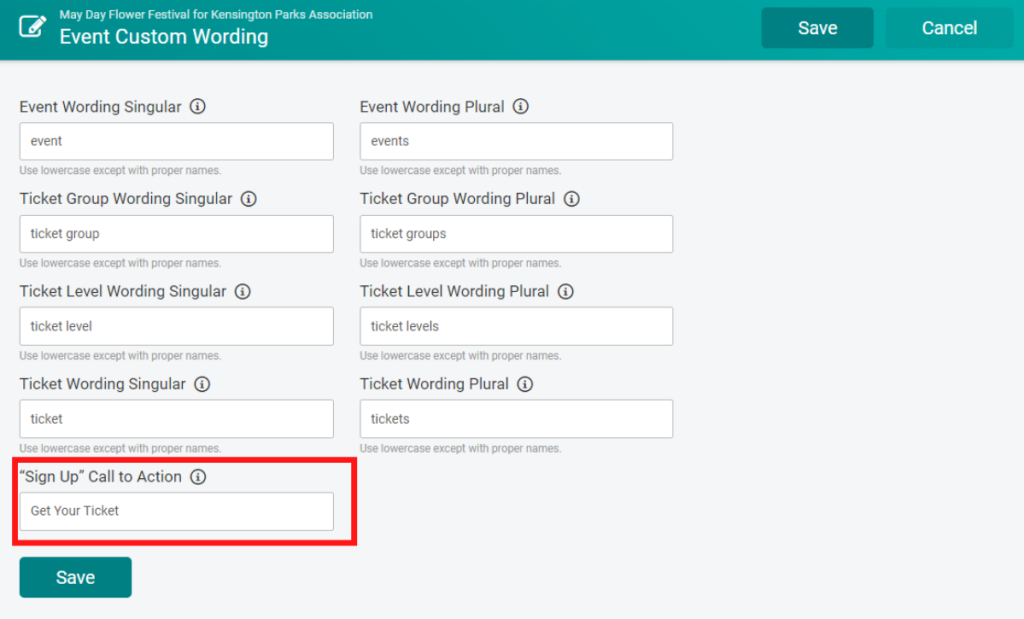
5. Custom Wording
Does your event sell entries instead of tickets? Are you using ticket groups as a synonym for day? You can update the wording that shows up on your website to match the language you use with your supporters. For our event, most of the wording made sense, but we did want to update the language on the action button to say Get Your Ticket instead of the default Sign up.
Website Check-In:
In these first 10 minutes, we have:
- Updated our color scheme to Grass
- Added our event logo
- Uploaded a custom banner image
- Entered our social media handles
- Customized the wording on our call-to-action button
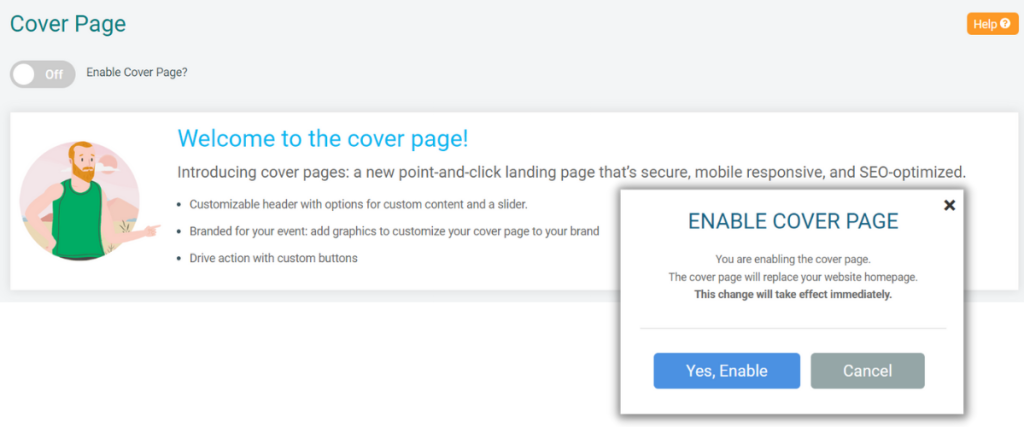
Enable a Cover Page (10-20 minutes)
When you enable a Cover Page on your website you have even more options to customize your site and add elements that create a sense of urgency. You can enable your cover page from Website >> Cover Page .
Your cover page comes with endless opportunities to show off the personality of your event. We’ll review a couple of our favorite options, but if you have time to play around, you can really make your creativity shine through!
One quick thing to note: the colors available for backgrounds and buttons on your cover page are all pulled from the options you selected as your Color Scheme above. If you aren’t enjoying the colors, navigate back to Website >> Color Scheme to make adjustments.
1. Tell a Story
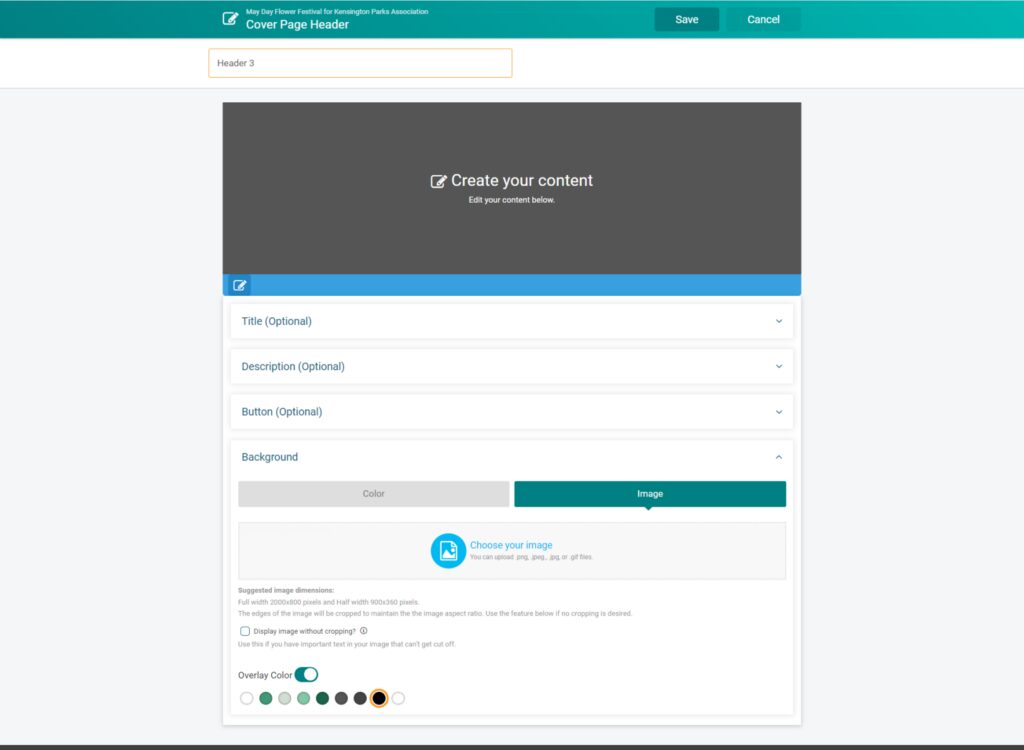
Header Image (or Slideshow)
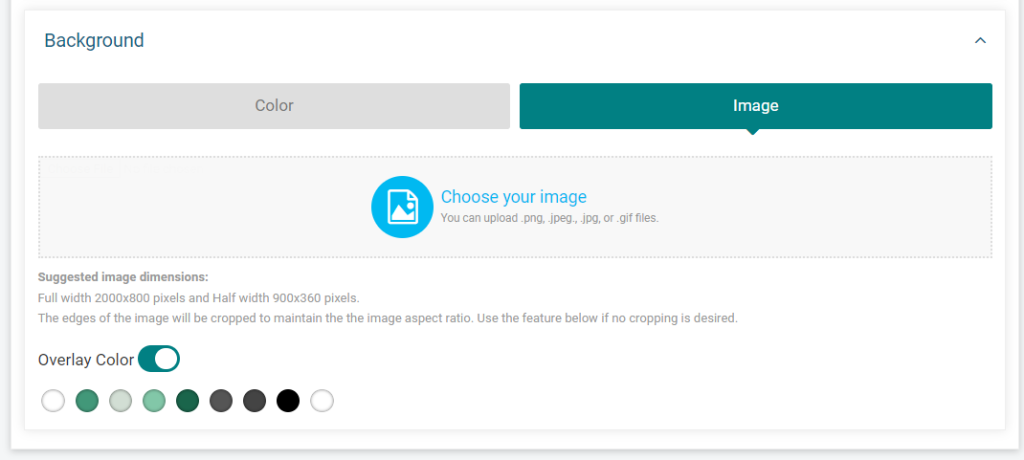
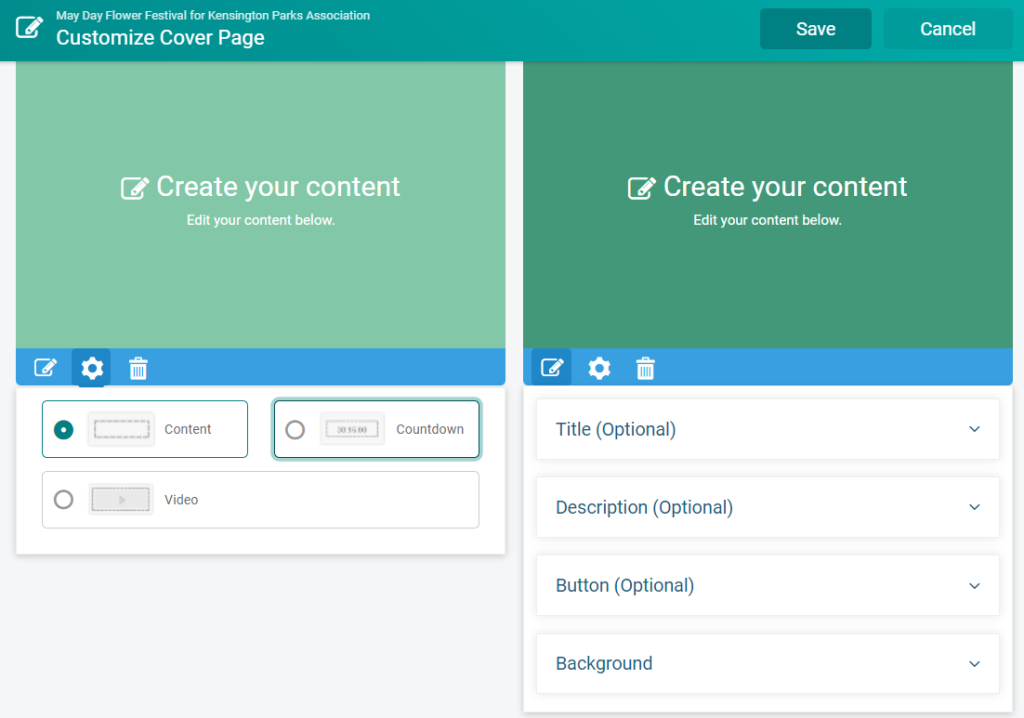
Remember the banner image you added in the Event Theme? While that will continue to show on your Event Info page, your header is the top image you will see on your cover page. For your Header, it’s optional to include a title (usually the name of the event) and/or a description of button. You can select just a color for the header, but we recommend a more personal image.
Once you add an image, an overlay color will be automatically applied. You can change the color of the overlay, but if you have a title or description on your header you do have to have an overlay color on to ensure that your text is readable.
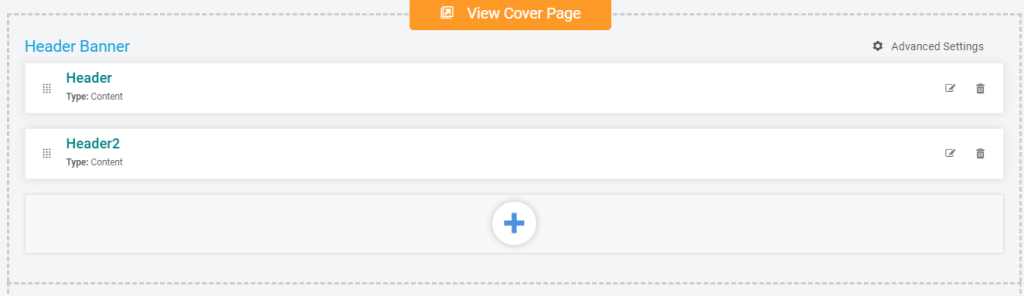
Even better, you can add more than one header to create a slideshow of several images. Just continue adding more header images!
Images
When you move onto Content on your cover page, you have the ability to select either one full width column or two columns.
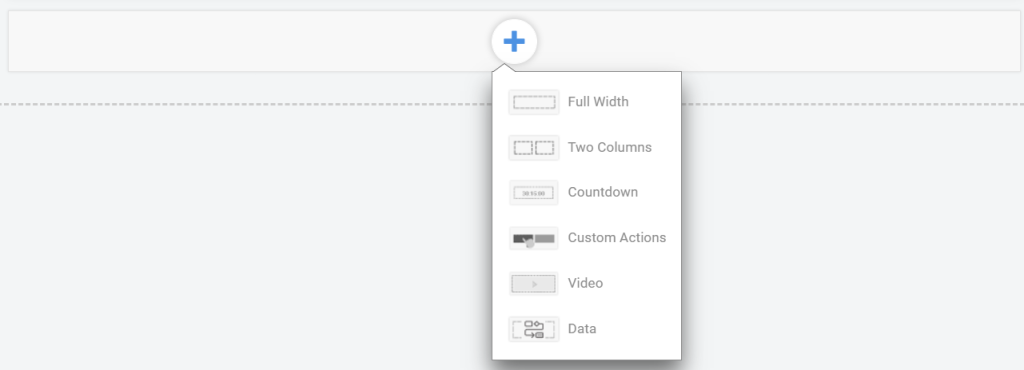
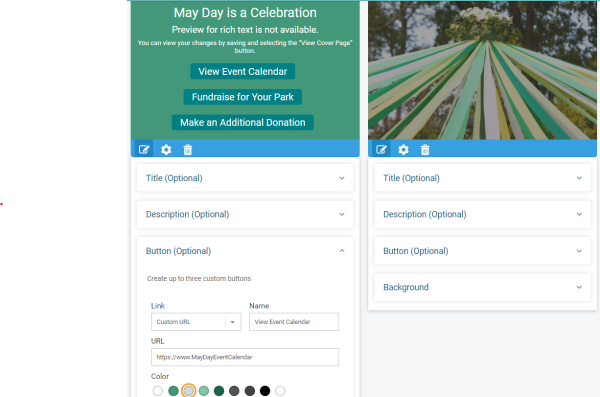
For both the one column and two column options, you can opt to add content (any combination of a headline, description and/or buttons). The fun part: regardless of what content you add (or if you add none), you can include another custom image that highlights your event.
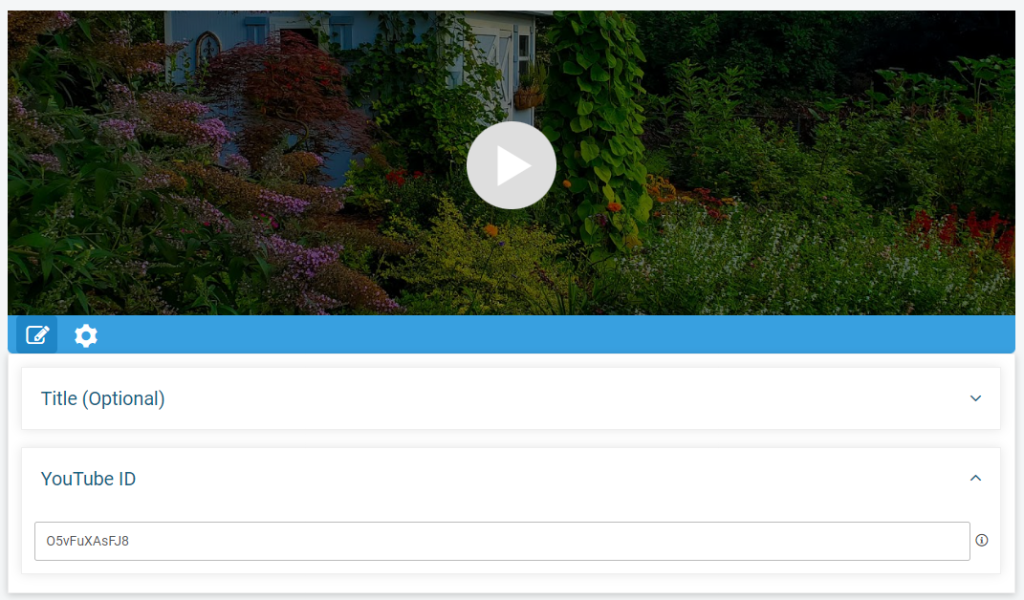
Videos
While photos are a nice way to showcase your event, nothing is more powerful than a video that brings your organization and event to life – and it’s as easy to add a video as any other content block.
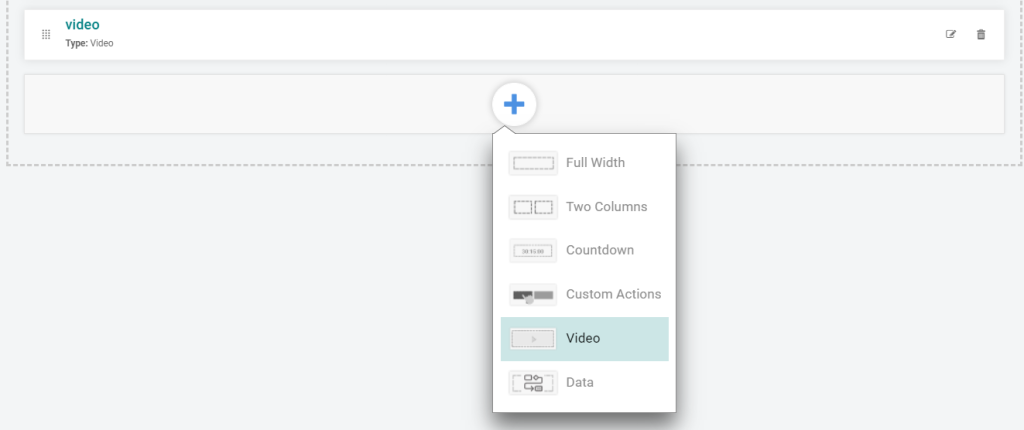
All you need is a YouTube ID (just the string of letters and numbers in your YouTube URL)
2. Create Urgency
Your website looks nice, now, but you also want to make sure it’s functional. And the key function? Getting people motivated to buy tickets! This set of updates to your cover page are all about driving action now.
Event Tiles
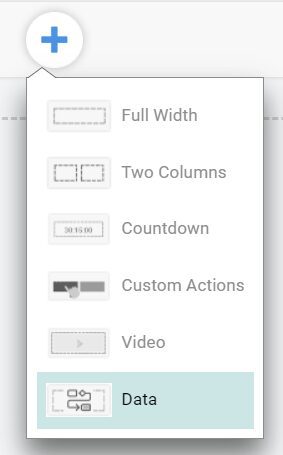
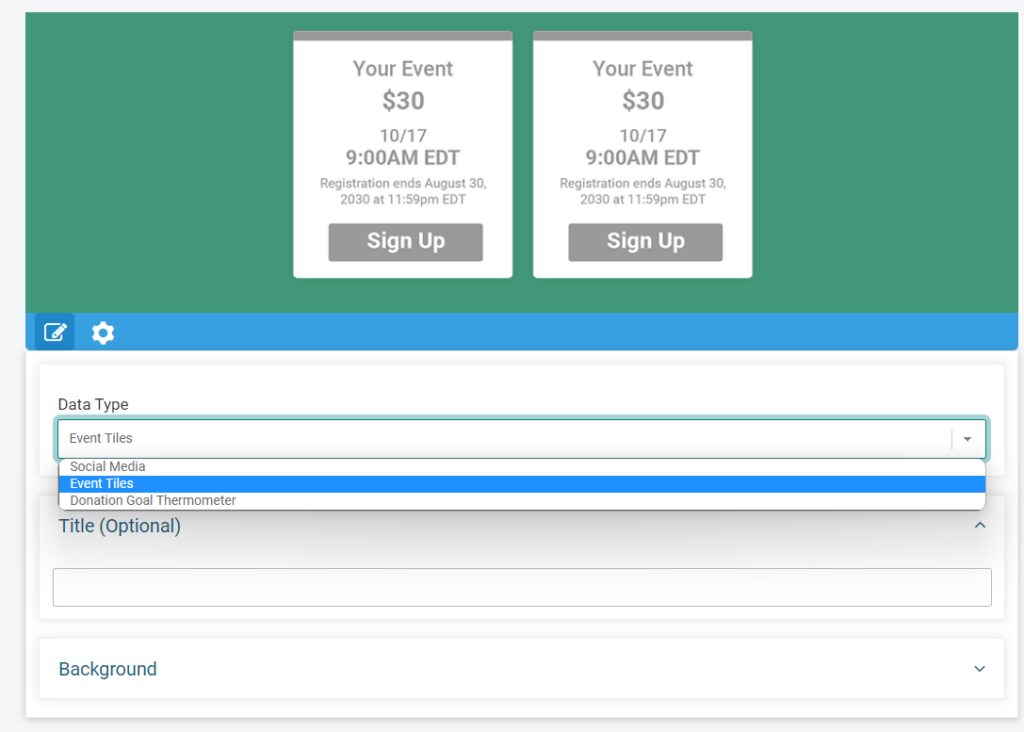
Since selling tickets is the primary purpose of most ticket event websites, we generally recommend that the first content block on your cover page (below your header) is your Event Tiles promoting ticket sales. This block is easy to add by adding a “Data” block and then choosing Event Tiles as your data type.
Bonus: Add Event Display Options.
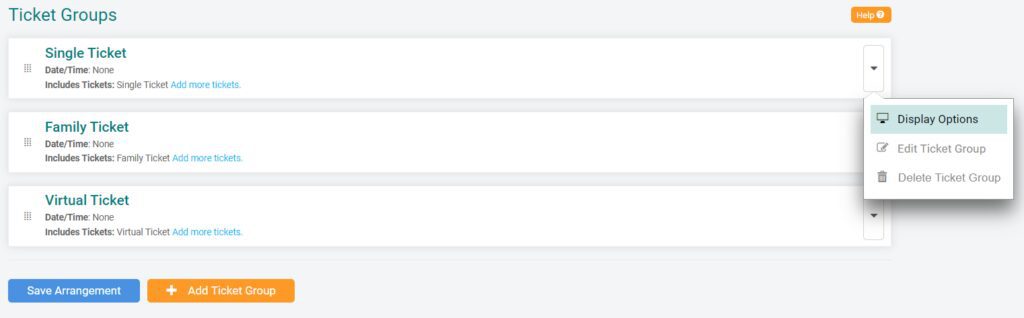
While event display options apply to anywhere your event tiles show up, not just your cover page, they are a great way of making sure your event tiles are eye-catching and useful. To set these up, navigate to Tickets >> Ticket Groups and then select Display Options from the dropdown.
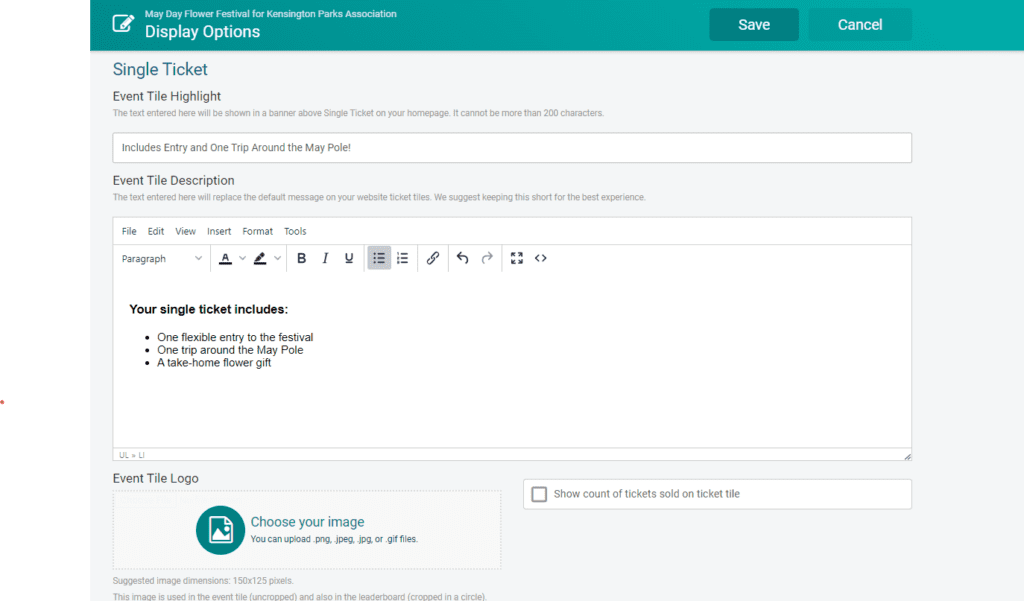
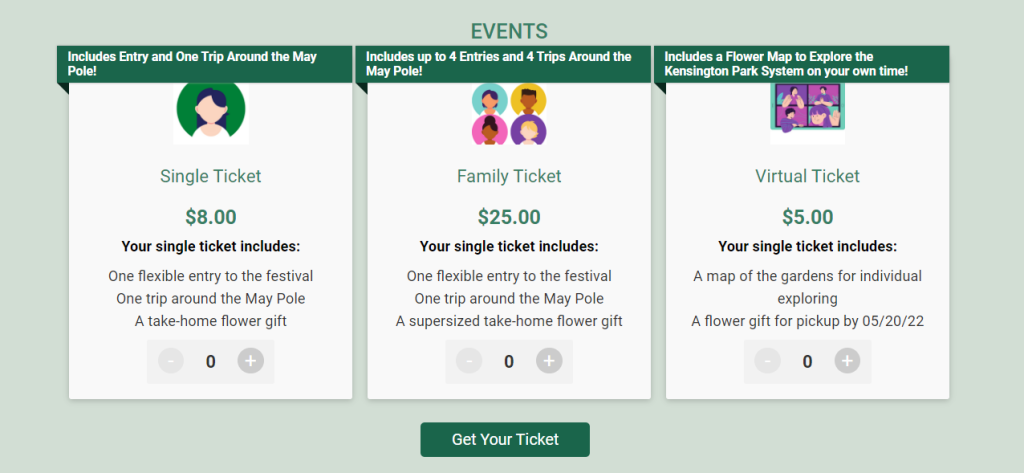
The customization available via Display Options include adding a Highlight (a header to callout what’s GREAT about that ticket option), a Description to share more about what’s included in the ticket, a logo (to add a visual element to your tile), and the option to include a count of the tickets sole (recommended for high-volume ticket events only). You can add all the customizations or just the most applicable ones.
This is how our event tiles for the May Day Festival looked before we added Display options:
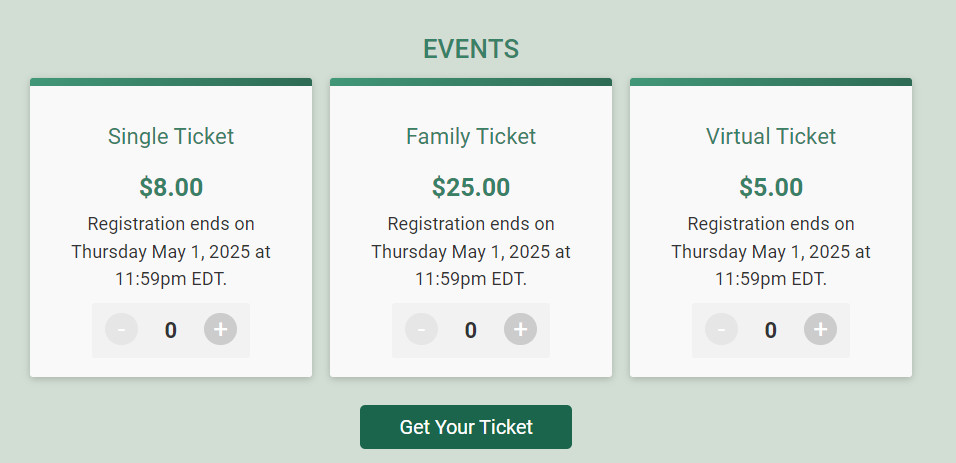
And this is how the event tiles looked after we updated the Display options:
Countdown
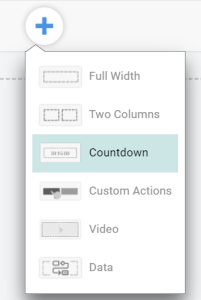
Nothing says TIME IS RUNNING OUT like an actual clock showing when the time will run out. You can add a countdown clock to your page (automatically set to the date of your event) as a single content block (from Website >> Cover Page) :
Or, you can op for a two column content block and then add the countdown clock to one of the columns.
Action Buttons
You can always add a link to text, but buttons say CLICK HERE. You can add buttons to prompt action to virtually every content block:
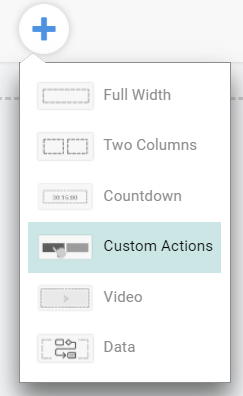
Or, you can add a Custom Actions content block that is a little more narrow and only includes buttons:
Website Check-In:
In this 10-15 minute effort we have:
- Updated header and turned it into a slider
- Added images and action buttons
- Included a video
- Upgraded our Event Tiles with Display Options
- Embedded a Countdown Clock
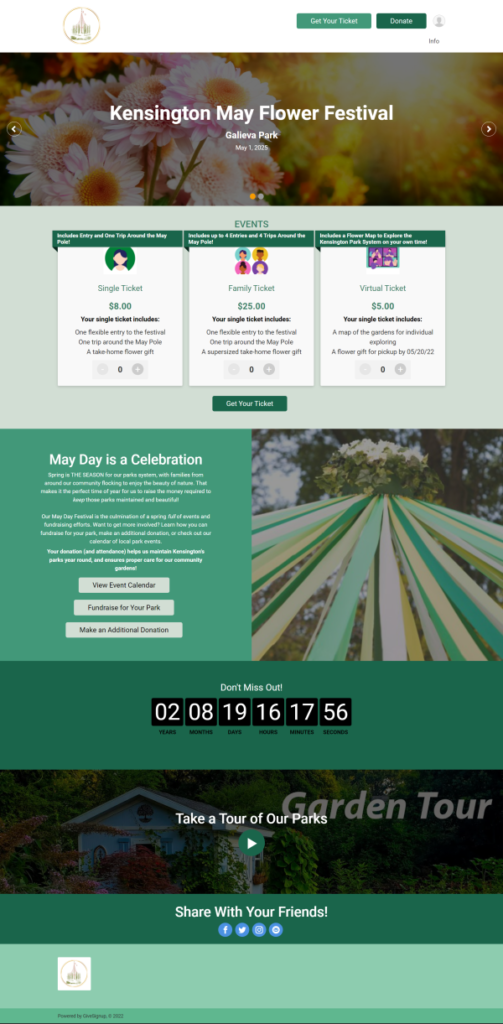
There’s no slider see the updated website this time – to appreciate the impact of the cover page components, you need to see the whole website as it’s scrolled through:
Extra Credit: Build out a FULL Website (5 min -> Infinity)
In (less than) 30 minutes, your website now looks professional, and has a lot to engage with. But you don’t have to stop there! Events can also use our website builder to create a menu of separate website pages (with submenu options) covering everything, including:
- Parking and entrance info
- Event FAQ
- About our Organization
- Additional Upcoming Events
- How to Change Tickets
- Local Resources
- Much, much more!
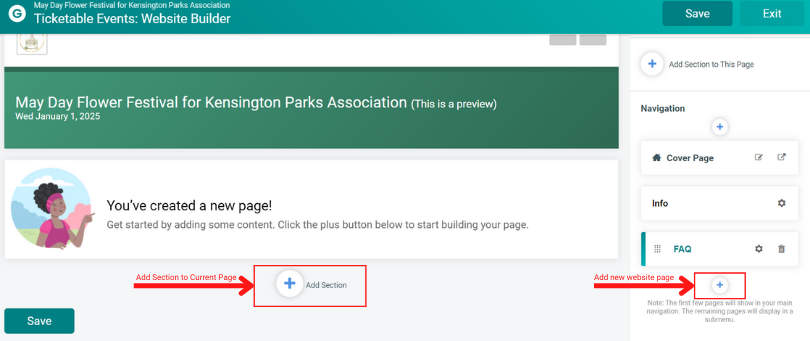
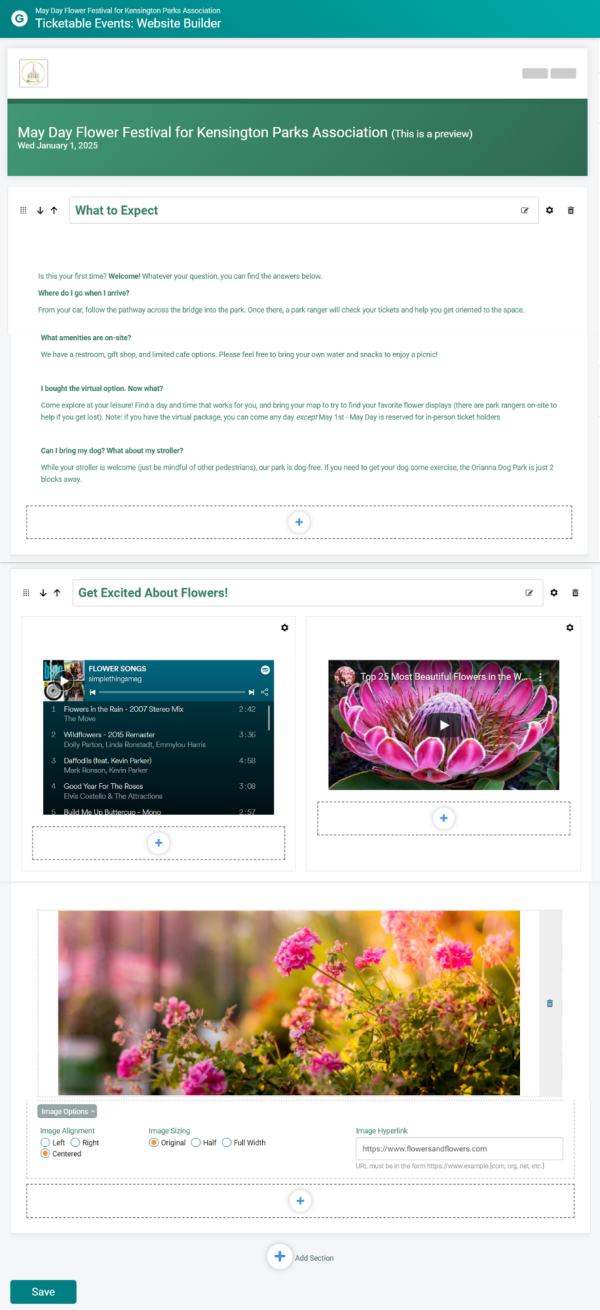
To start building out additional pages for your website, navigate to Website >> Website Builder. By default, the website builder edits your Event Info page – the page that is your landing page for your website before you add a cover page. You can rearrange content or add a new page via the plus sign on the bottom of the right panel. Once you have added a new page, the plus sign at the bottom of the main panel allows you to add content to that page in a single column or two columns.
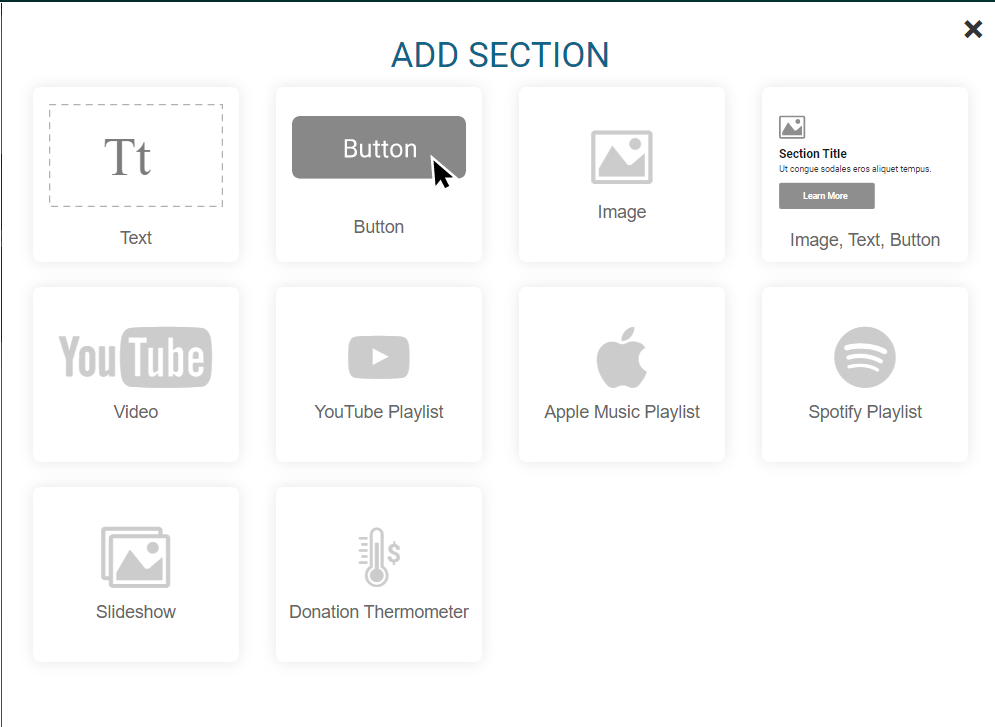
Whether you choose a single column or two columns, each section has multiple options for the type of content.
As with the content on your cover page, photos, slideshows, videos, and playlists can all help bring your event to life and connect you with potential attendees. For our first page, we chose to include an FAQ along with a playlist and video to inspire attendees. This is that page laid out in the website builder:
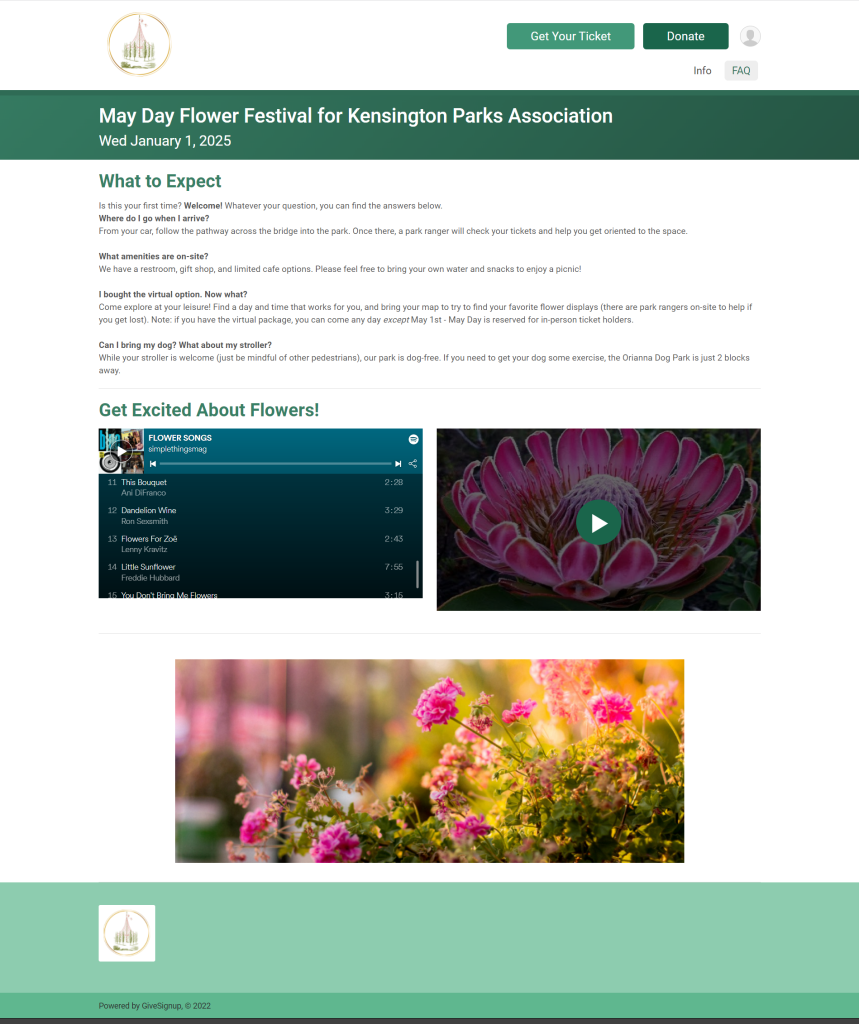
The FAQ page now appears as it’s own menu item on our website:

The best part? You don’t have to stop there. You can add as many informational pages and menu items as you want (some will appear as submenu items). Just keep using that plus sign in the Website Builder to add more (and more) pages!
Website Check-In:
We added just one additional page in under 5 minutes, including:
- A new FAQ menu item
- Answers to key attendee questions
- Fun, interactive elements including a Spotify playlist and a YouTube video
- An image
This is our new website page:
It’s Worth the Time to Build a Beautiful, Functional Website
Your event website is how your attendees (and potential attendees) interact with your event before, and sometimes after, they join you in person (or virtually). Put your best foot forward with a professional, beautiful site from TicketSignup that reinforces your brand, informs, and prompts action.